Preserved lemons are the perfect thing to make when lemons are in season. It only takes two ingredients (lemons and salt), and a few minutes of your time. Adding preserved lemons to your food ups the wow factor of so many dishes. They’re super versatile and make simple food more complex in taste.

How to Make Preserved Lemons
You will need:
- fresh lemons (preferably organic)*
- Salt (use Kosher or Sea salt, but don’t use salt with added iodine)**
- Sterilized jars (They don’t have to be canning jars, but you do need to be able to put a tight sealing lid on them)
- Fermentation weight (this is handy, but optional)
- Other herbs/spices if you want (traditionally, lemons are preserved with just salt, but they’re tasty with additions as well)
- Some time. (15 minutes of prep, but 3-4 weeks of waiting for the fruit to ‘ripen’ in the brine)
*How you decide to slice your lemons and the size of jar you want to fill, will determine how many lemons you use (more on this below).
**Roughly gauge salt as 1 tablespoon per lemon, plus extra salt for the bottom and top of your jar.
How should you cut your lemons?
Decide on the jars you want to fill with lemons and the way you’d like to cut them up. This will help you figure out how many lemons to buy (roughly). Traditionally lemons are prepared by slicing both ends off the fruit. Then, with one flat end sitting on the cutting board, you cut a big X down through the top, leaving the last quarter or so of the lemon uncut. This creates four quarters that are still connected together. Leaving the lemons relatively whole like this will greatly reduce the number of lemons you need to fill a jar (keep in mind, you’ll be smashing them down and packing them as tightly as possible).
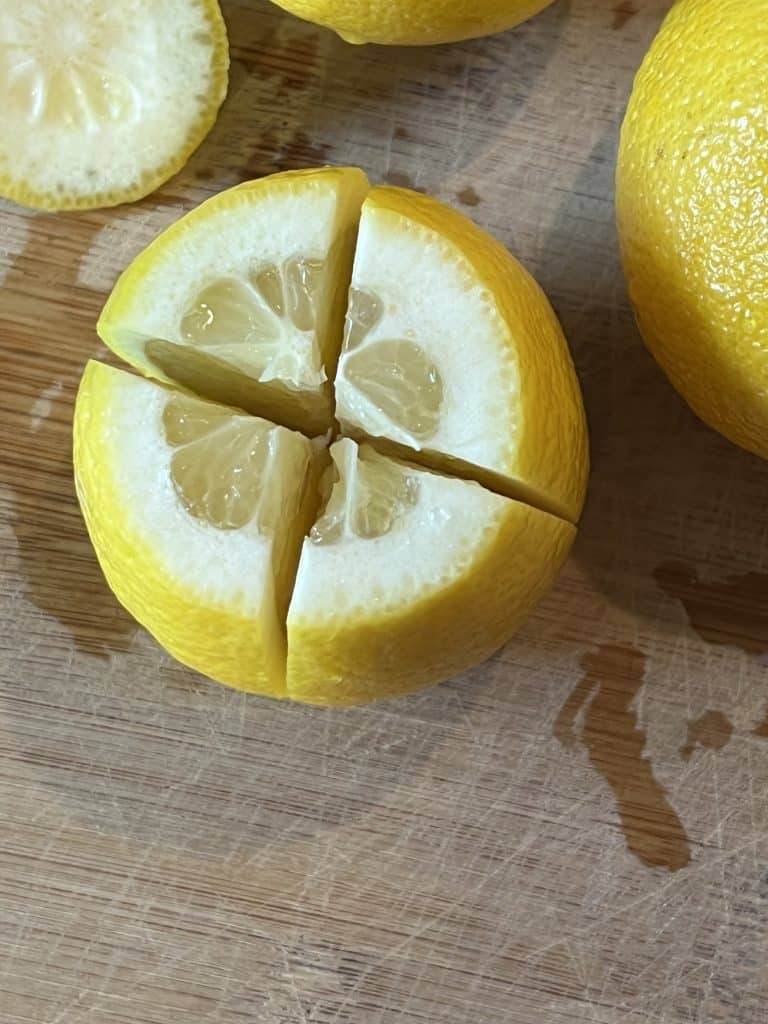
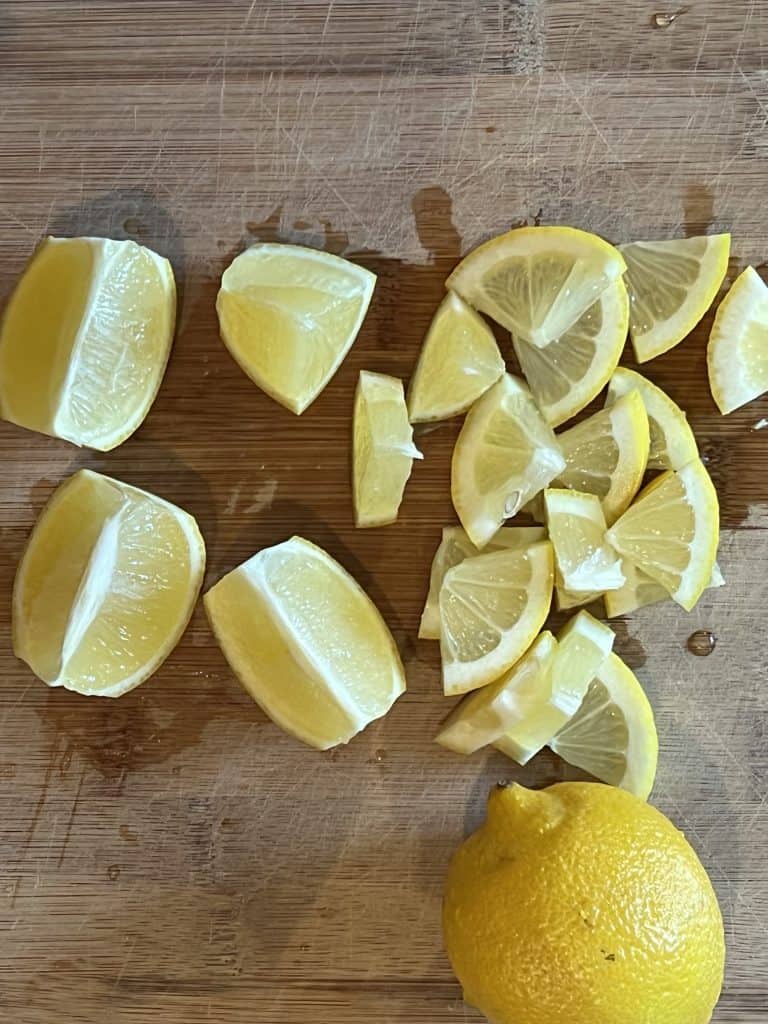
I personally like to cut mine up much smaller as it makes them both easier to use, and faster to preserve. I start the same way, cutting the ends off, and then I cut the lemon into quarters going clear through the fruit so I have four separate quarters. Doing it like this will allow you to stuff a lot more fruit into your jars.
You’ll also want a few extra lemons (regardless of the way you cut them) to juice as the lemons themselves will be preserved in a salty lemon brine.
Putting it all together
Making preserved lemons is a very quick process. It’s just a couple of steps.
First, sterilize the jar(s) you plan on using. I like canning jars, but many people use jars with hinged lids. The kind and size of jar you use doesn’t matter that much as long as it’s glass and you can secure a tight-fitting lid on it.
Next, wash your lemons by scrubbing them thoroughly. I like to place them in a bowl with water and Lemon essential oil first, as lemon has tons of cleansing properties. Then I scrub them each with a vegetable brush and rinse them off well.
Once your lemons are clean and your jars are sterilized, cut the lemons up in your preferred way. Remember to save some lemons to juice.
You’ll be layering salt and lemons/lemon slices and packing them in as you go. Start with some salt in the bottom of your jar.
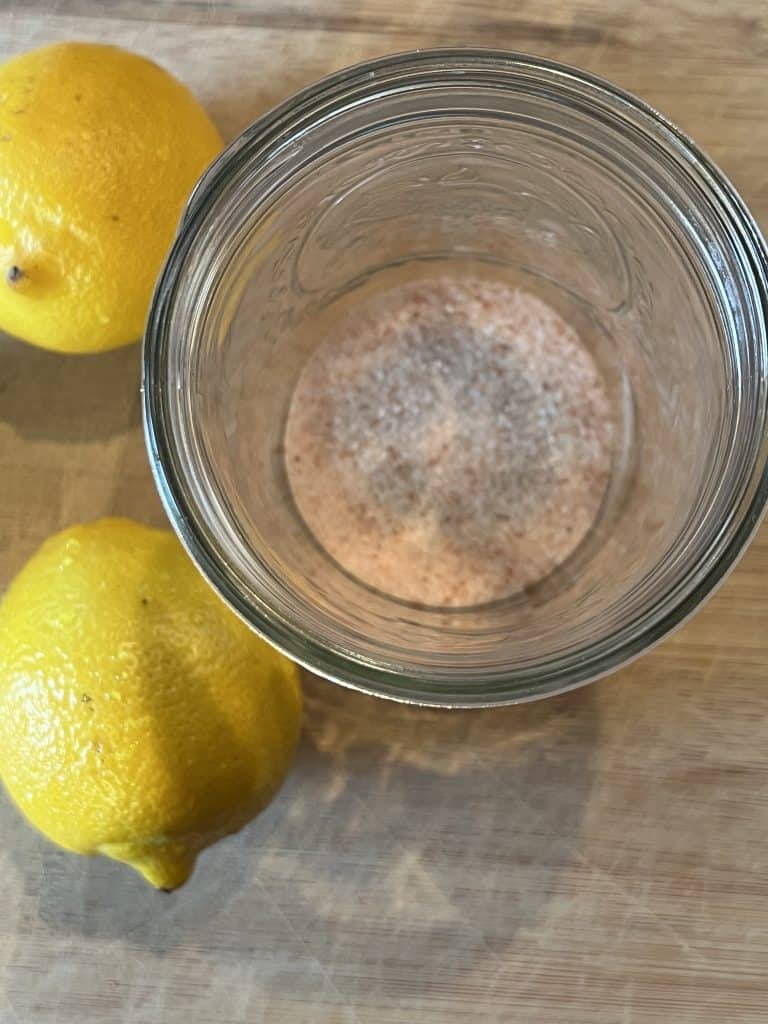
Next, add a layer of lemons/lemon slices. Add more salt. Then another layer of lemons. Then more salt. Keep alternating this way, stopping to squish things down from time to time, until the jar is nearly full. (A fermenting weight helps with the packing down if you have one handy.) Gauge about 1 tablespoon of salt per lemon. Once the jar is fairly full and packed down, add a layer of salt to the top, and then fill the jar with lemon juice. (If you end up short on juice, you can substitute filtered water.)
You’ll want to keep the fruit submerged in the juice. That’s where a fermenting weight comes in handy again. You can use it to keep the fruit below the juice level.
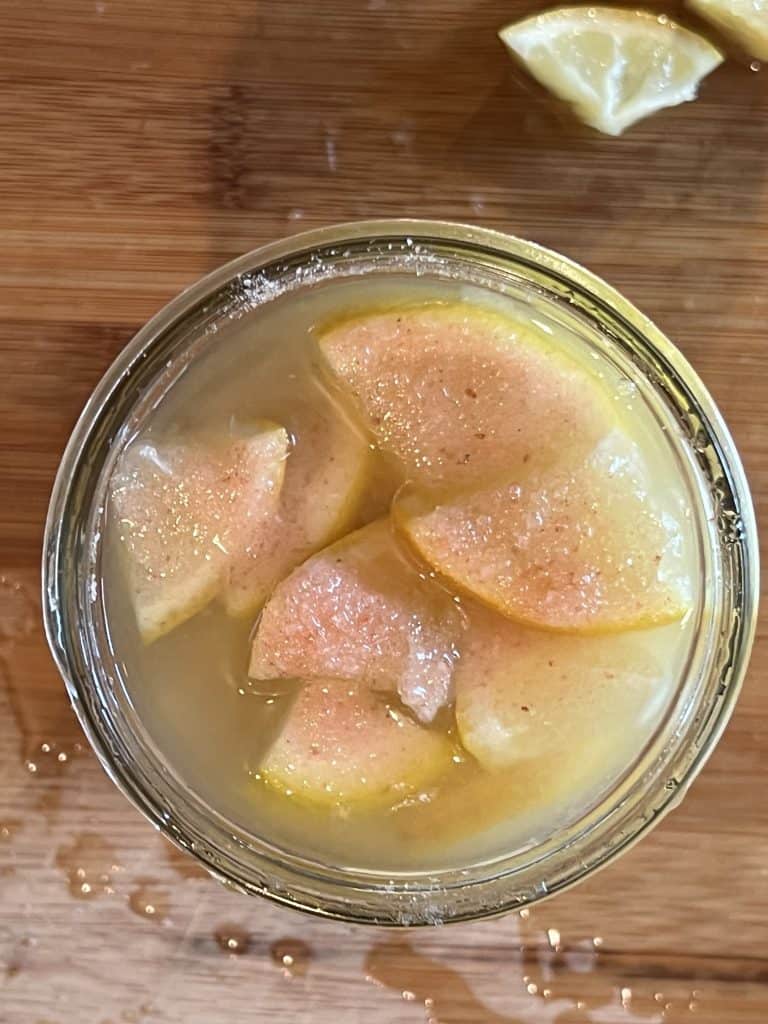
Once your jars are full, screw a lid on them and store them in a cool, dark place for about a month. You’ll want to shake them up often (daily, if possible) during this time to keep the salt and juices circulating.
Preserved lemons recipe variations
Wanna switch it up a little? You can! First, you don’t even need lemons! You can use limes. My very favorite is using Meyer Lemons (a cross between lemons and mandarin orange).
You can also use herbs and spices. Simply tuck them into the layers as you go along. Some additions could include things like: whole peppercorns, hot peppers, turmeric, cumin, rosemary, garlic, olive oil, or bay leaves.
When are preserved lemons ready to use?
You’ll be able to tell when the preserved lemons are ready. They’ll have less yellow, more translucent color and look about them. The rinds will also be soft. Once they’ve reached this point, they should be stored in the refrigerator and they can also be eaten.
Some people just use the rinds. They will put them from the jar, rinse off the salt, and cut up the rind for an amazing variety of recipes, discarding the pulp.
I personally love the pulp and use it all.
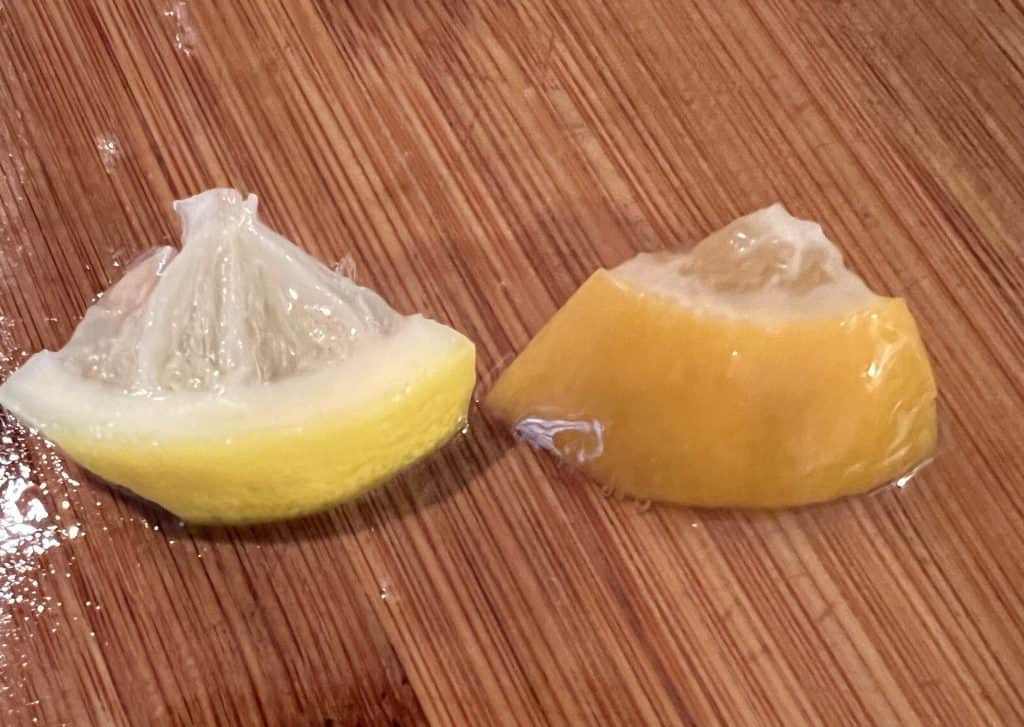
They’re ready to eat, now what?
There are so many things you can do with preserved lemons. The possibilities are endless. One of my favorite and easy things to do with them is to use them with leftovers. For example, a bowl of rice with leftover chicken, preserved lemons, and kalamata olives. Or add them to salads, salad dressings, and hummus.
You can add them to stews and marinades and I’ve even heard of people adding them to frosting and mixed drinks (like Bloody Marys).
Preserved lemons are popular with chicken and seafood dishes. Probably the most well-known preserved lemon dish is Chicken Tagine.
Even though you have to wait a month to eat them, they’re such a good staple in the kitchen, I can’t imagine not having them in my fridge. Try them out and see how much you can easily incorporate them into your food.
