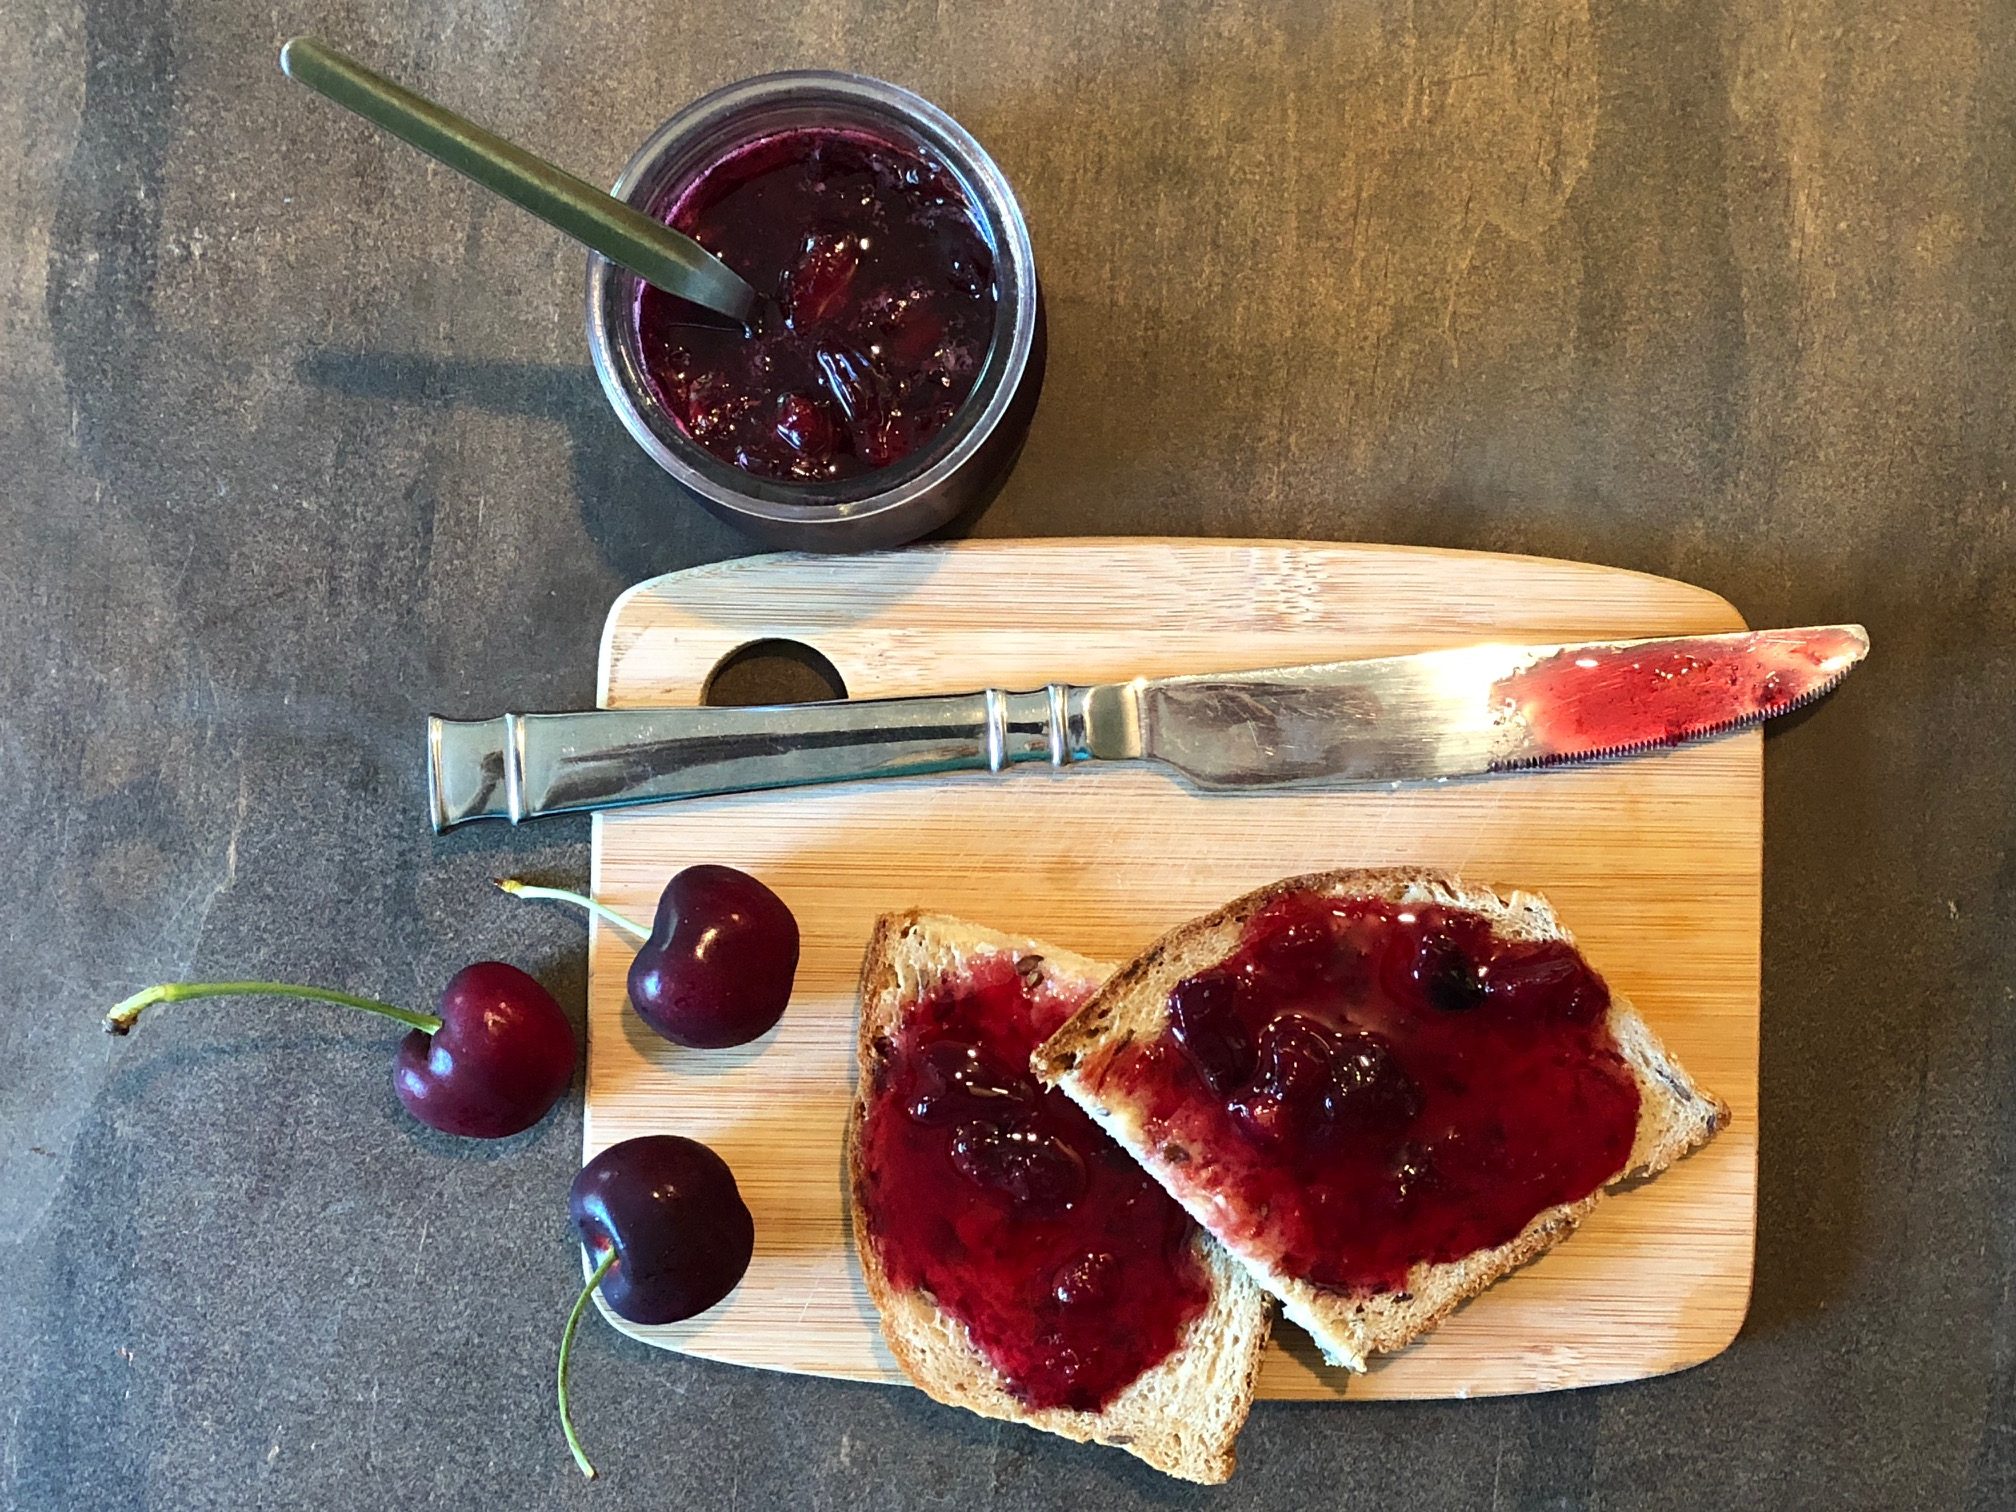
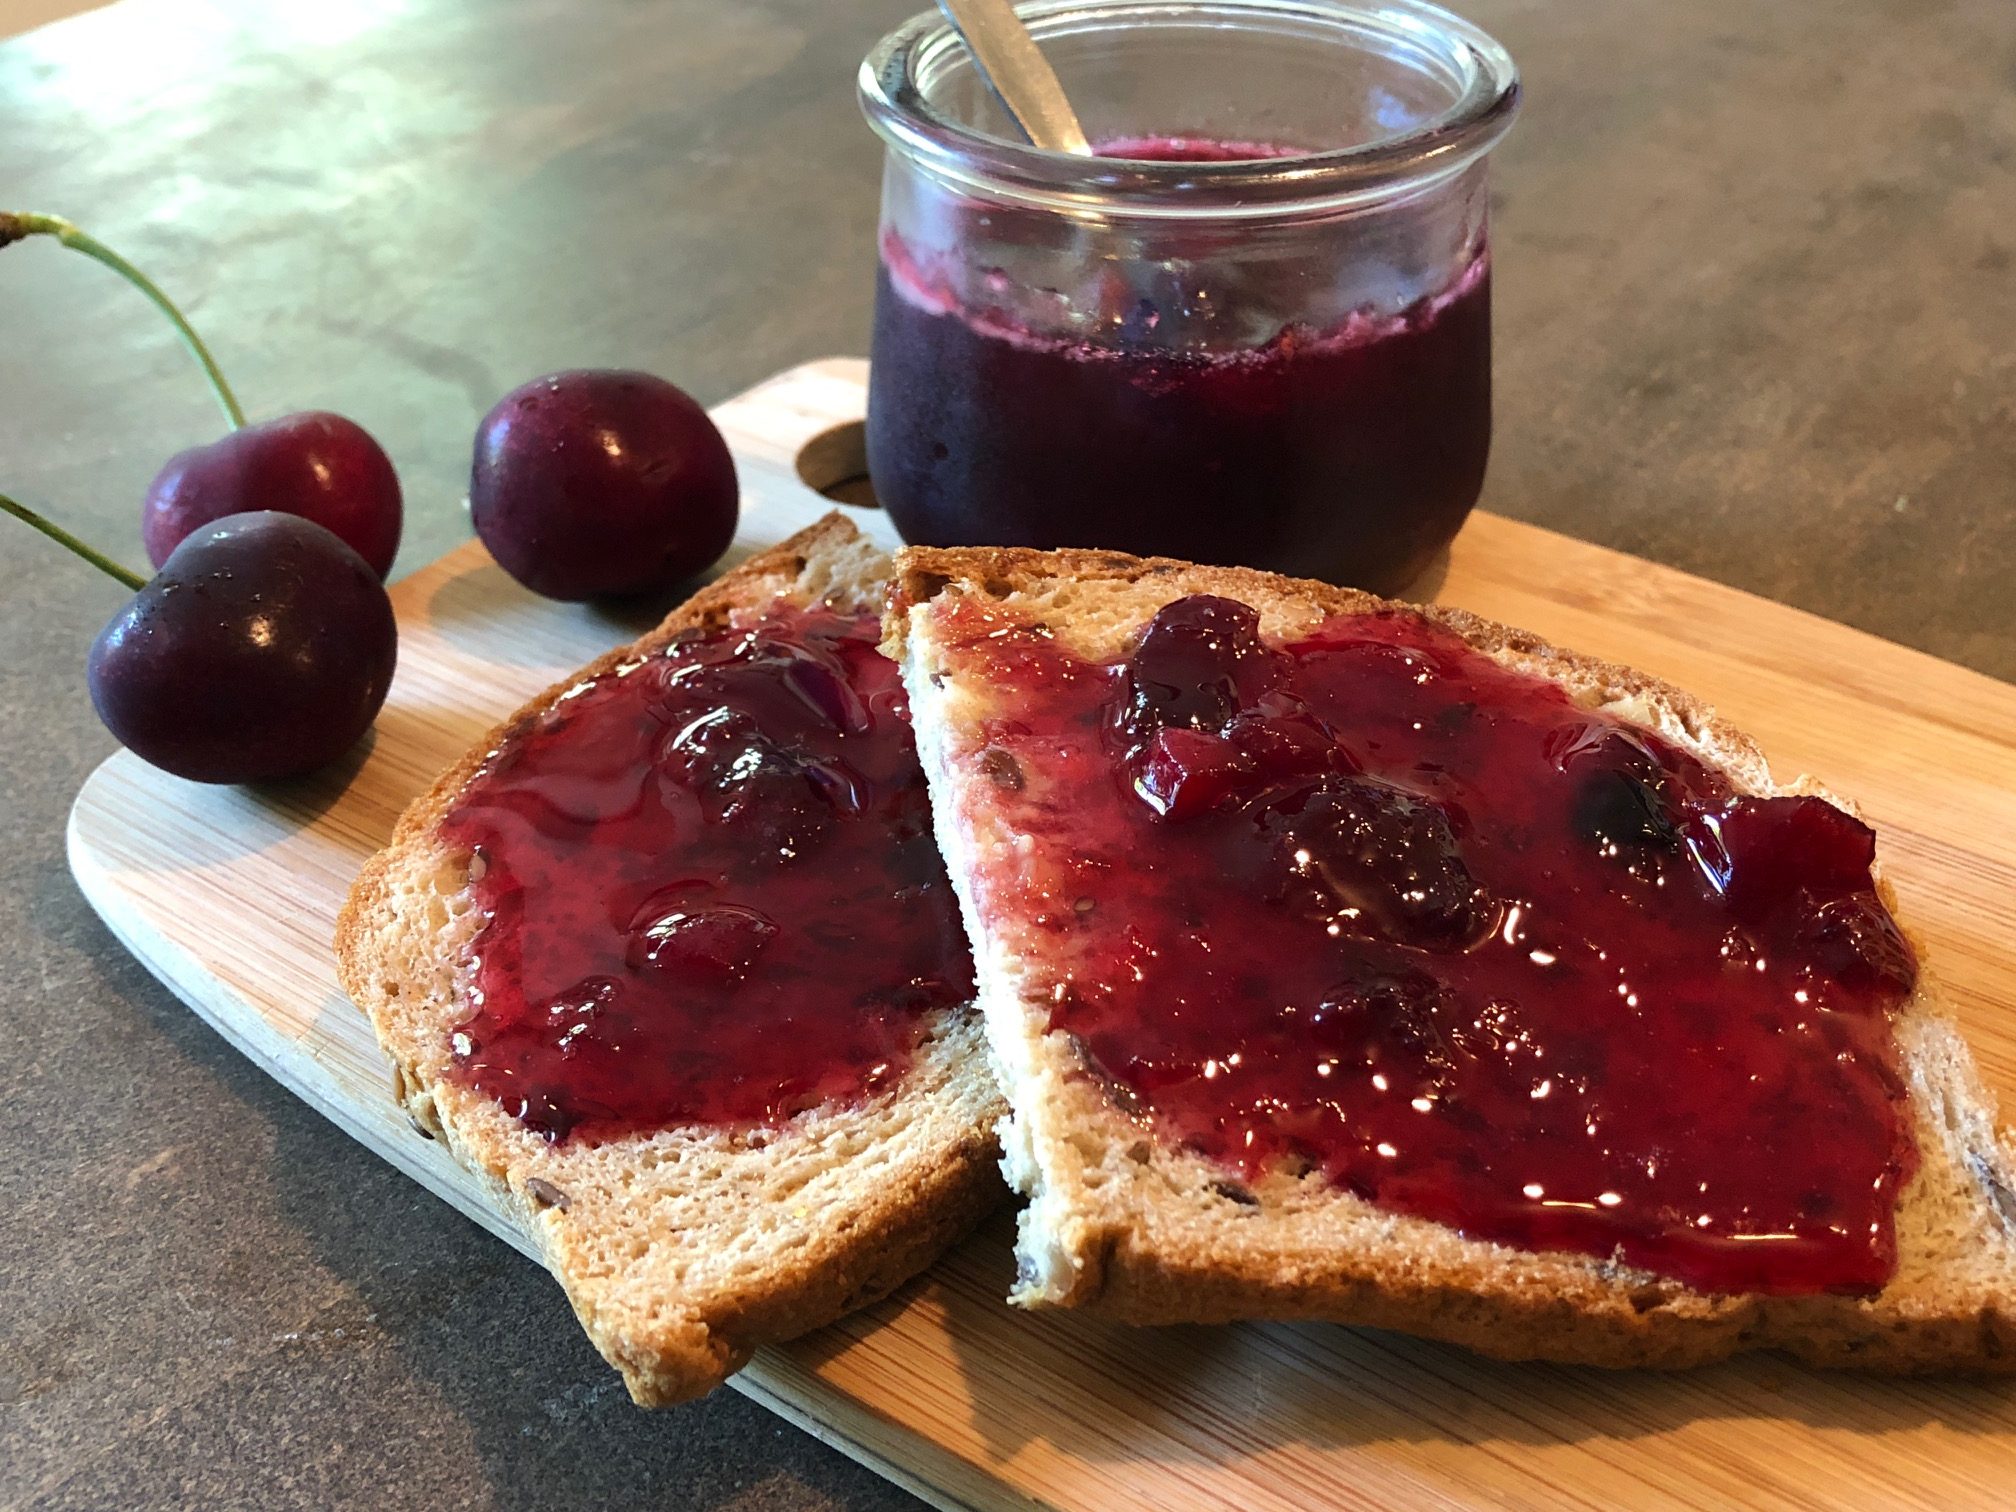
It’s cherry season! And while I love to stuff my face with fresh cherries, sometimes it’s good to preserve them, too. This fresh cherry marmalade is perfect. It’s ‘fancier’ than plain ol’ jam or jelly and has a great mix of cherry and orange flavors. This is the stuff you pull out for special guests and important occasions. Mmmm.
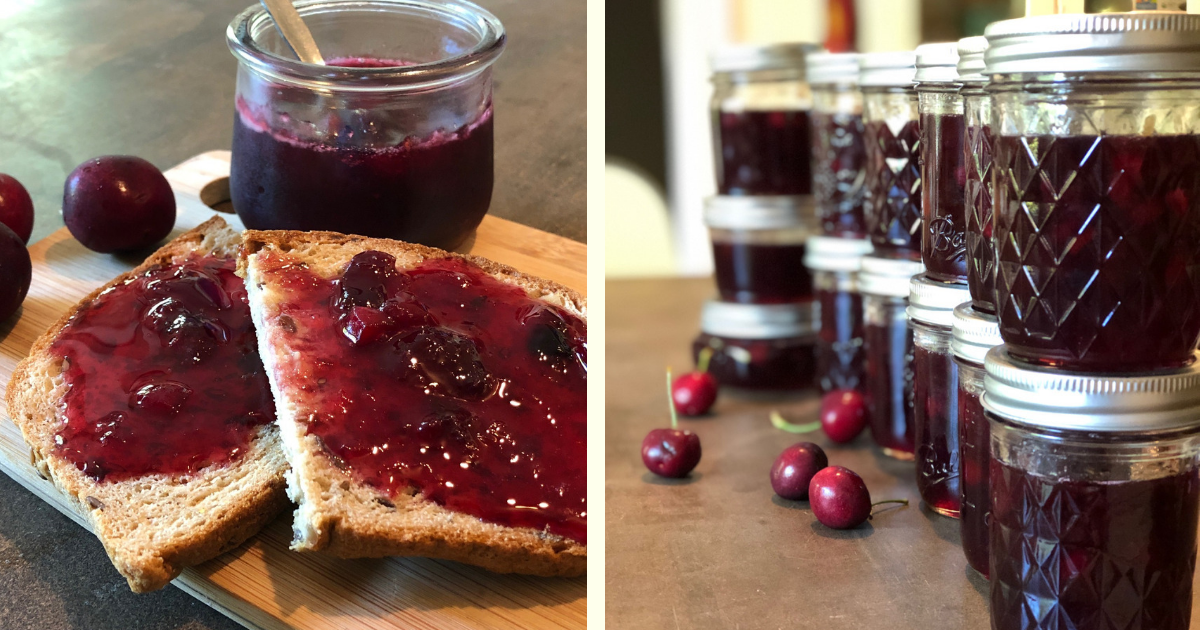
To be honest, I think marmalade is so-so. I mean, I’ve canned it before and I eat it from time to time, but I could take it or leave it. So why I decided to try this cherry marmalade is beyond me, but I am so glad I did. It’s fabulous. And it’s totally changed my mind about marmalade! This recipe is on my ‘must can’ list from now on.
If you like fresh cherries and you like oranges, chances are pretty high that you’ll also like this marmalade at least as much as I do. It’s also easy, with very few ingredients and tastes a bit elegant somehow, with a perfect blend of tart and sweet, cherry and orange. It’s good.
(By the way, if you’re not sure what marmalade even is, let me clear it up for you. It’s basically a jelly-like spread (or in this case it’s more like jam) that has citrus fruits and rinds mixed in.)
The recipe I used is from the Ball Complete Book of Home Preserving (400 delicious and creative recipes for today) Edited by Judi Kingry and Lauren Devine. If you don’t have the book, it’s a super great all-purpose canning book and I highly recommend it.
The recipe makes approximately four 8-ounce jars.
Fresh Cherry Marmalade Ingredients:
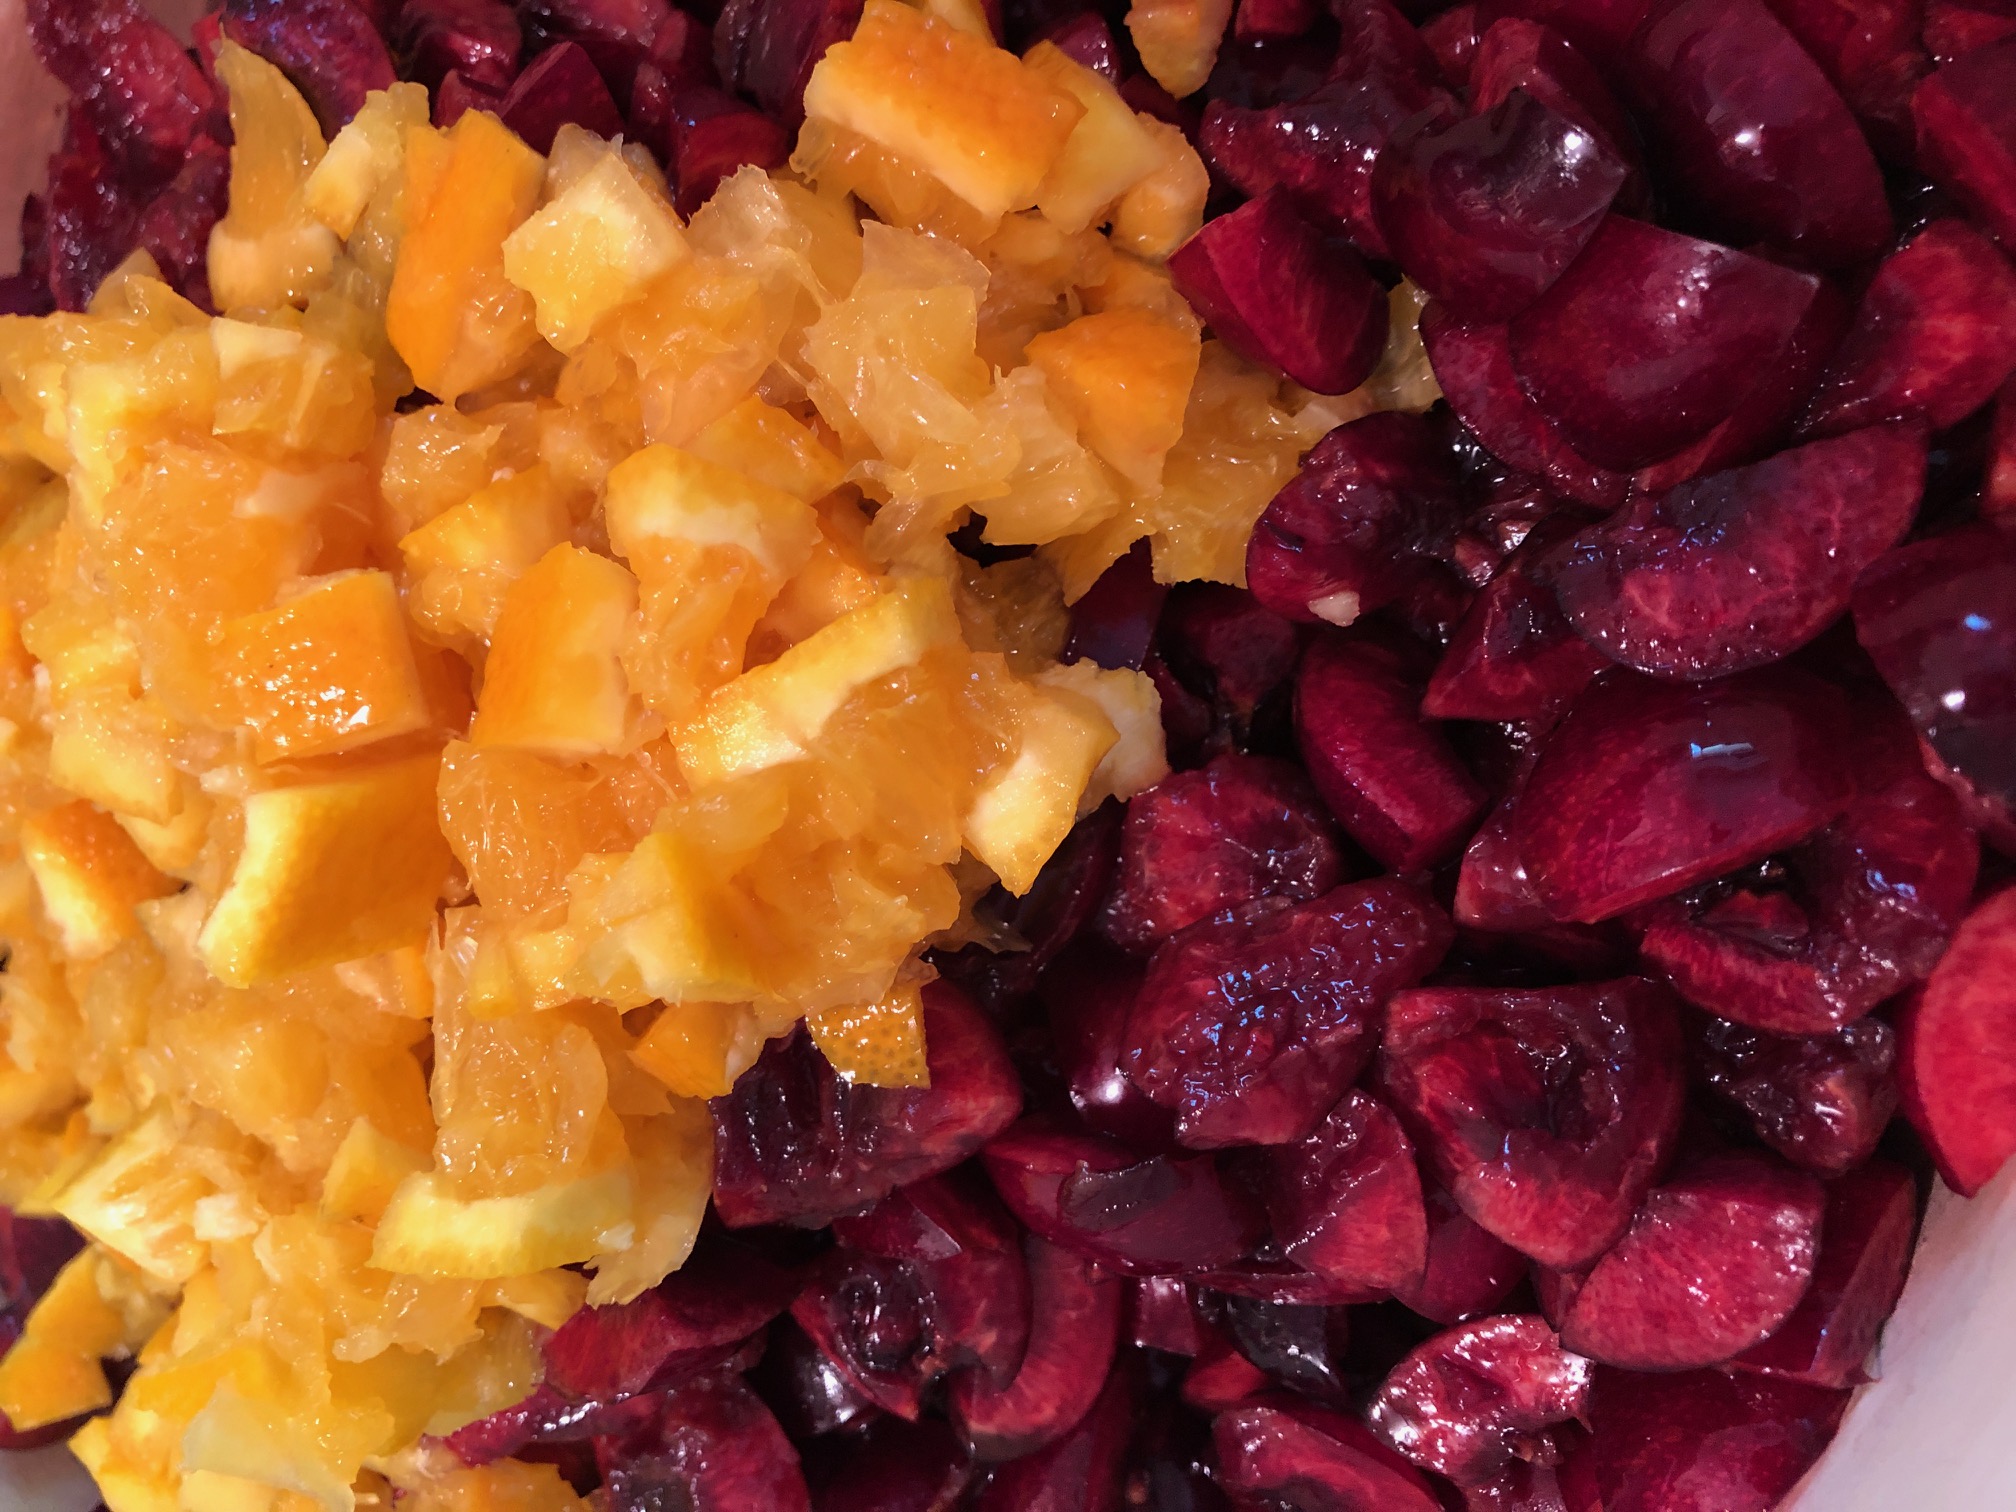
2/3 cup chopped, seeded orange (unpeeled)**
4 cups pitted sweet cherries**
4 tablespoons lemon juice
3.5 cups granulated sugar
See, hardly any ingredients at all!
How to Make Cherry Marmalade:
First, prepare your jars and lids (if you’re going to can this marmalade–which you don’t have to do–it’s a small batch and you could keep it in the fridge in a sealed container for a while.)
Next, using a non-reactive saucepan (a deep, fairly large one), combine the orange, cherries and lemon juice and bring to a boil over medium-high heat. Once it has reached boiling, turn the heat down, cover it and let it boil gently for around 20 minutes (or until the rinds are tender).
Keep the boil going as you slowly add the sugar, stirring it in a little at a time. Once combined, bring to a hard boil, stirring frequently. You’ll want to keep an eye on it because you don’t want to over-cook it (like I did with my first batch–because I was multitasking too many other things at the same time–and YES, I knew better!) BTW, overcooking still tastes yummy, but it gets really thick and hard to spread.

This recipe doesn’t use pectin to bring it to a gel stage, it uses boiling. You’ll want to boil and stir for approximately 30 minutes. At that point, test it to see if it’s setting properly. There are several ways you can do this and you can get great directions (and photos) here, from the National Center for Home Canning. (BTW, the National Center for Home Canning is a good site to bookmark if you plan on doing much canning. They’re a great resource.)
After you’ve reached gel stage, remove pan saucepan from heat, skim off foam and ladle into hot, sterile canning jars. The recipe makes around four 8-ounce jars, but you can also go smaller (or larger) if you want.
Make sure to remove the bubbles and leave 1/4 inch of headspace in the jar. Wipe the rim clean, center the lid on top, and screw the band down to fingertip tight.
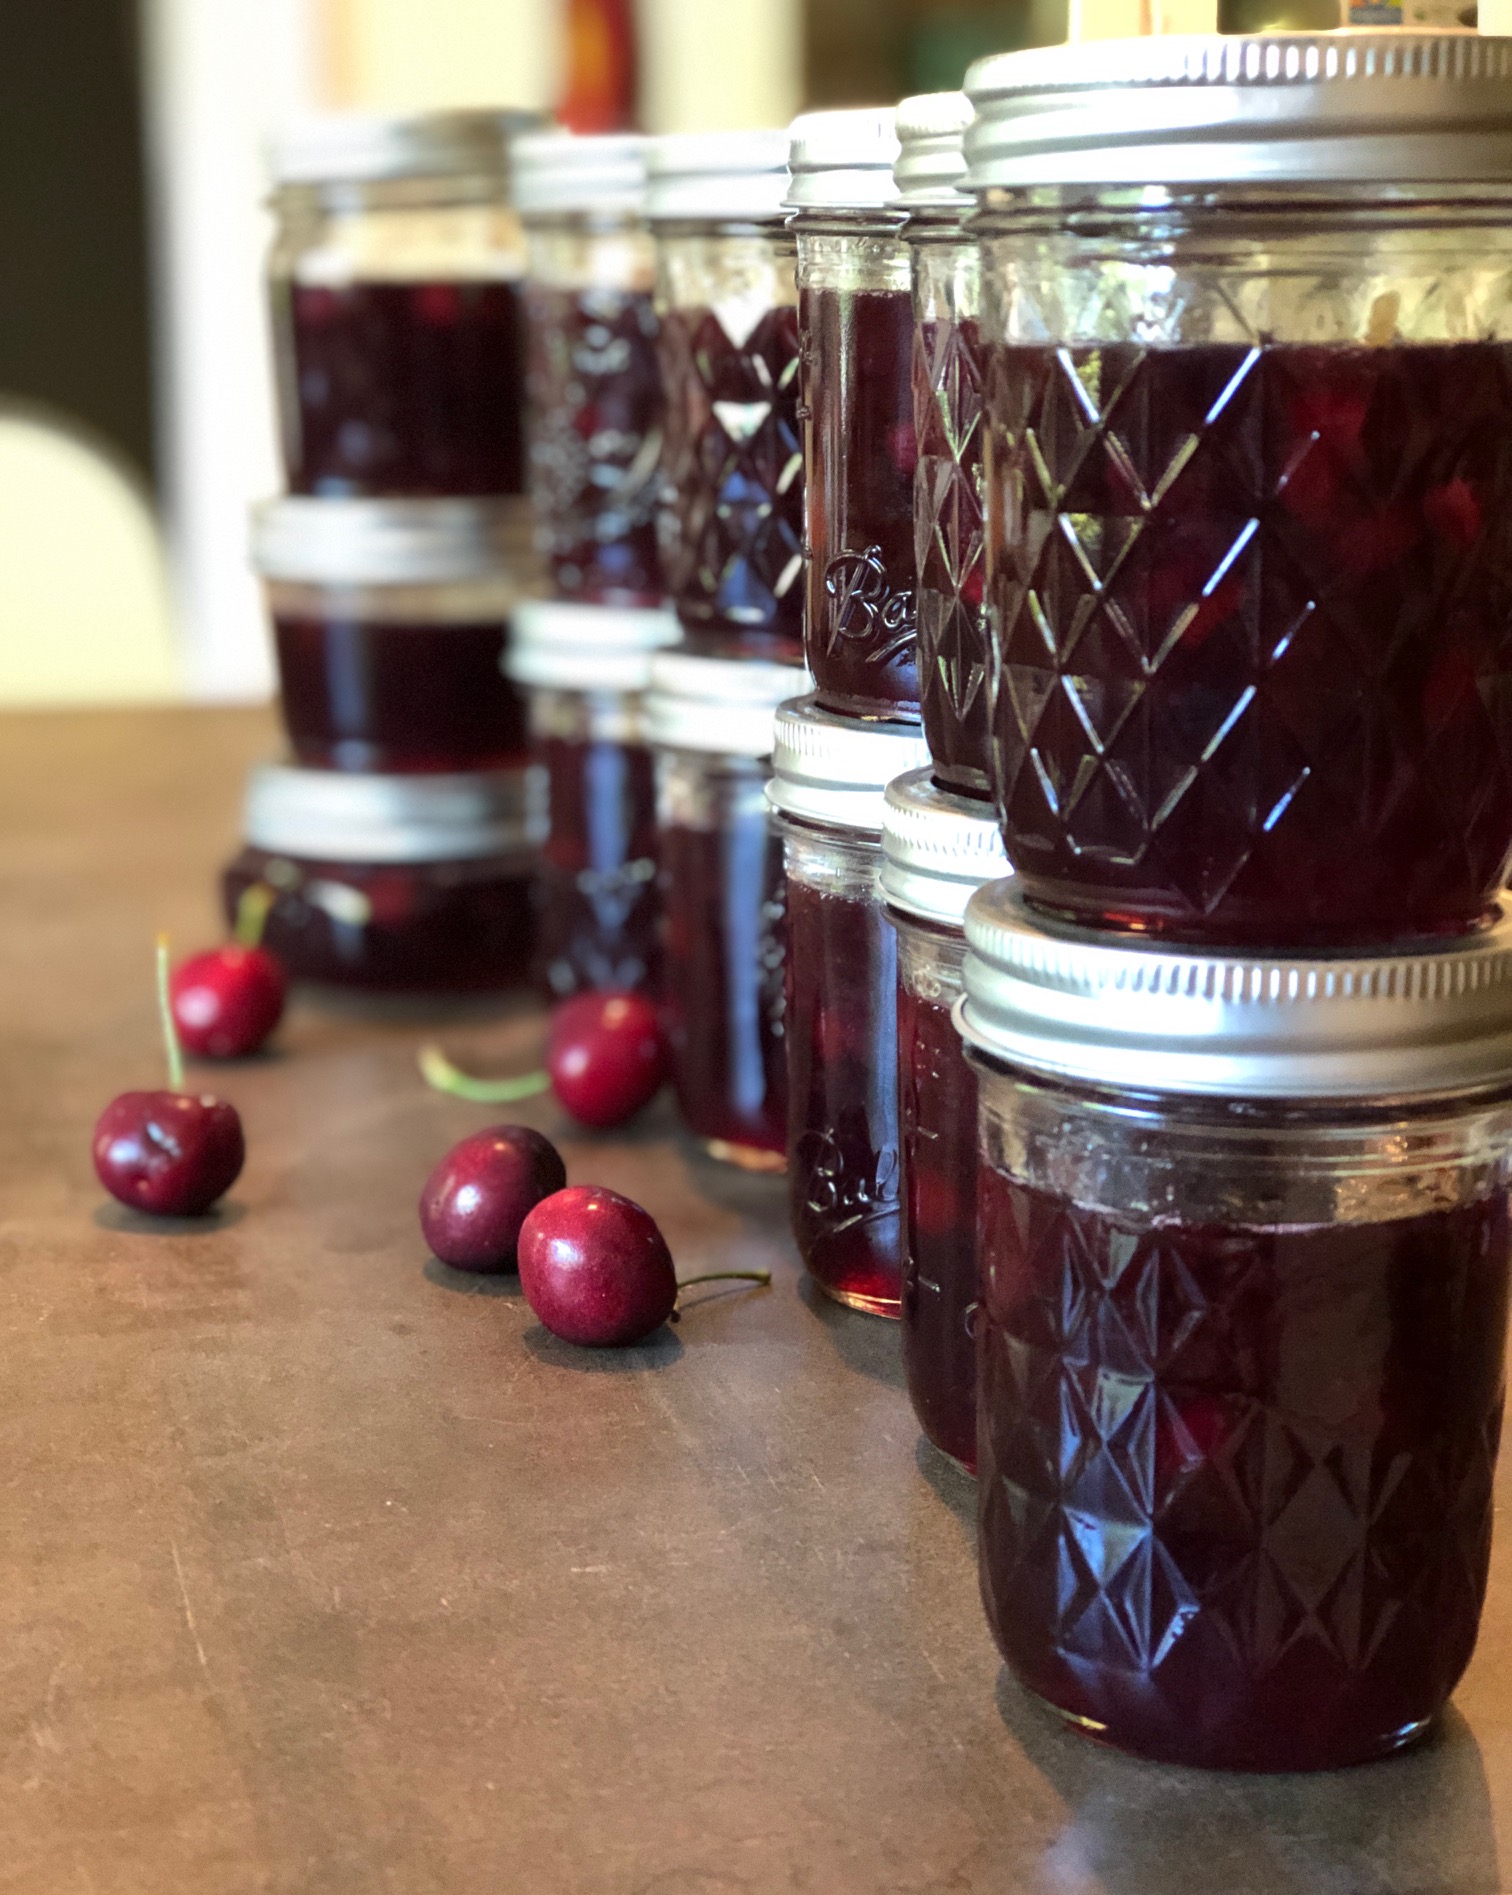
You’ll want to process these jars for 15 minutes in a water bath (see here for more information on water bath instructions). After that time, let sit for 5 minutes before removing them to a place you can keep them (without touching them) for 24 hours. (I usually set out a double thick dish towel on an out-of-the-way counter for this process.)
**What I Did Differently (the 2nd Time Around):**
First off, I am a strict adhere-er to canning recipes. I ALWAYS use safe recipes and I don’t switch things up (unless it’s stated that it’s safe to do so). I’m not advocating to go all freewheeling here or anything.
BUT. Without changing the ingredients, amounts or processing, the second batch I made, I chopped the cherries finer. The recipe doesn’t say what to do with the cherries (other than to pit them) so I just cut them in half the first time. The second batch, I cut in quarters. They could even go smaller, I think (they don’t break down as much as it seems they should when cooking them).
The other thing did the 2nd round was to zest the orange rind before chopping it all up. The recipe said to chop it up, rind and all, without zesting. I think the zesting is nicer in the overall product (and a typical marmalade recipe DOES have you zest the rind, or at least super finely chop it beforehand.)
But, even if you follow the above recipe to a T and don’t modify it like I just suggested, the taste is fantastic and I highly recommend you trying it out.
The sweet thing about canning is that it will give you a taste of summer in the middle of winter and that right there is worth the effort.
Enjoy!
PS: Thank you, NW Cherry Growers for the best cherries I’ve had in my LIFE. For reals.
If you love cherries and missed my last refreshing and COLD cherry recipes, you’ll wanna check them out.
Also, you really gotta try this fresh cherry bourbon BBQ sauce recipe. Oh Yum!
PS This post contains affiliate links. If you click on the link and make a purchase, I may receive a few cents in return. This doesn’t cost you anything extra, but it does help me support my blogging efforts (and feed the chickens!). Thank you for your support.