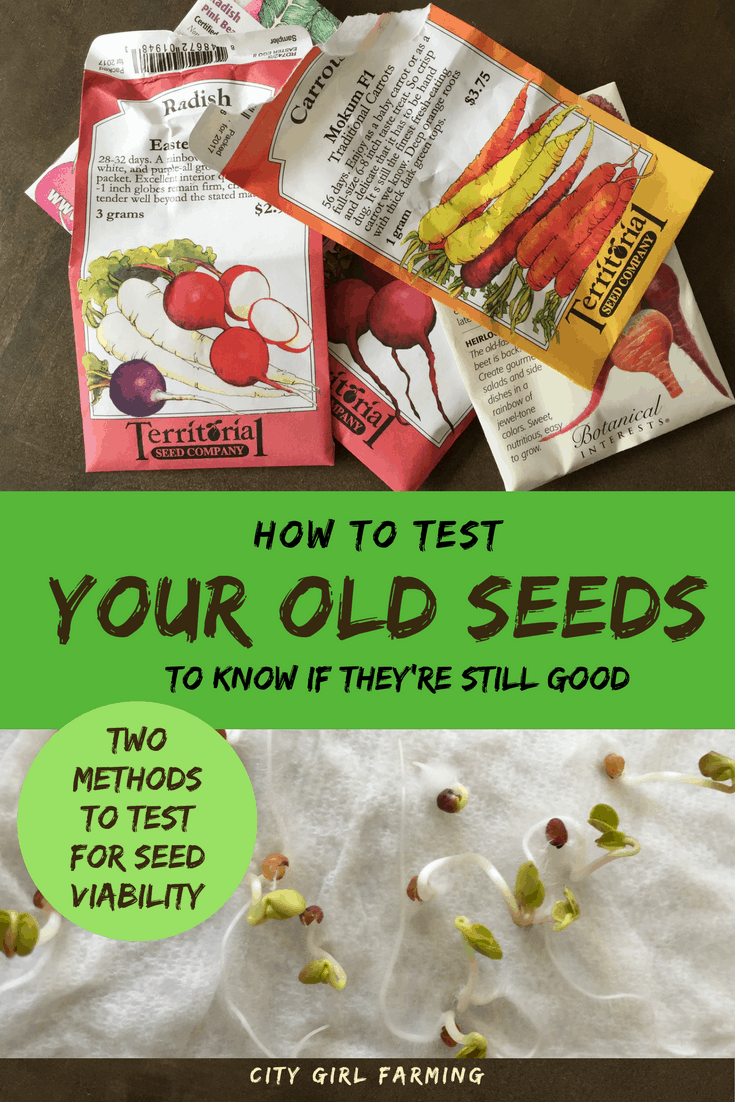
It’s probably safe to say anyone who plants a garden of any kind has leftover seeds from year to year. Are they safe to plant? Well, it’s a good idea to test old seeds for viability. While there have been seeds successfully planted that were hundreds of years old, some seeds might not be good for even one year. How do you know? Here’s TWO ways to test old seeds for viability and figure out what seeds are good BEFORE you plant them and all get disappointed by the number of plants that don’t sprout.
It only took one year of me planting old seeds and having less-than-happy results with it, to realize I needed a better way to tell if my seeds were still good. Yes, planting and waiting is a way to test old seeds for viability, but it’s a frustrating and time-consuming way. It also wastes precious growing season time and limits the harvest (while hogging up garden space). Thankfully, there ARE ways to help better ensure the seeds you plant are good. I’ll show you two of them.
What is Seed Viability Anyway?
At the basic level, each seed contains a ‘baby’ that will one day (under the right conditions) grow into a full-fledged plant like it’s mama (?). If a seed is still viable, it means that the ‘baby’ inside the seed is still alive. (I hope no botanist kinds of folks read this explanation or they will be cringing!)
Seed viability requires proper conditions to help keep the baby alive…like cool, dry storage. Improper storage can kill the seed…even a seed type that generally is known to stay viable for a number of years.
The problem with knowing if old seeds are still viable is that most of the time you can’t tell by looking at them. There ARE some vague guidelines about how long a seed generally is good for (by seed type), but even that is just an educated guess. (If you want to see a chart, check this out to get an idea (by seed type) of a general range of typical viability). But, even planting within the range of ‘save time’ doesn’t guarantee you’ve got viable seeds. You really don’t know 100% until you plant them.
BUT! You can give yourself a better idea by testing a few of them first.
How to Test Seeds for Viability
Thankfully testing seeds is an easy affair. Some people like to test them in the spring, when they’re getting ready to start their seeds so that the seeds they test can be planted. I prefer to test in the winter to get a good idea what to expect from my seeds AND, therefore, know what seeds to I will need to order. (And, to not waste seeds I test, I feed them to the chickens, or throw them into the compost.)
There are two basic ways that most people test for seeds for viability. One will take you 15 minutes and the other will require you waiting a week to 10 days (or so). Both are easy and take very little prep time.
It’s probably a given that you will have SOME seeds that don’t sprout, especially if your seeds aren’t brand new. That’s to be expected. Lots of people will plant their seeds if the viability test reveals they are at least 50% viable. You will have to decide which percentage you’re willing to stop at when you do your testing. And! Very important! (Unless you’re a math geek, which I AM NOT)….when you test your seeds, test TEN of one kind. Then you will know easily what percentage of your seeds are viable.
For example. You test 10 seeds and only 1 sprouts. That’s 10%. If 2 sprout it’s 20%, 5 sprout, 50% and so on.
Viability Test #1 (Water Test)
This first test is known to be less accurate (but much faster). It only takes 15 minutes to get your results. However, the results are sometimes iffy.
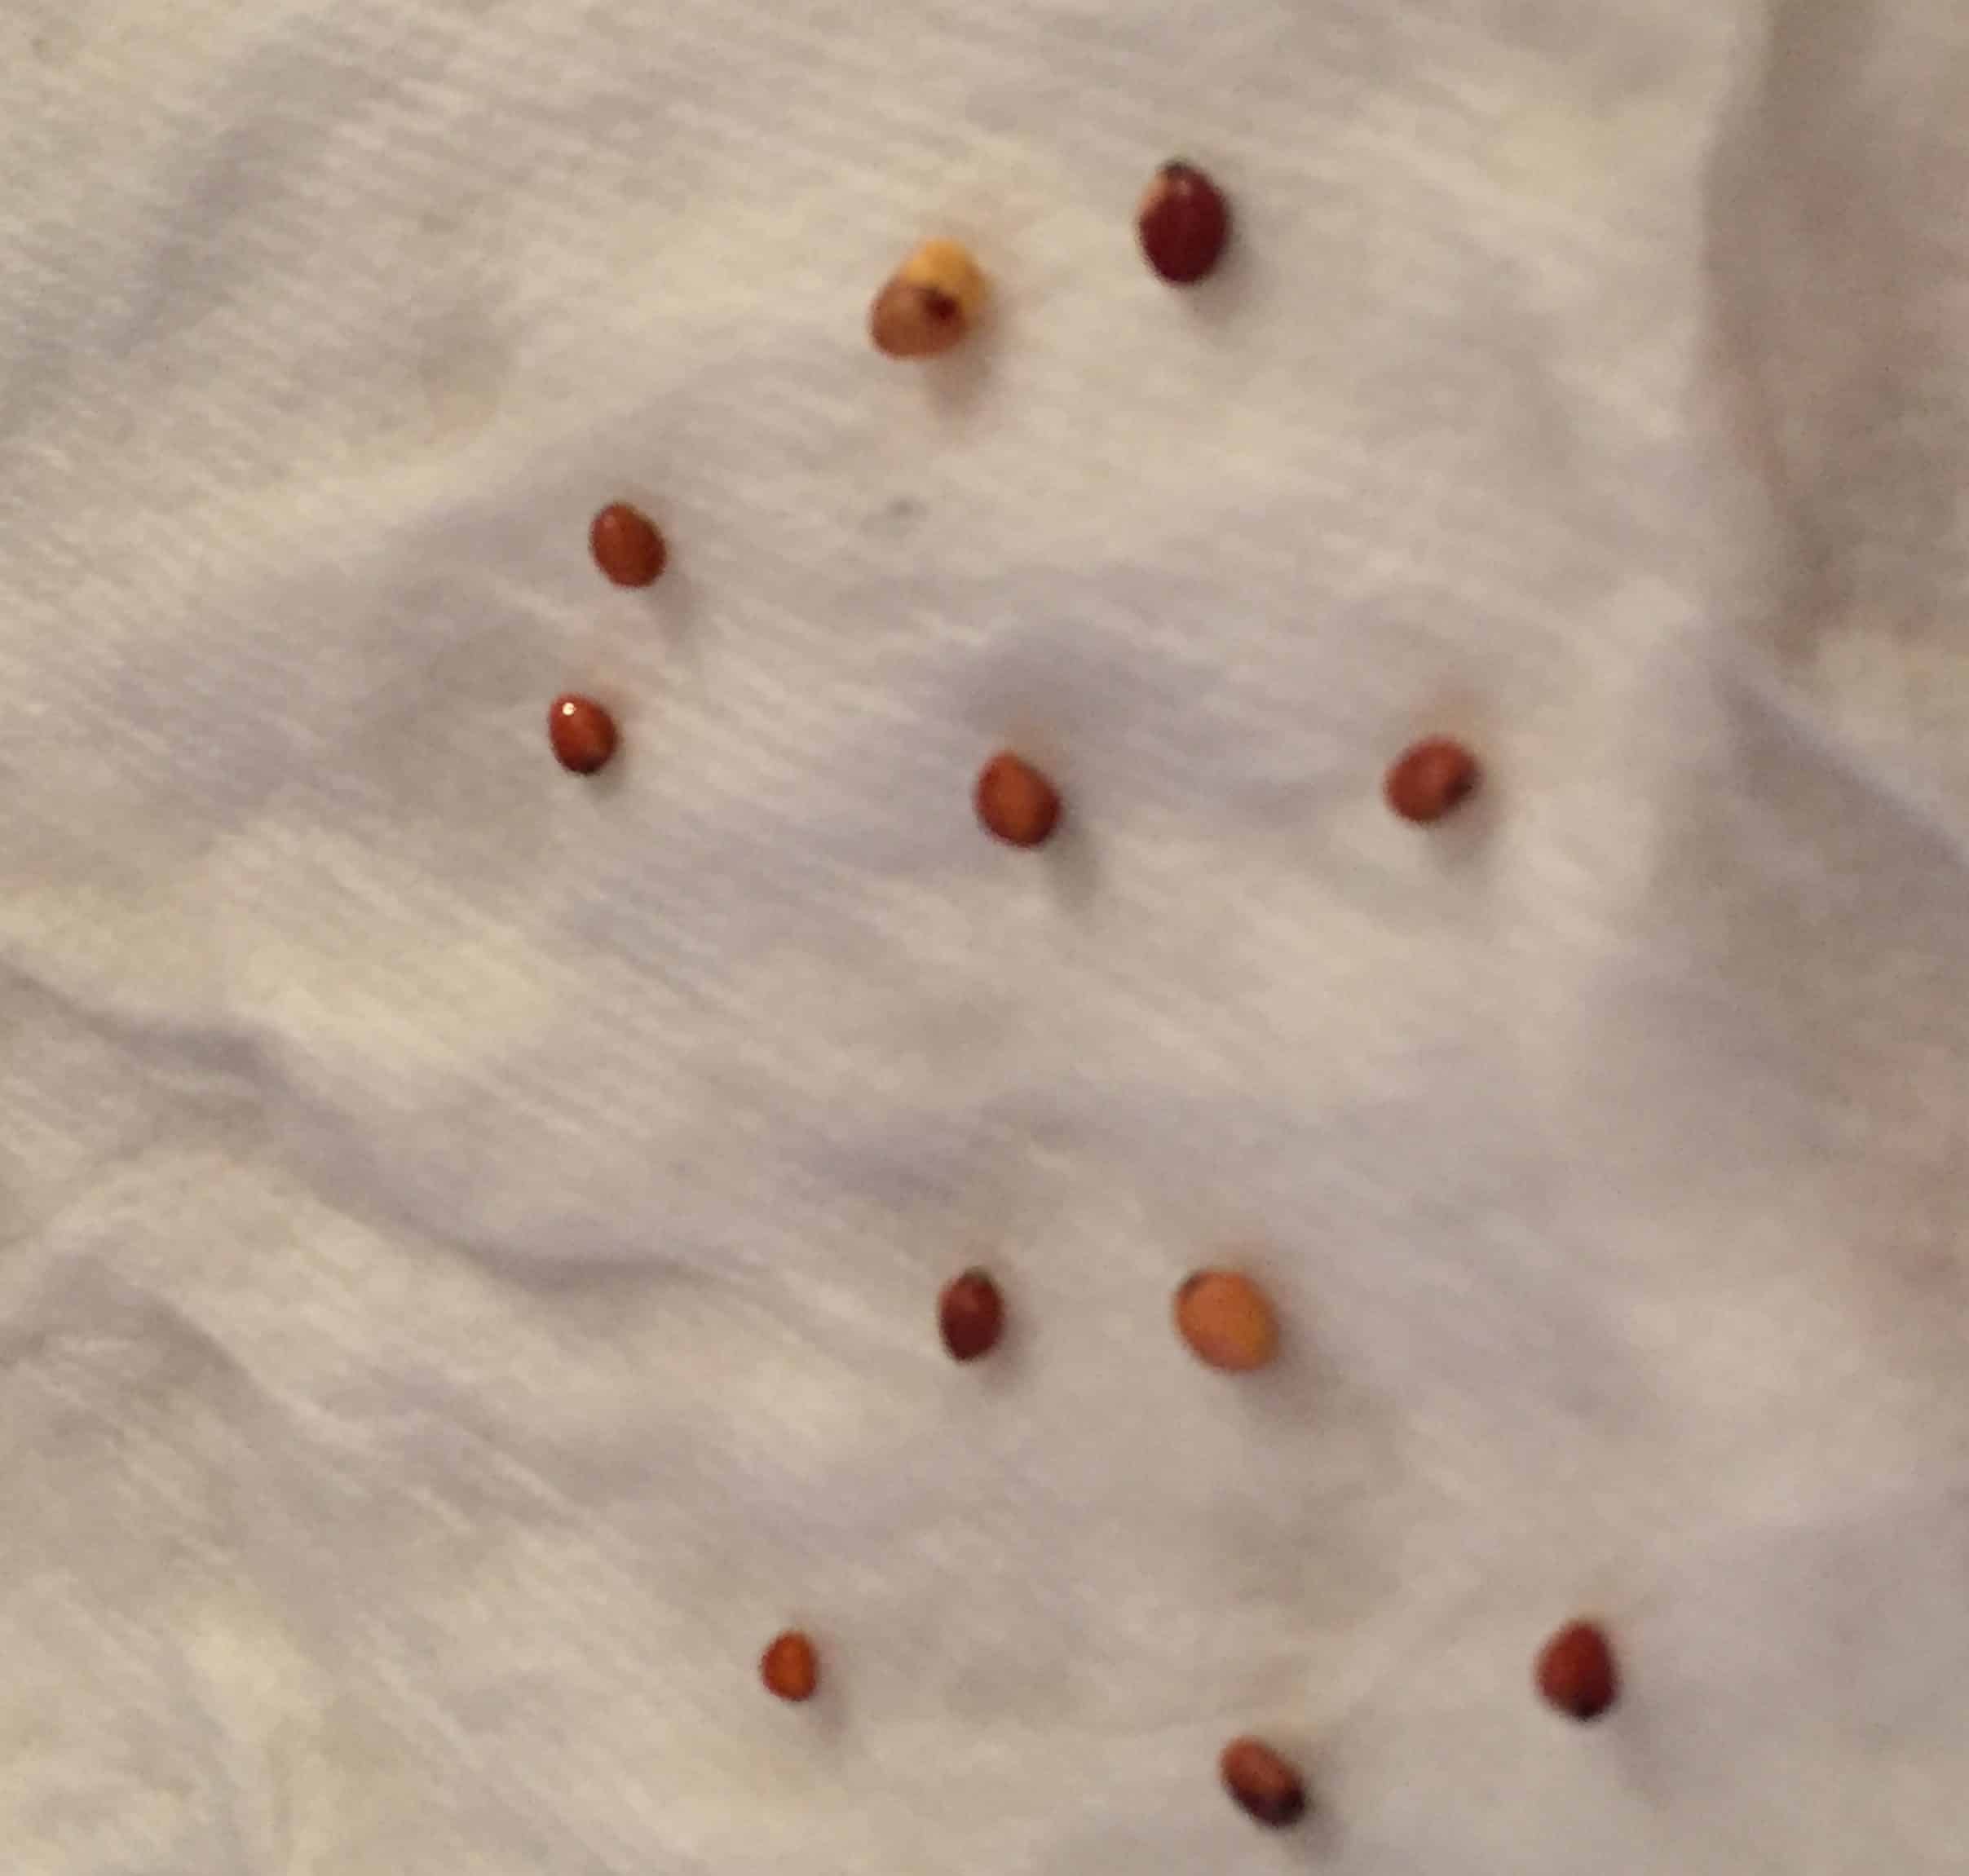
All you need to do for this test is to grab a glass of water and dump your 10 seeds into the glass. And wait for 15 minutes. If your seeds sink, they’re viable. If they float, they’re not.
I decided to test the reliability of this test by using the seeds for this first test in the 2nd test to see if the results were different.
For this first test, half of my seeds sunk to the bottom and half stayed floating on top. According to my results, my seeds had a 50% viability rate.

Viability Test #2 (Sprouting Test)
So. I took those 10 seeds, of which 50% flunked the viability test, and did this second test with them. This second test is the more popular test when testing for viability and is also known to have more reliable results. I wanted to see for myself what the differences, if any, would be.

For this test you’ll need some seeds, paper towels, zip-type plastic bags, a labeling system (if you’re doing a lot of seeds and don’t want to get them mixed up), a warm place and some time.
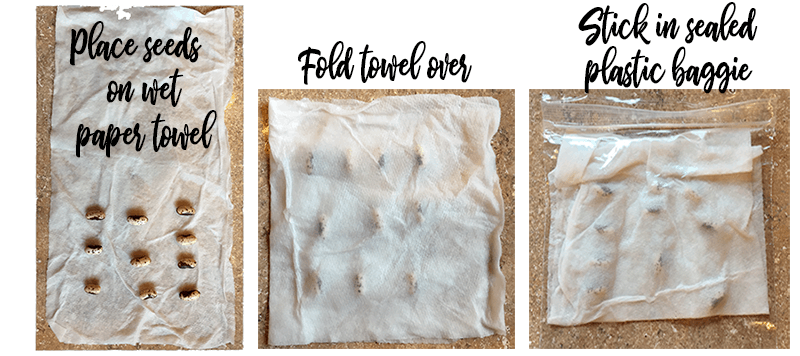
First, grab a paper towel and get it wet. You want it well soaked but not dripping.
Fold the paper towel down to just smaller than the width of the baggie you’re going to put it in (and twice as long). Line up your seeds on the paper towel and fold it over so that the seeds are covered on both sides with the wet towel.
Place the packet of seed-wrapped-paper-towel in a baggie and zip it closed.

Place it in a warm spot (I use the top of fridge because there isn’t any place in my house that is consistently warm in the winter as my wood stove is so small a fire in it won’t last all night).
Check it from time to time to make sure it’s not drying out. It needs moisture to sprout. Depending on the type of seeds you’re testing, this test should take 7 to 10 days, maybe a bit longer, and on occasion, less time.
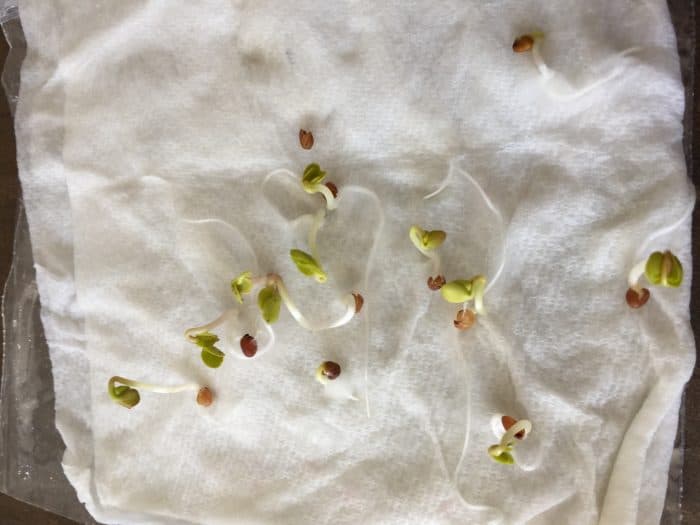
After they’ve sprouted, count the number that didn’t. That will give you the percentage of seeds that aren’t (theoretically) viable.
Viability Results
So. What about those seeds I had that tested 50% on the water test? Guess what? They sprouted 100% with this second test. That proved to me what I’ve heard before. The water test might give you an idea, but it’s a pretty flaky idea. The fact that on this particular test they were off by 50% seems like WAY too big a margin for me. I’m sticking with the sprouting test. And winter is a good time to spend sorting my good seeds (that pass the viability test) from my bad seeds so that I can have an amazing garden this coming summer!

PS You might also be interested in checking out this post on non-toxic gardening solutions to help you with your garden pest control.