 The idea of roasting my own sunflower seeds feels so nostalgic. I vaguely remember big sunflower heads drying in our shed when I was younger, but that’s where the memory ends. Did we roast them? I don’t remember. But I do remember a chronic swollen tongue from eating way too many seeds as a kid (from all the salt).
I’ve never roasted sunflower seeds as an adult even though I LOVE sunflowers growing in the garden. Every year, the sunflowers I plant just die off without me doing a thing to them. But this year I decided it was WAY past time to roast my own seeds. Waaaaay!
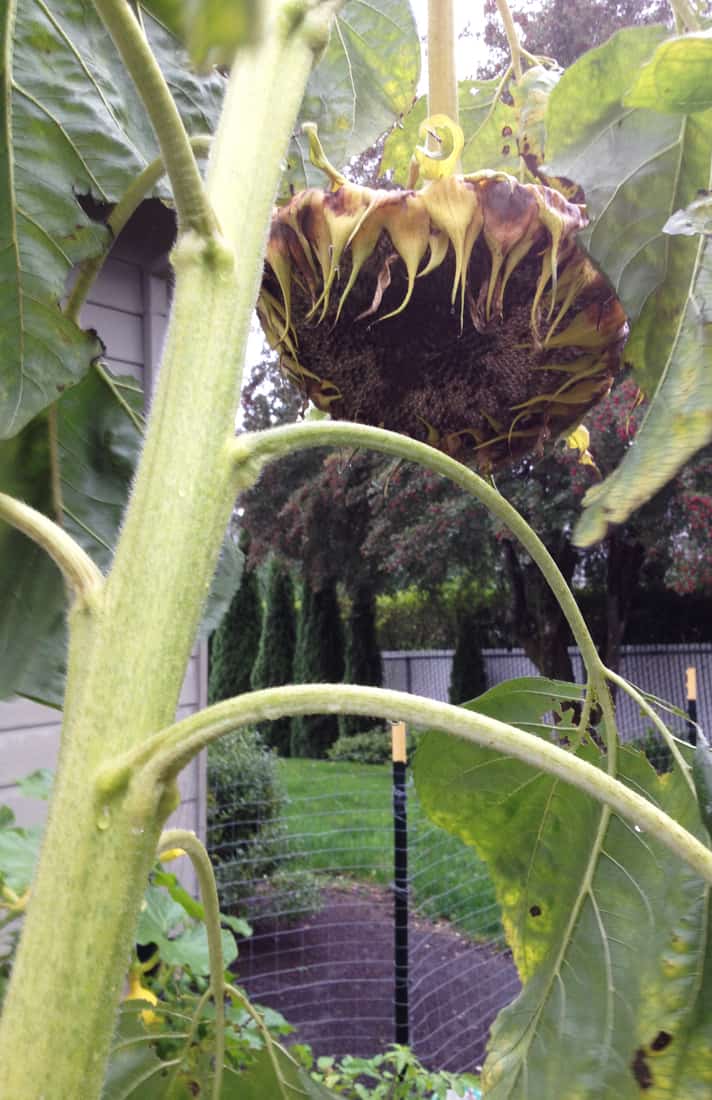
As I sat at my computer and researched, I looked out the window, longingly, over the fence at the neighbor’s massive Mammoth sunflowers, growing about 10 feet high, drooping in the rain. My neighbors are really awesome people and are also very busy. I wondered if they’d ‘lend’ me one of their sunflowers to experiment on (I planted 2 varieties of sunflower this year, but my initial reason was because I like looking at them and because bees like them. I wasn’t thinking of varieties that are best suited to roasting–which is to say, the bigger the better. Just like the ones growing next door.)
A quick text and my neighbor said I could have one of her sunflowers (I offered to roast them and give them back, just so I could have the experience of doing it, but she let me keep them! See, I told you they are nice people).
Roasting sunflower seeds, it turns out, is very easy. Unless you start second guessing everything like I did. I approached the process much more timid than I normally tackle kitchen experiments. Maybe this was because I felt an obligation to do right by the neighbor’s seeds. And, I only had one chance, since I only had one sunflower in my possession.
The advice I found about the process of seed roasting varied a bit–from soaking them overnight in a pot of salty water, to boiling them in the same. Because I’m one of those impatient types, I opted for boiling water. Why do overnight what you can accomplish in 20 minutes?
With clippers in hand, I set off (in a drenching downpour), to acquire a sunflower from the neighbor’s garden. I brought it home and gave it a couple days to dry out some. We were both pretty soggy.
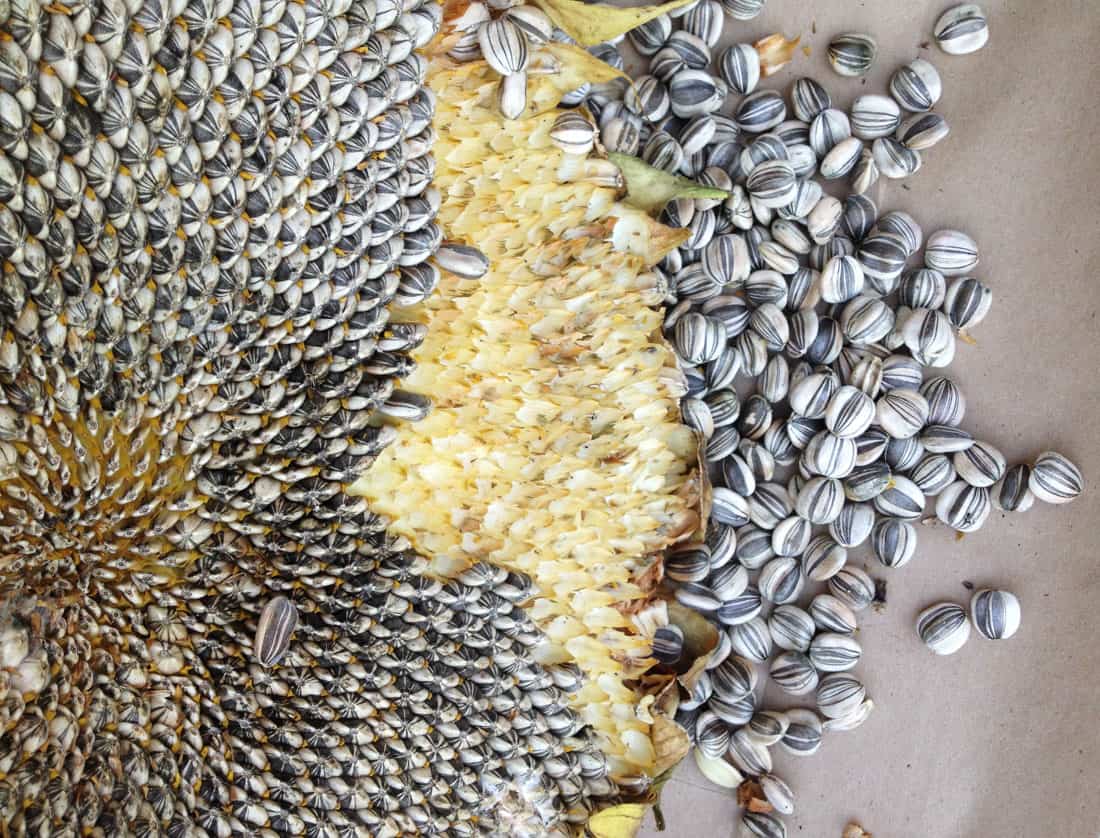
From there, I simply ‘rubbed’ the seeds out of the head of the sunflower. It was easy, and kind of like a cross between rubbing and pushing them out.
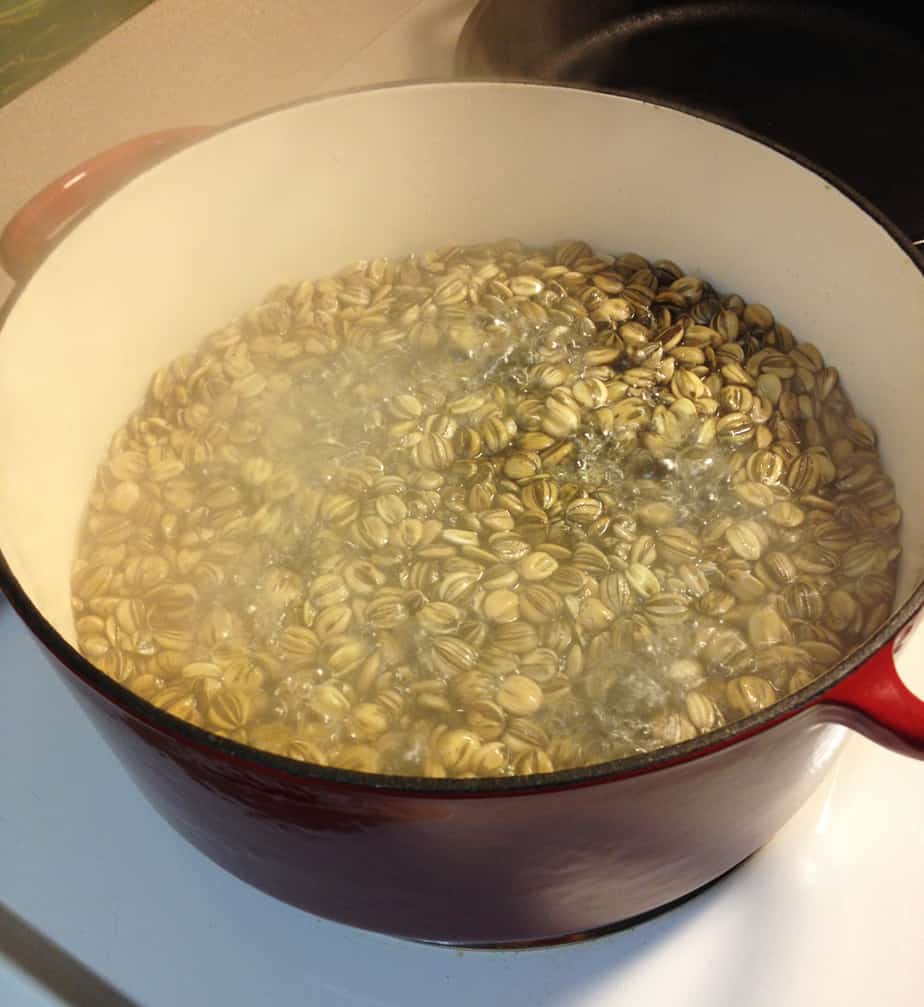
Next, into a pot of salt water to boil. Here’s where I had some of my first problems. Recipes I found generally said anywhere from 1/4 to 1/3 cup of salt per CUP of seeds or salt to taste. Being a non-salt kind of person, that seemed like a huge amount. I measured out the first 1/3 cup, but didn’t have the bravery to dump that whole thing in. When I stirred and tasted the water, however, it pretty much tasted like the ocean to me. Salty. Seemed good enough right there.
If you’re doing this, too, I just found a pot that worked for the amount of sunflower seeds I had (the Mammoth head I had yielded me about 3 cups of usable seeds). When adding salt, I guess you’re kind of on your own. I’m really not sure how you should do salt to taste, since you can’t really taste it until it’s done to know if you’ve used enough salt or not??
I didn’t use enough. More on that later.
The next step is to bring the water, salt and seeds to a boil. I can do that! They should boil and then simmer for, well, depends on where you read. Anywhere from 20 minutes to 1.5 hours. Again, being the impatient kind, I opted for the shorter end and simmered them for 30 minutes (I bet you thought I was going to say 20! I didn’t want to seem that impatient!)
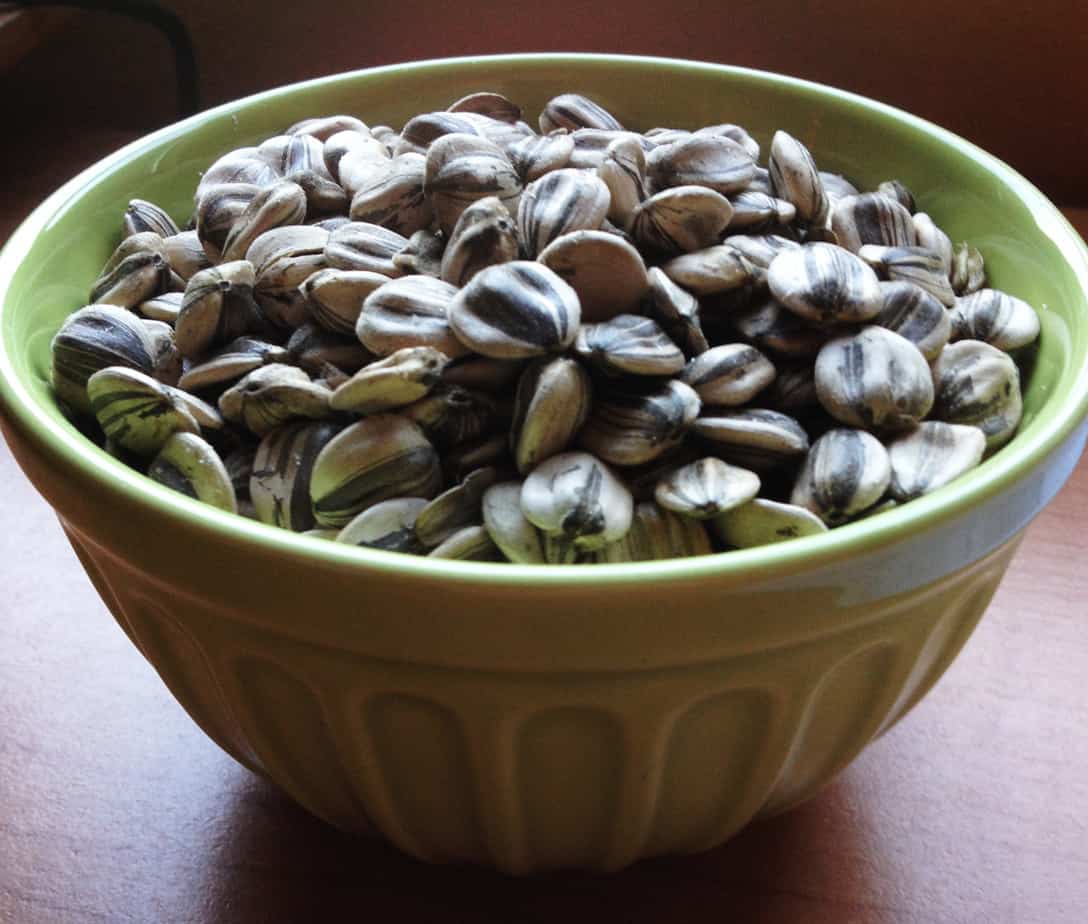
Next: drain the seeds (do not rinse or the salt will wash off). Some sites said dry the seeds (laying them on toweling, etc.) others didn’t mention that. So, you know what I chose? Yep. The quickest way: non-dried.
I threw them on a cookie sheet, spread the seeds out in a single layer and popped them into a preheated 400 degree oven. So far so good.
The next thing that ALL the sites said was to be very careful not to over roast the seeds. Start checking at 10 minutes and frequently from there to keep the seeds from over cooking and turning black inside.
I certainly didn’t want that.
Oh the stress of having borrowed seeds from the neighbor! I carefully monitored the seeds, tasting them every minute from about eight minutes onward. And pulled them out around 15 minutes. I wasn’t sure what I was looking for, except the absence of black seeds. My seeds, however, were not very salty, and not very crispy. (But maybe that was because they were still warm, I reasoned hopefully.)
Once the seeds cooled, I tasted them again. Not toasted enough. Not salty enough. Now what?
I thought about it for awhile (eating seeds as I pondered), and I talked to a friend about it for awhile. I finally decided to spread them back out on the cookie sheet in a single layer. Then I used an oil sprayer (like this) to lightly spritz them with olive oil. Then, I sprinkled on more salt, and a bit of dried rosemary. Back in the oven they went for another 10 or so minutes.
This time they were toasted just right. They’re definitely not as salty as the super high sodium commercial seeds you can buy, but they’re good–more fresh and better flavor. And the nice thing about less-salt is that I can eat them without my tongue swelling up. And, once I adjusted to the less salty version, I actually like them better.
Even though my paranoia caused me some issues, this truly is an easy process. And now that I’ve done this, I’m so going to plant some big sunflowers in the garden next year and experiment with seeds and flavoring!
If you’ve still got some sunflowers sadly hanging in the garden, I’d encourage you to try roasting your own seeds. GO FOR IT! Be bold and brave! This way we can all learn from my timidity!
Enjoy!
PS In interest of complete disclosure, the above link to Amazon is an affiliate link. This means if you click through and follow the link and make a purchase while you’re over there, I will get a few pennies.