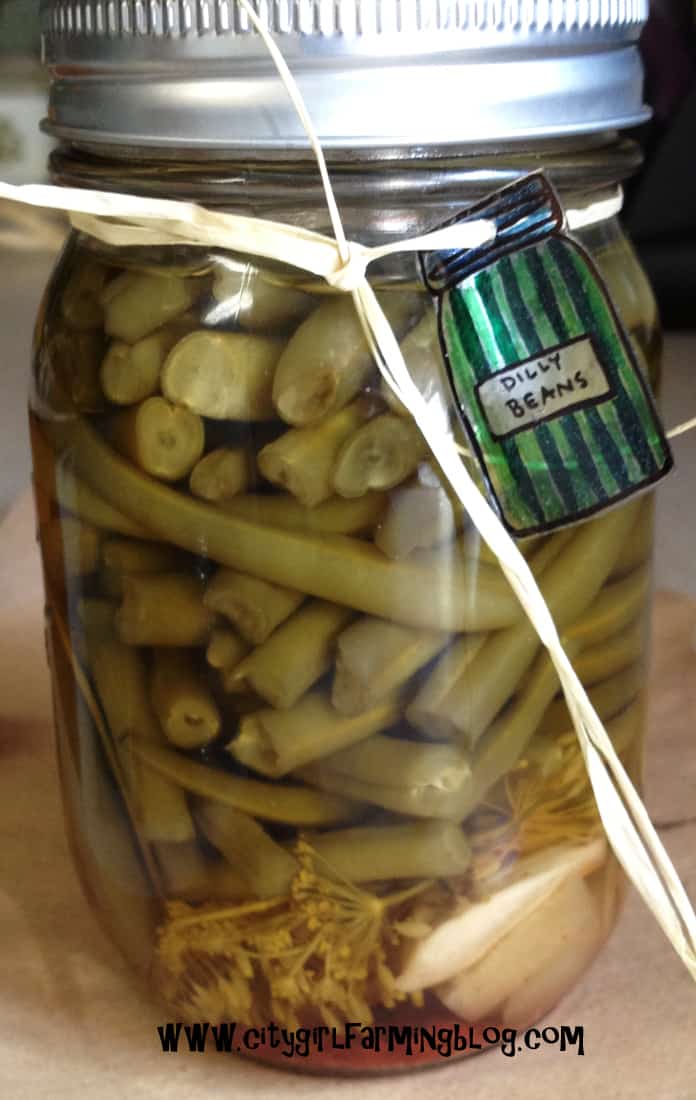
 We’re in the middle of canning season and I sometimes get sloppy with how I label my canned goods. If it’s for me, it doesn’t need to be pretty. But as I’m canning, I’m also thinking ahead about the jars I will use for gifts. For THOSE jars, I don’t want to just scrawl something across the lid with a Sharpie marker. I want something, well, different.
So, here’s some of the things that I did that I’m passing along to you. Complete with downloadable files. I hope you enjoy them.
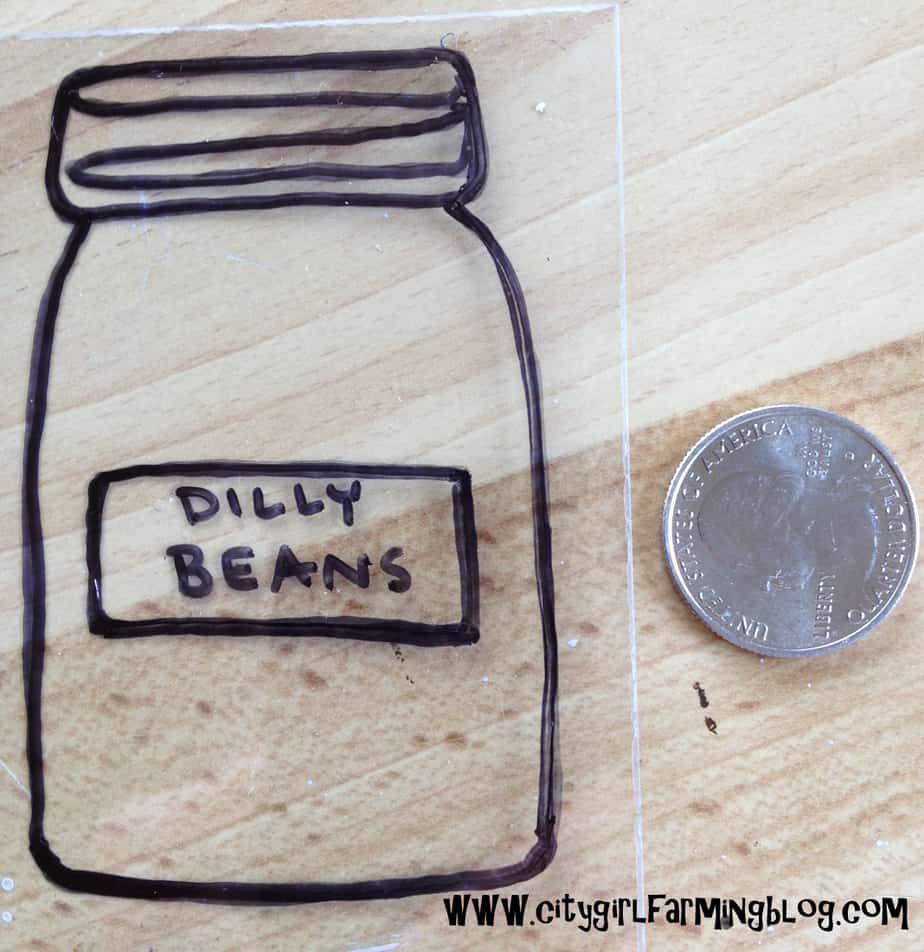
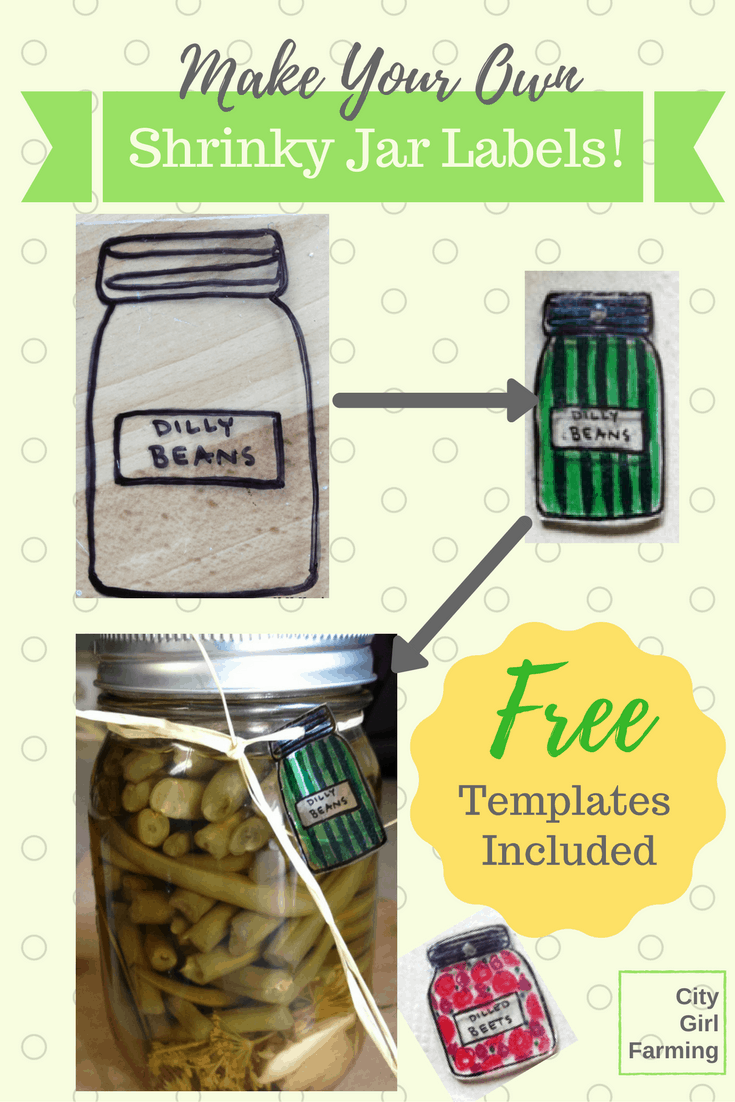
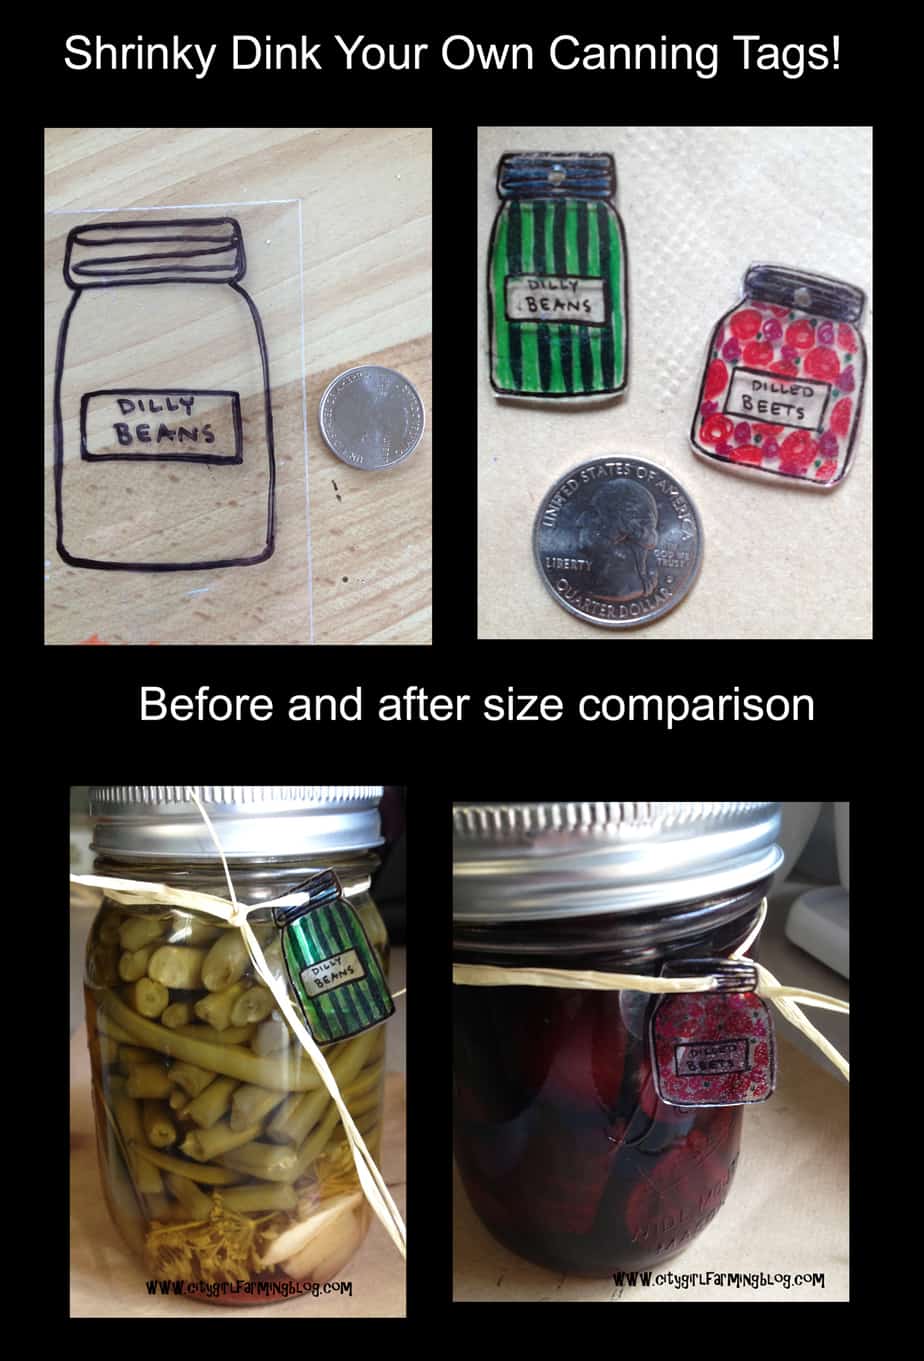
My favorite labels this year were the tiny canned jars I made with Shrinky Dink plastic sheets. Super easy, very unique, and a total throw back to my childhood. You can get plain sheets of Shrinky Dinks and draw your own designs on them, which is what I did. If you’d like the template for the jars I created, you can download it here.
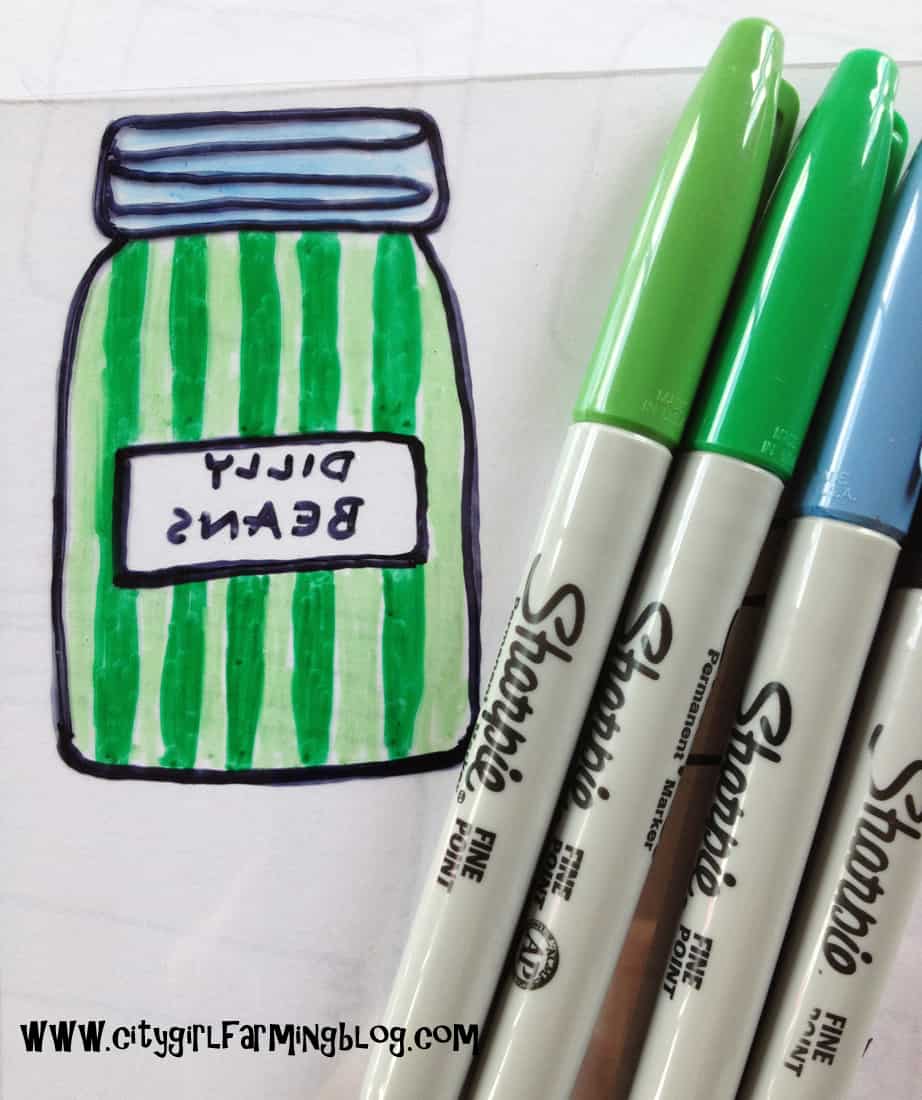
Simply put the design you want to trace under the Shrinky Dink sheet, trace it, and then turn it over to the other side and color it in. Sharpie markers work great for this. Then cut out the shape and punch a hole in it with a hole punch.
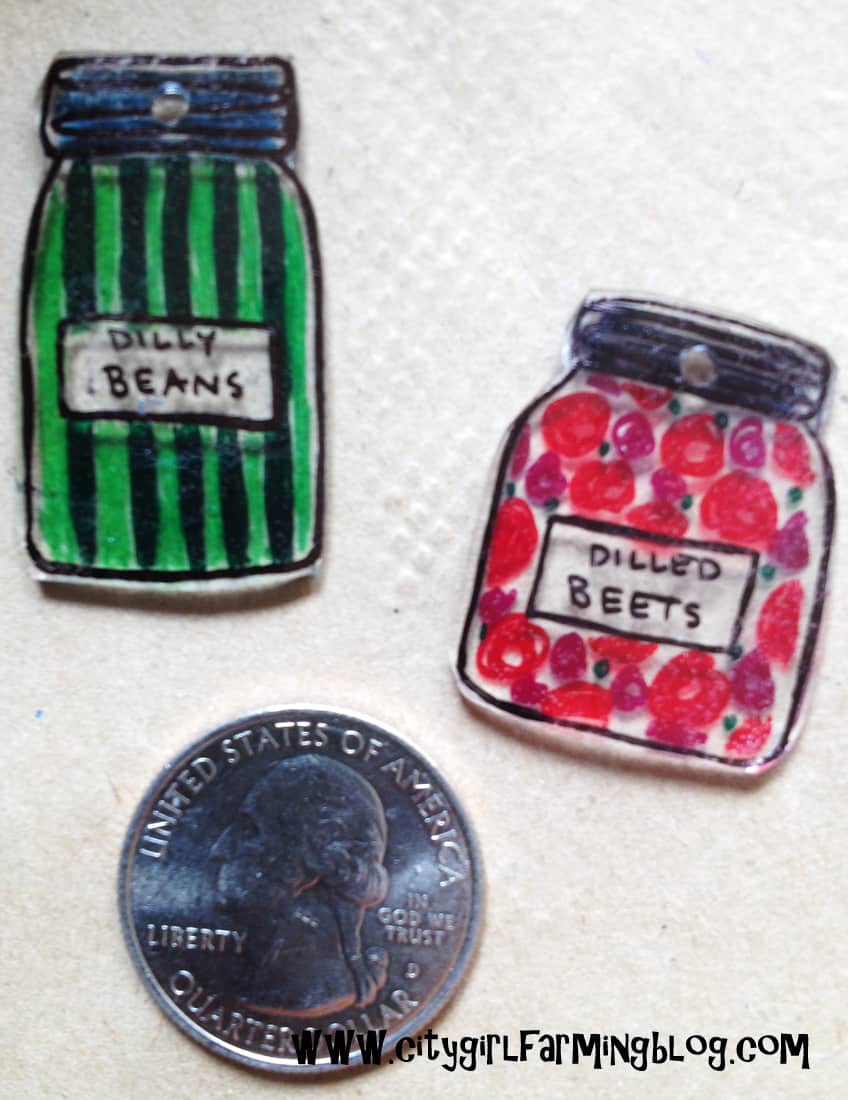
It only takes a couple minutes in the oven to shrink the designs down to tiny size, but the words you write on still show up. Once shrunk and cooled, these jars are stiff and perfect for labels.
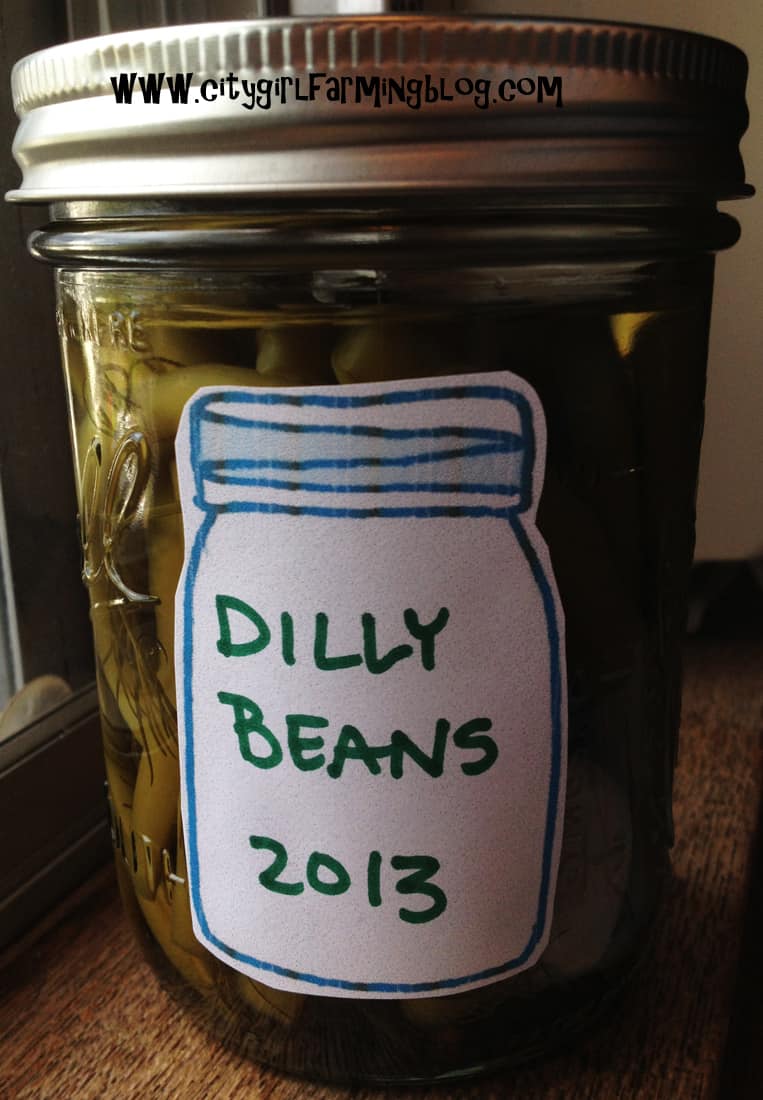
Using the same basic jar pattern (only in a smaller size and different ink color), I also printed labels to write on and attach to the jars. (You can download those labels here)
And third, I used the same labeling system I featured before (for all the random jars of bulk bin stuff in my kitchen cupboards) using a rubber band and split ring key tags. (You could fancy them up a bit, which I didn’t do yet…but maybe before the holidays I’ll get the urge.)
All three of these ideas are simple and nearly free.
If you have a unique labeling idea, share it with us! I’m always looking for new ways to do things.
Happy canning (and gift giving, too!).
