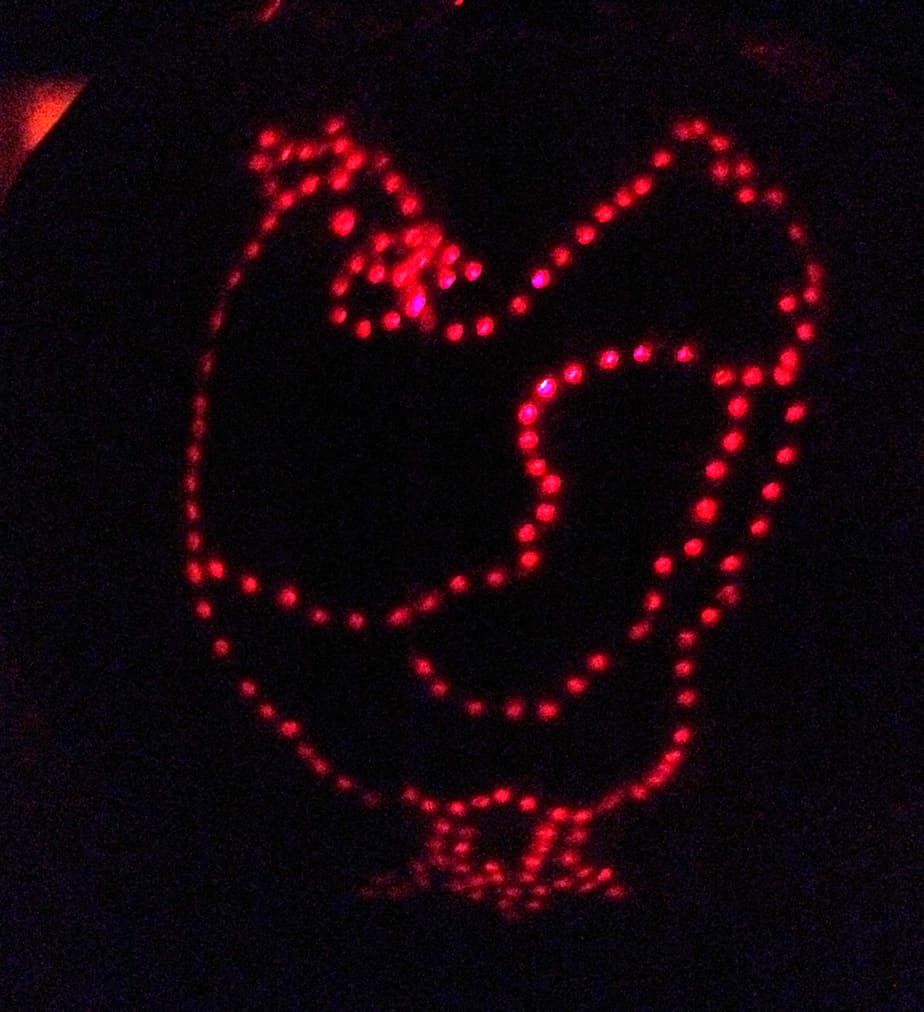
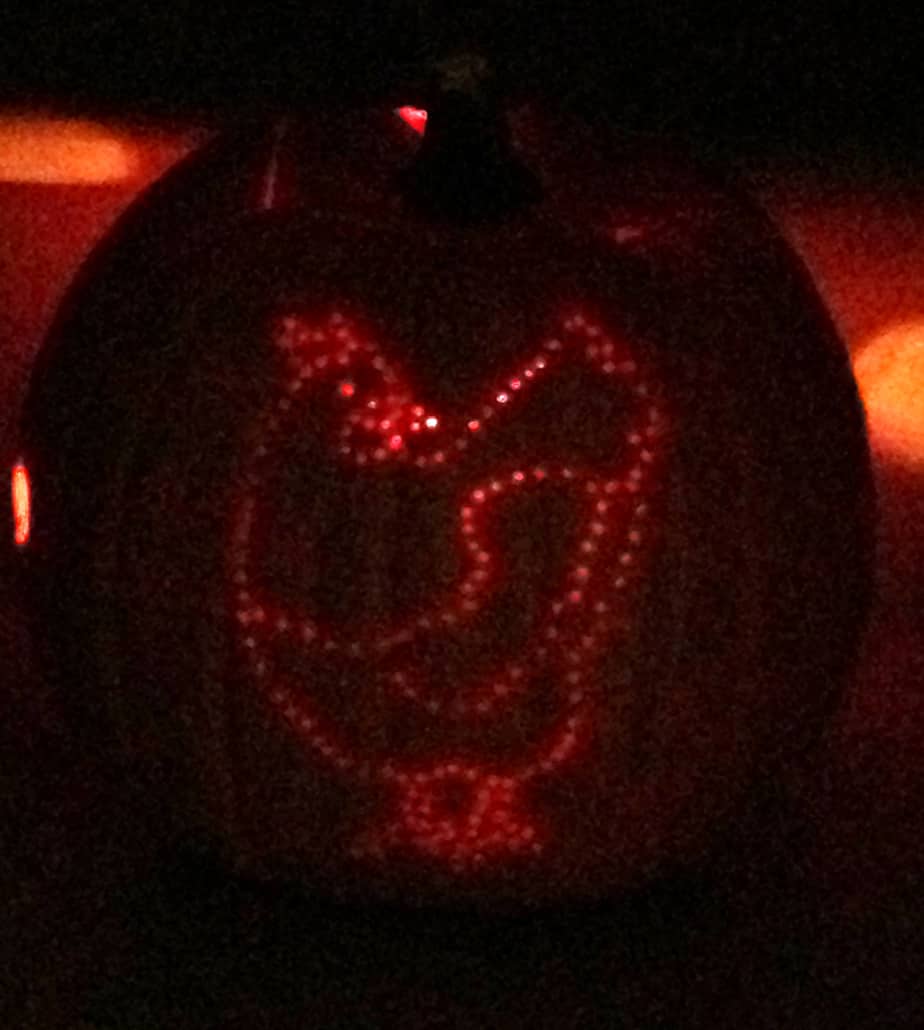
 Although I’m a self-proclaimed ‘Halloween Hater’, I couldn’t resist pulling out the power drill and ‘carving’ myself a chicken pumpkin this year. I hate to admit it, but it was kinda fun.
Here’s what I did:
First, I did the traditional gut the pumpkin and save the seeds for roasting.
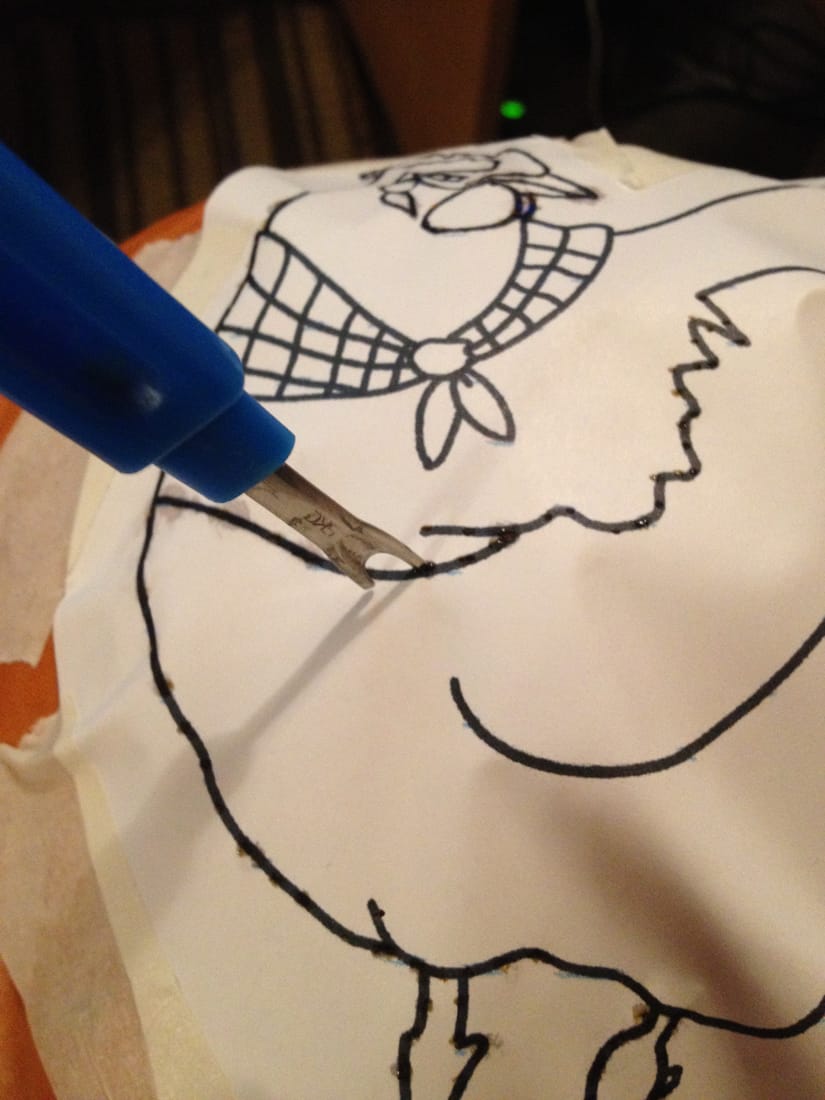
Then, I printed the chicken template I drew and taped it on the side of the pumpkin.
Next, I took a seam ripper (you could you anything small and sharp, like a nail or ??) and poked little lines along the lines of the template. The holes gave me a bit of an outline to follow (it’s a good idea to keep the paper template in sight though so you can refer back to it. I also modified the template once I had it on the pumpkin, making the hens eye more simple, and keeping off some of the other details like the scarf around her neck).
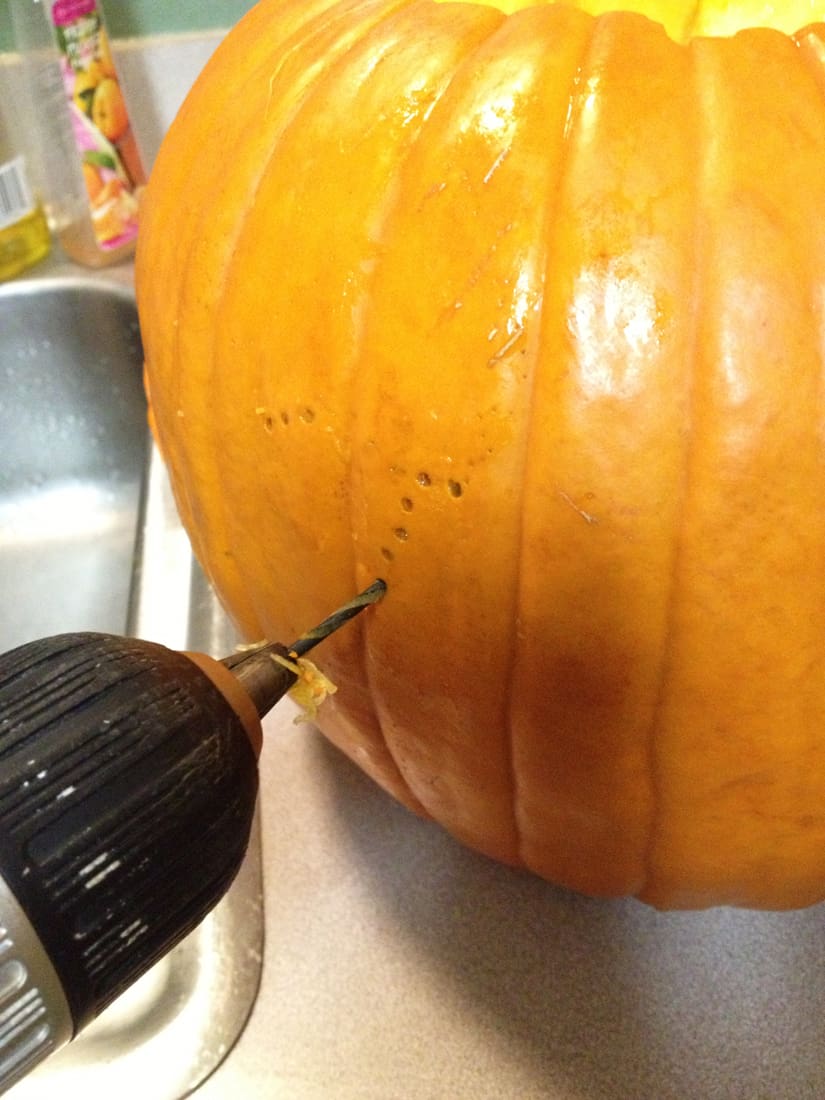
Next, the fun part. I powered up the power drill with a small drill bit and drilled holes all along the seam ripper dots I’d created. Of course you don’t need to use a power drill. A nail, a T pin…whatever you can think of that’s fairly sharp and makes a small hole. A power drill just seemed like a fun way to go so I did it.
Once I finished it, I realized I needed to create some air holes so I poked some holes in the backside of the pumpkin with an apple corer so the candles wouldn’t go out once I put the pumpkin lid back on.
This was super easy. I had the whole project done before my roasted pumpkin seeds were out of the oven. Mmmm.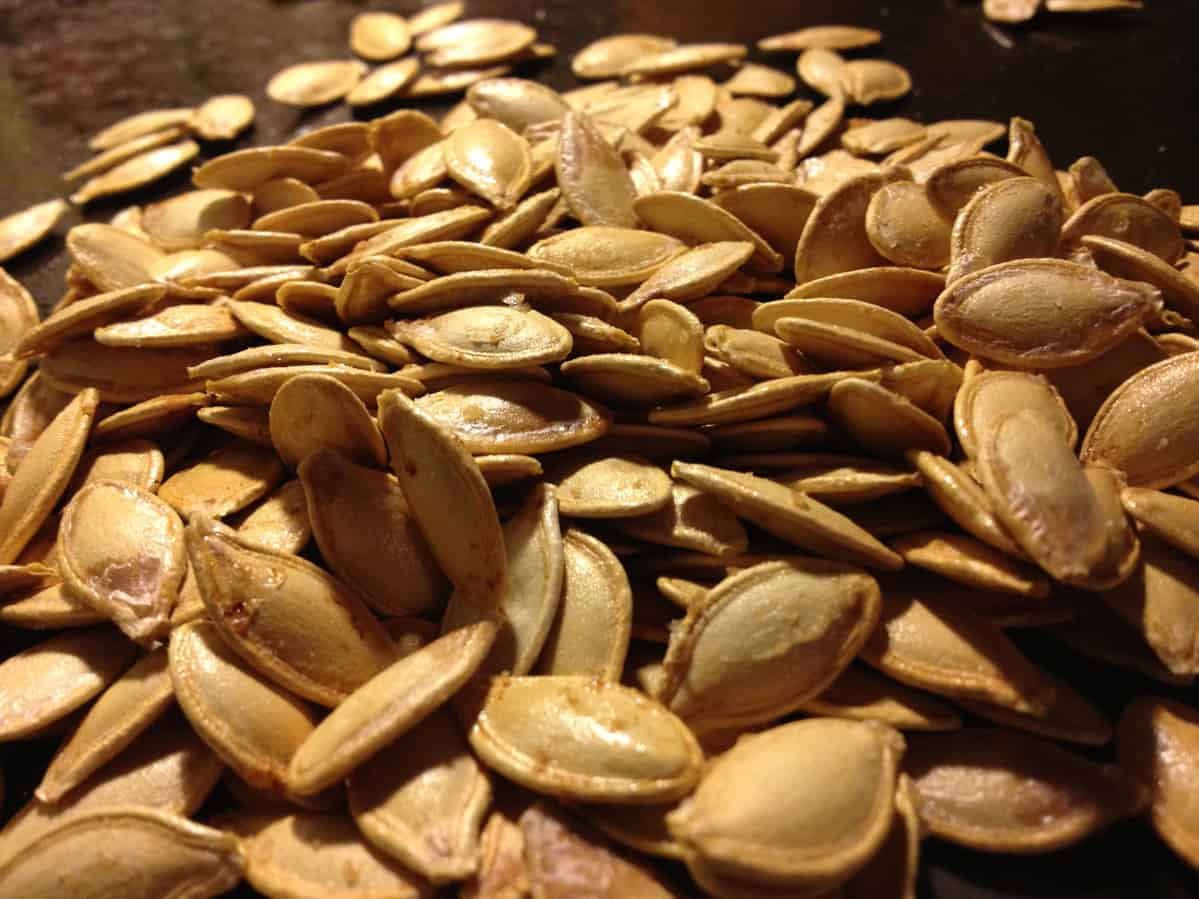
If you’d like to try your hand at a chicken pumpkin, here’s the template to download.
And, of course, you must make roasted pumpkin seeds while you’re at it. Here’s the directions for that.
