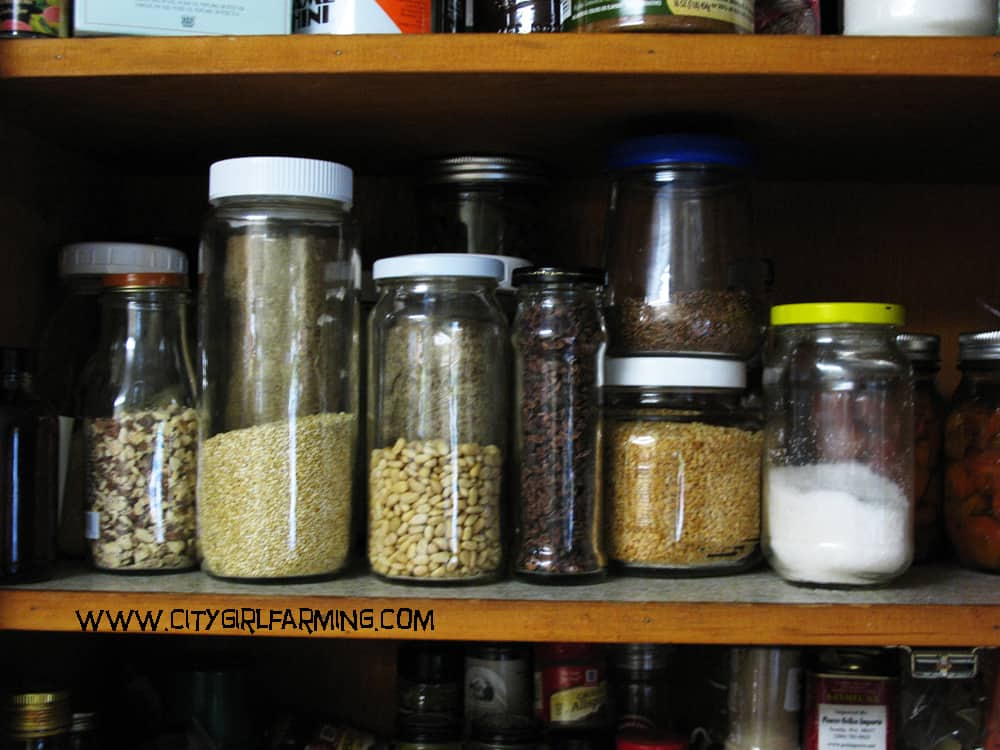
 I’m a bit of a repurposing freak when it comes to glass jars. My favorite are canning jars, but I use jars of any size and shape (as long as I can get the smell of the old food out of them). I’m also a fan of bulk food buying, which helps me justify all the jars I save for food storage.
After awhile, though, I have a shelf full of food in various shades of neutral and I sometimes forget what is what.
I’ve thought about investing in one of those nifty labelers. This idea greatly appeals to the obsessive compulsive side of me. I daydream of a house filled with neat, tidy labels on everything. Today the glass jars, tomorrow the rest of my life.
But then I think about how I use jars and bulk bin items. I pick jars that fit the size of the item I’m putting inside. I switch jars around, emptying and refilling, depending on what I have available at what time and what I need right that second.
This means the jar holding vital wheat gluten might get dumped into a smaller, empty jar to make room for the quinoa that won’t fit in the smaller jar I have available. I start having visions of label residue on all my neat and tidy jars because nothing stays the same for very long in my kitchen.
But finally, I’ve stumbled upon a solution! It’s a beautiful solution. It’s inexpensive, super fast, and can easily be switched from jar to jar. Ahhhhh. I’m so happy.
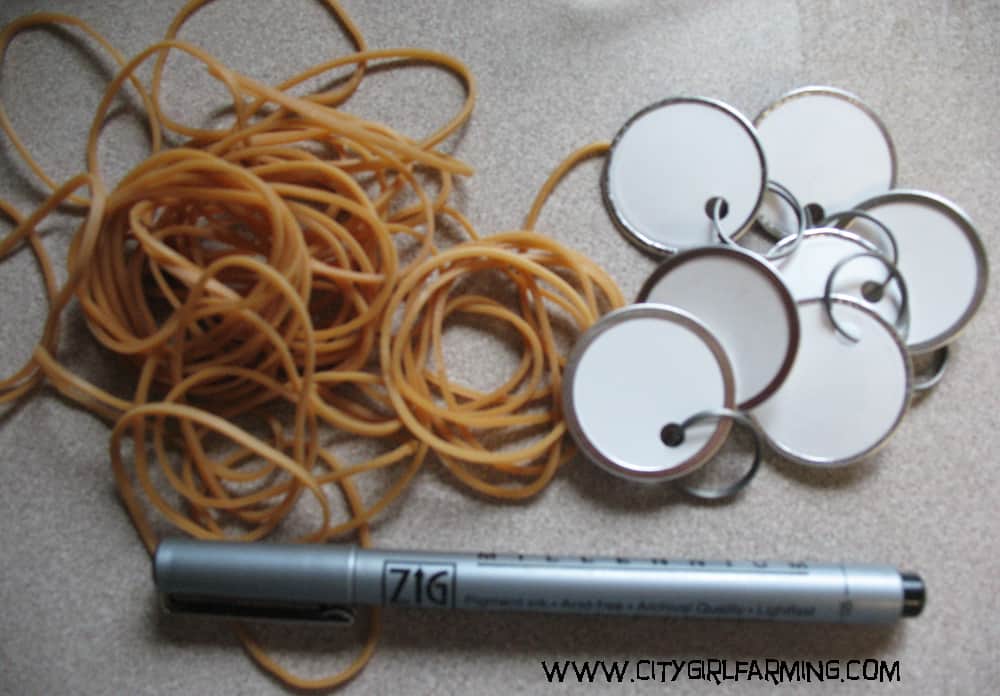
All you need is a fine tip marker, some rubber bands and a box of split ring key tags. You can find everything at your local office supply store for under $10, which makes it even better.
Simply write on the tag, slip the rubber band in through the split ring, and put it around your jars. And if a jar needs changing? The rubber band easily slips off and onto another jar. One size fits all.
A simple, perfect solution to my labeling problems. Now, the only problem I have is remembering what everything is to begin with so that I can attach the right label!