 I’m a chicken pusher. I firmly believe that if the world kept more chickens, we’d all be happier. Every spring, I get chick fever, whether or not I’m getting new babes (this year, not…well, so far…) or not. Who can resist those cute fluffy little balls that steal your heart before growing up to provide breakfast for your table?
In honor of chick season and of Easter, I took a little nostalgic journey and re-created the chicks I used to make and sell as a kid. Now you, too, can have your own cute, fluffy chicks, even if you don’t live in a city that allows it.
At 10 years old I entered into my first business venture making pom pom chicks for Easter. I sold them at stores for $1 each (they took me about an hour to make back then), and most of the stores took 10 cents for commission (this really dates me, doesn’t it??).
My pom pom chick business enabled me to buy my first 10-speed bike. Later, I earned enough money to attend a basketball camp in a different state. Clear through high school, pom pom chicks kept a steady flow of extra cash coming my way.
Today I’m going to show you how you can make chicks of your own. Just in time for Easter. Or just because spring is a great time to celebrate cute, peeping, addictive little chicks.
First, you’ll need to gather a few supplies:
- Yarn (any color—branch out a bit—chicks don’t have to be traditional colors)
- Some plastic or cardboard to make pom pom templates from (ie 4 plastic yogurt lids)
- A wire brush
- Glue
- Scissors
- Felt
- Squiggly eyes
- Pipe Cleaners
Before you begin, you’ll need something to wrap your yarn around to make a pom pom. There are several ways to make them, and there are even kits you can buy, but I’ll show you the way I learned when I was 10. It’s easy and fool proof.
Each pom pom chick requires 2 templates (one for the head and one for the body) that look like a flat donut—a circle with a smaller circle cut in the middle. To make these, you can use cardboard, but plastic is more durable and easy to use. I generally use the lids from yogurt or sour cream containers. (For the chicks in the photos, I used the inside circle of a roll of masking tape to draw my circle for the body template, just to give you an idea of size–but you can make them any size you want.)
Each SIZE of pom pom needs 2 separate flat donut shapes. So, for these chicks, you need a total of 4 flat donuts in 2 different sizes.
Once the pom pom templates are complete, simply wrap the yarn around the larger set of circles, in through the inner circle so that you cover the entire plastic. I generally cut off 6-8 yards of yarn and double it back over itself twice so that I’ve got 4 strands to wrap with at one time (which makes it faster). Overlap a bit as you go. When you run out of yarn, cut another length, double it up again, and just keep wrapping where you left off.
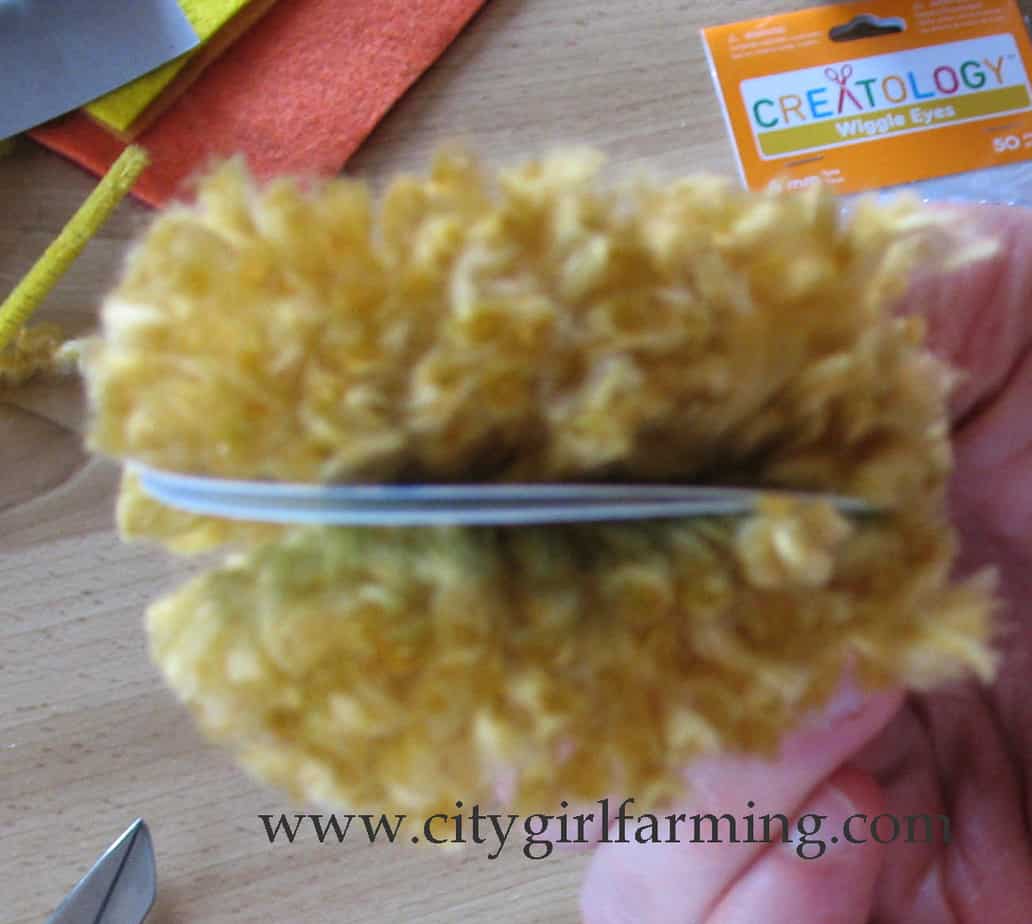
Once you get the yarn completely covering the templates, spread a bit of the yarn apart so you can see the plastic. Carefully insert the tip of your scissors BETWEEN the two pieces of plastic and cut around the circle. 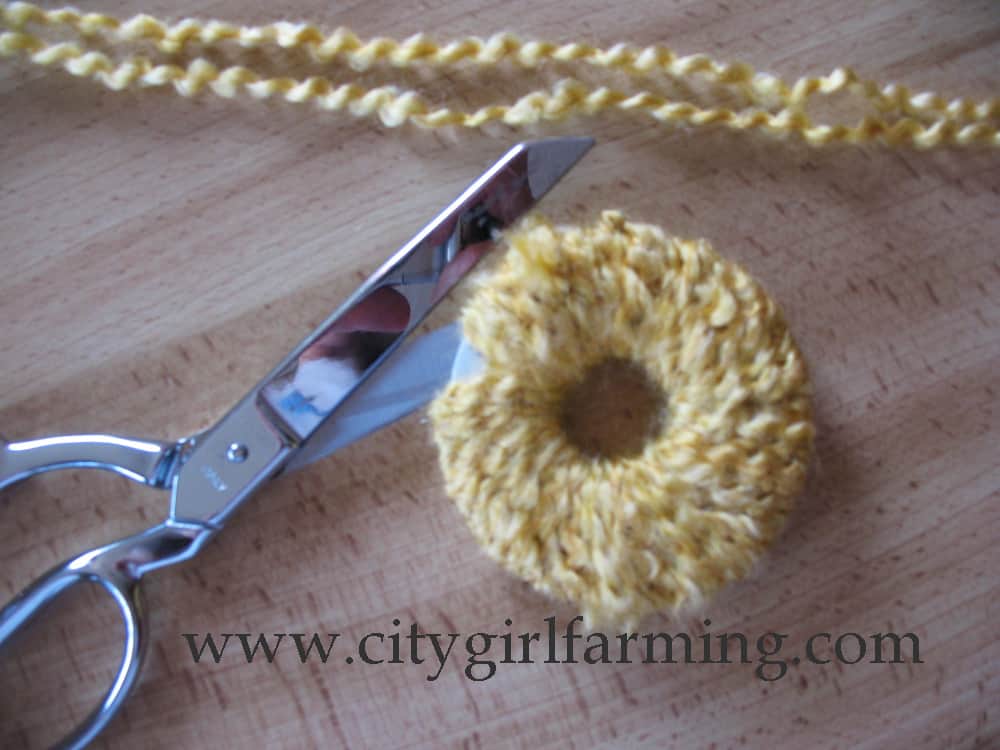
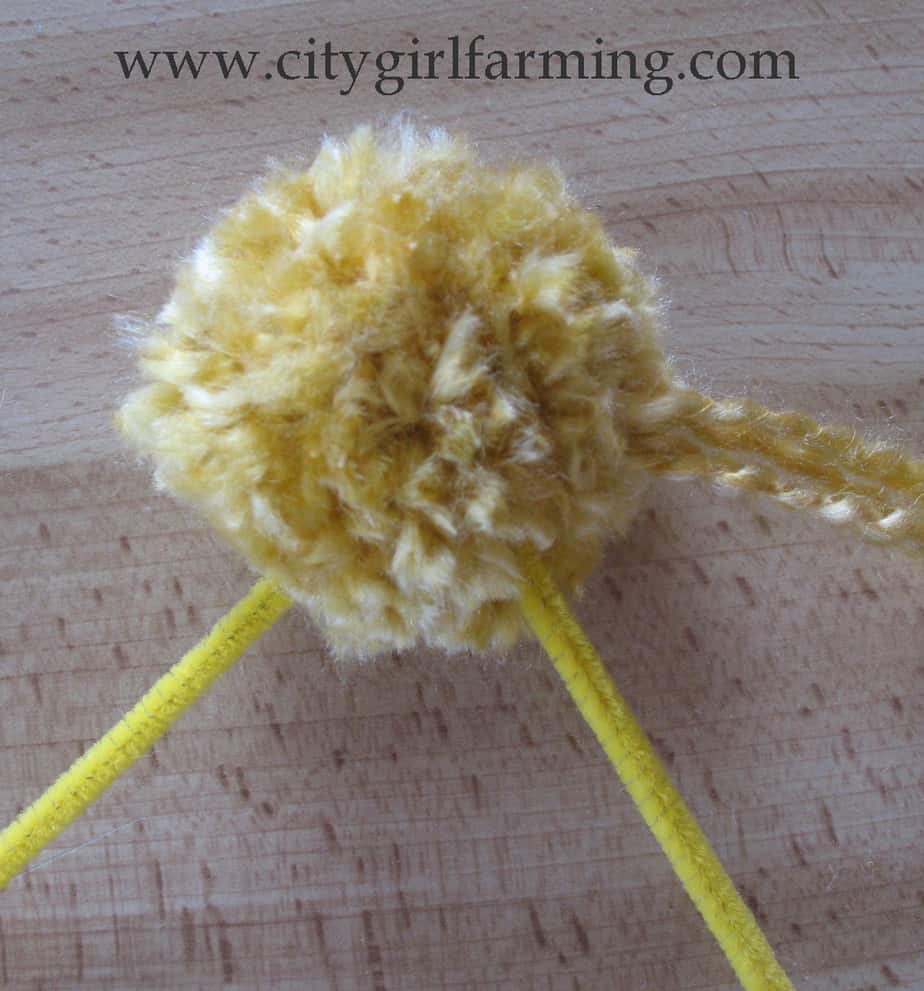
From there, cut a length of yarn (it’s a good idea to double it over, but it’s not necessary) and slide it between the 2 pieces of plastic, pulling it good and tight on the other side. Tie it once. Take a pipe cleaner, bend it in half, stick it down where you’ve just tied the yarn, and tie a knot around the pipe cleaner to secure it. (Do NOT cut the strings off at this point, you’ll need them later). Slip the plastic discs off. 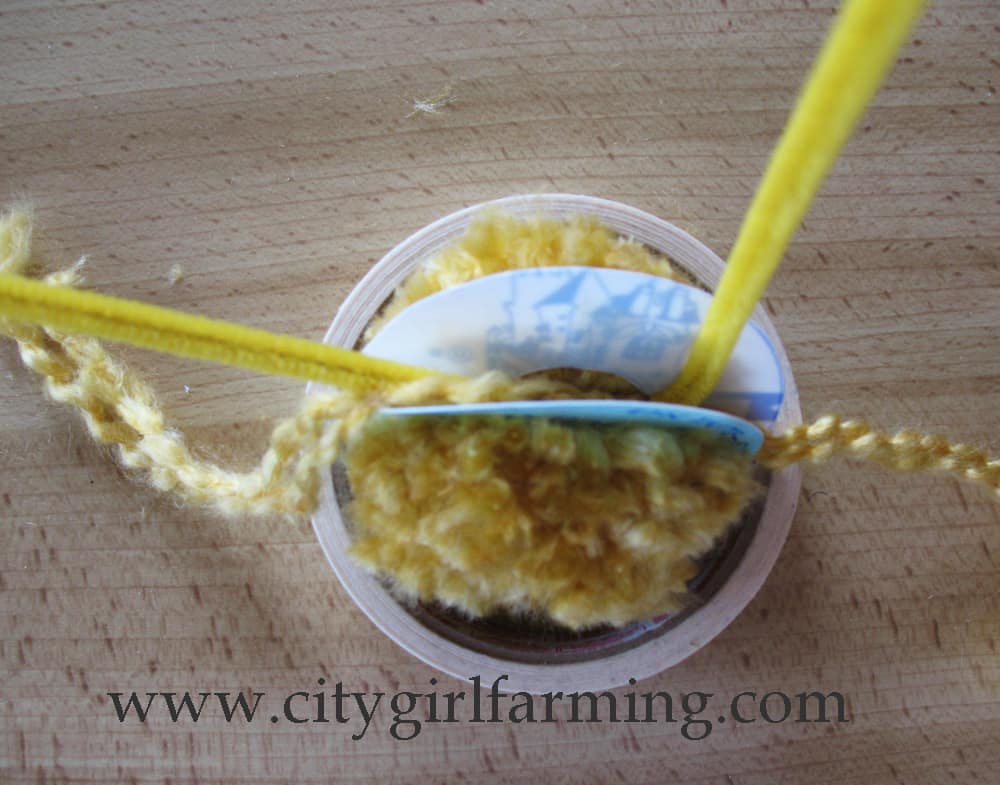
Repeat this with the smaller circles for the head, but skip the pipe cleaner step.
Brush out the pom pom with a wire brush and trim fuzzy parts and extras off so you have a round ball. (To my delight, I found yarn that doesn’t require brushing out—this saves time and yarn fluff covering your body. But if you’re using traditional yarn and you want a fluffy chick, this part is necessary.)
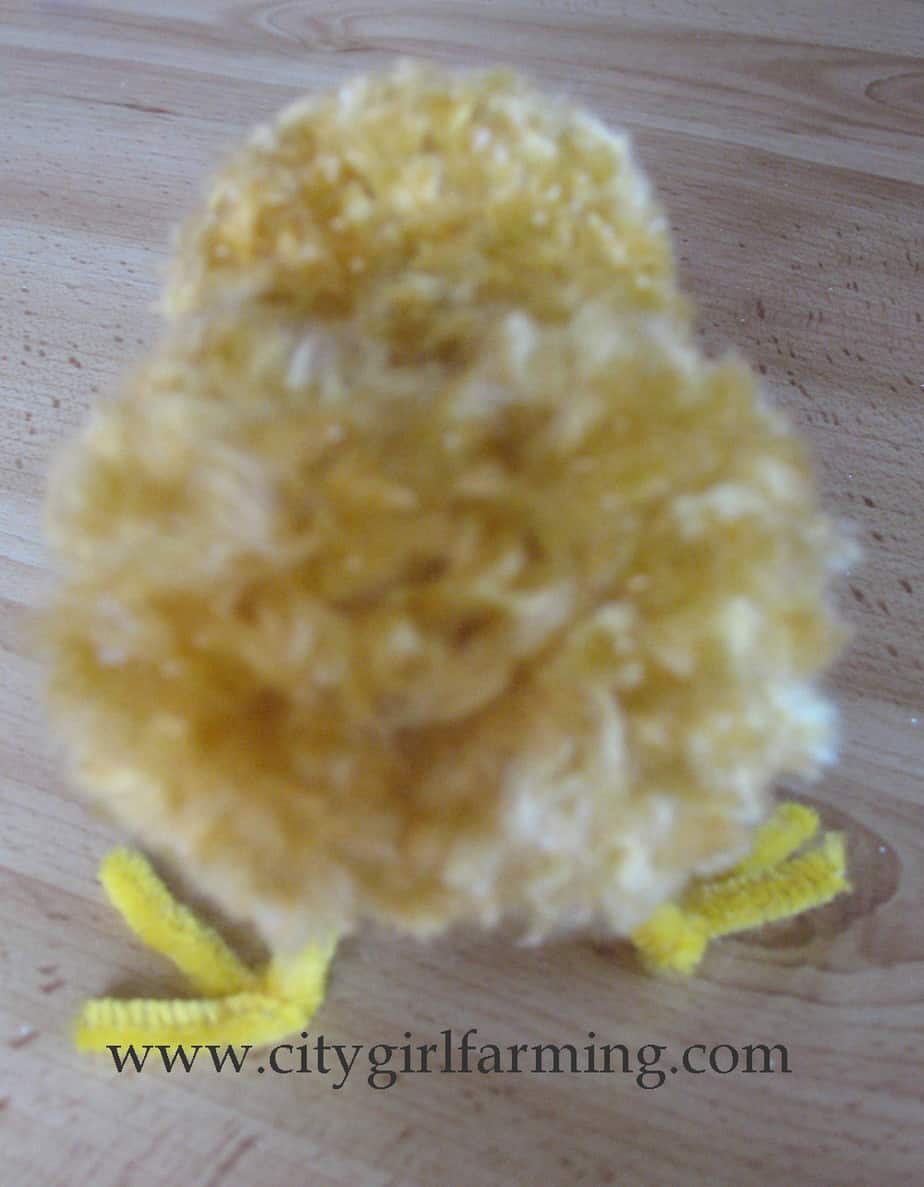
Once both pom poms are brushed out (and you can also give them a bit of a haircut to get rid of uneven sections), take the smaller pom pom and tie it fairly tightly to the larger pom pom using the extra yarn you left dangling before. After the pom poms are securely tied together, trim all extra yarns.
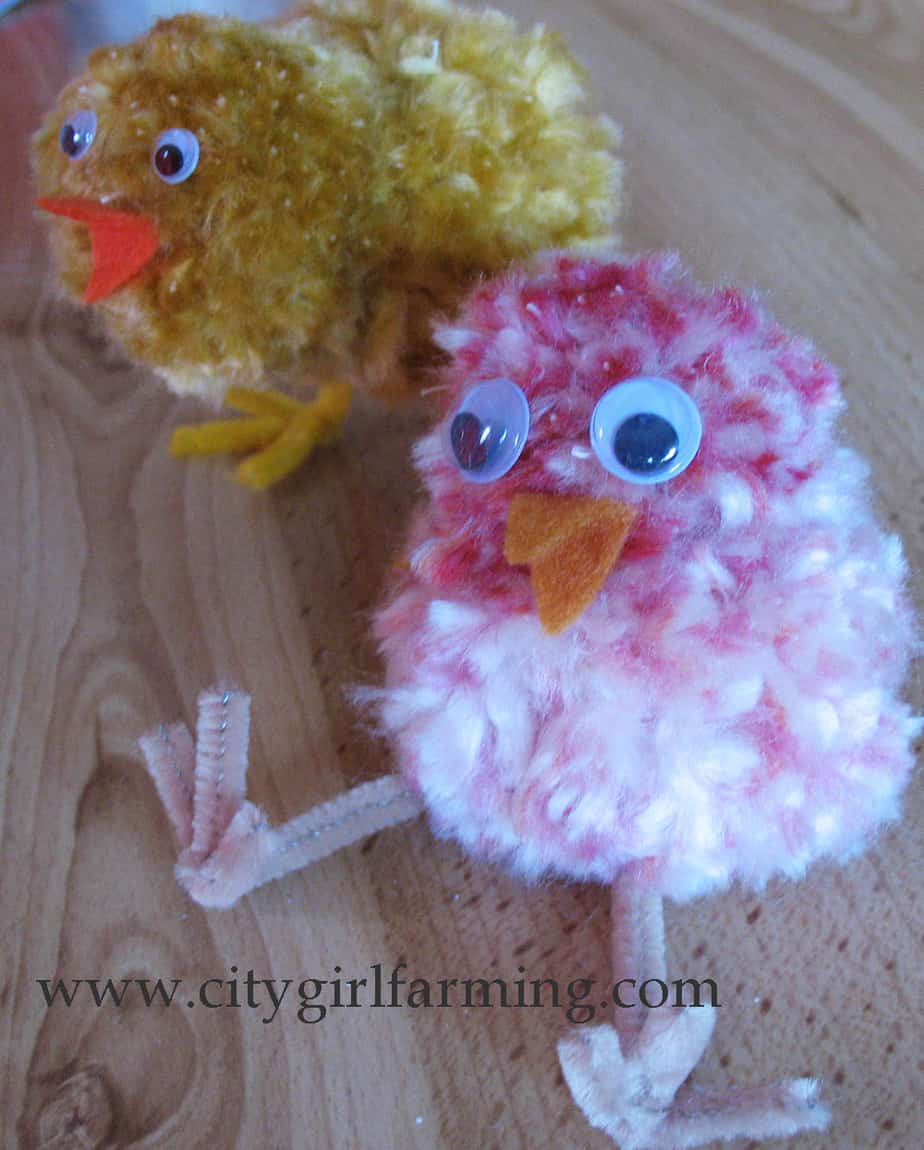
Cut out felt piece for beak and glue it and some squiggly eyes in place. Cut an inch or so off the end of each pipe cleaner and fashion chicken toes. 
And WAHHH LAAAA! A baby chick is born.
You have (almost) exactly what I made when I was a kid; only I realized as an adult it didn’t take me nearly as long to make them! Yay. The other difference is that I used pipe cleaners for legs, but when I was a kid, I made flat felt legs out of felt that I glued to the bottom.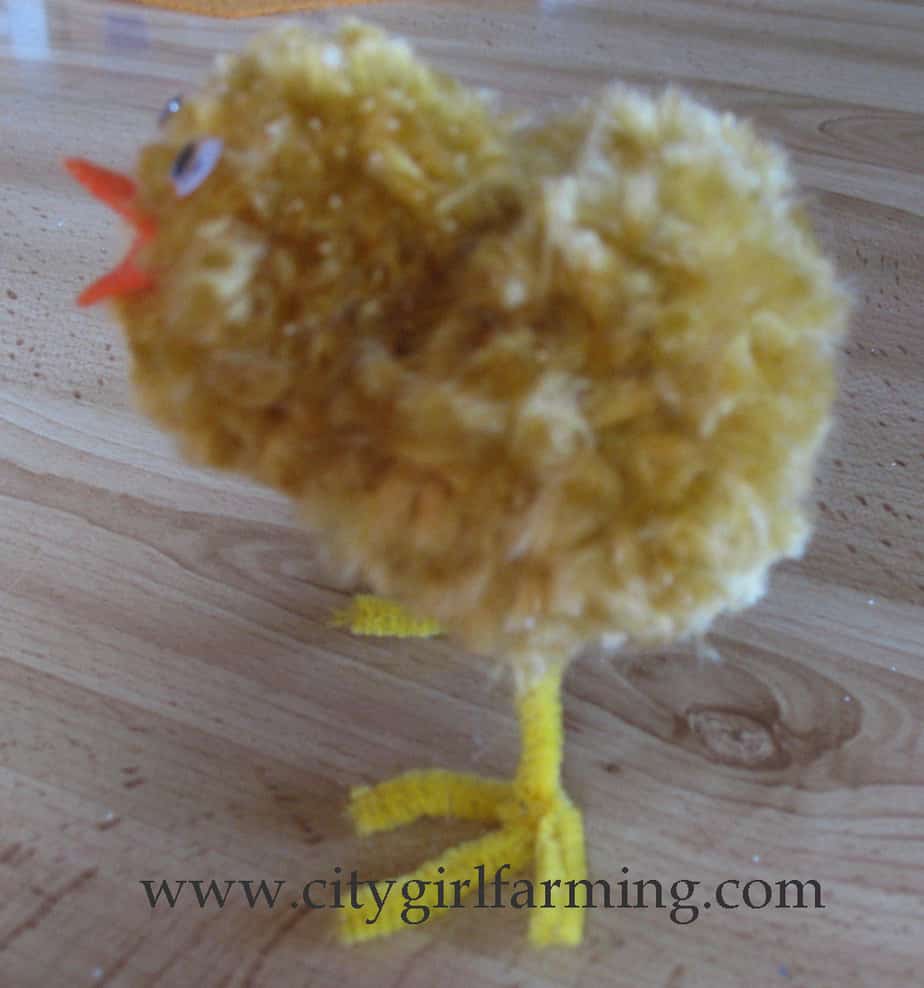
Here are some additional helpful info I learned as a kid:
- You can use ANY size yarn, but the thicker, the easier it is to comb out.
- The thinner yarn will create smaller chicks (you can also create smaller chicks by making smaller pom pom template circles).
- You can use more than one color of yarn for a chick. Wrap a color on for a while, cut it, then add another color next to it and continue to wrap.
I’m thinking if I actually made a business out of these when I was 10, anyone out there can whip these up in no time flat. Easy Peasy.
Have fun. And Happy Chick Season. And Happy (Early) Easter.
PS If you’d like more DIY chick ideas, here’s a whole post dedicated to knit and crochet chicks of all kinds.
The End.

