Honeybees get a lot of limelight. And they deserve it. Those hardworking fuzzy insects pollinate our fruit and vegetable flowers and, as if that wasn’t good enough, also make honey. But there are other beneficial bees that also deserve some attention: Mason bees.
Mason bees are solitary bees (not living on colonies like honeybees) that actually pollinate 100 times better than honeybees. They also won’t sting you (unless you smash them). They’re often overlooked for the fact that they don’t produce honey, but they’re an important part of food production and they’re worth a second look—especially as our honeybee populations decline. Bees are responsible for about 1/3 of our food supply so we need to help them keep doing what they’re so good at doing.
If you’re interested in getting started in bees, but don’t have the time, money or bravery, mason bees are a great type of bee to ‘cultivate’. Simply build them a house and wait for them to find you. Female bees can be attracted to your bee house because they look for holes to nest in. However, if you’re not the gambling type, you can buy starter bees commercially.
You can also buy all sorts of different kinds of bee houses, but they’re easy to make if you have a little time and a few scraps. Here’s what you need:
- Scraps of untreated wood (i.e. 4×4 or several 2×6’s that you can glue together).
- A drill with a 5/16 inch drill bit
- A pencil, ruler, and wood glue (if you’re using wood that needs to be glued together)
- A shingle or other thin scrap of wood (for a roof)
- Nails and/or screws
- The tab from an easy open can of food (or other hardware to place on back for hanging the finished house)
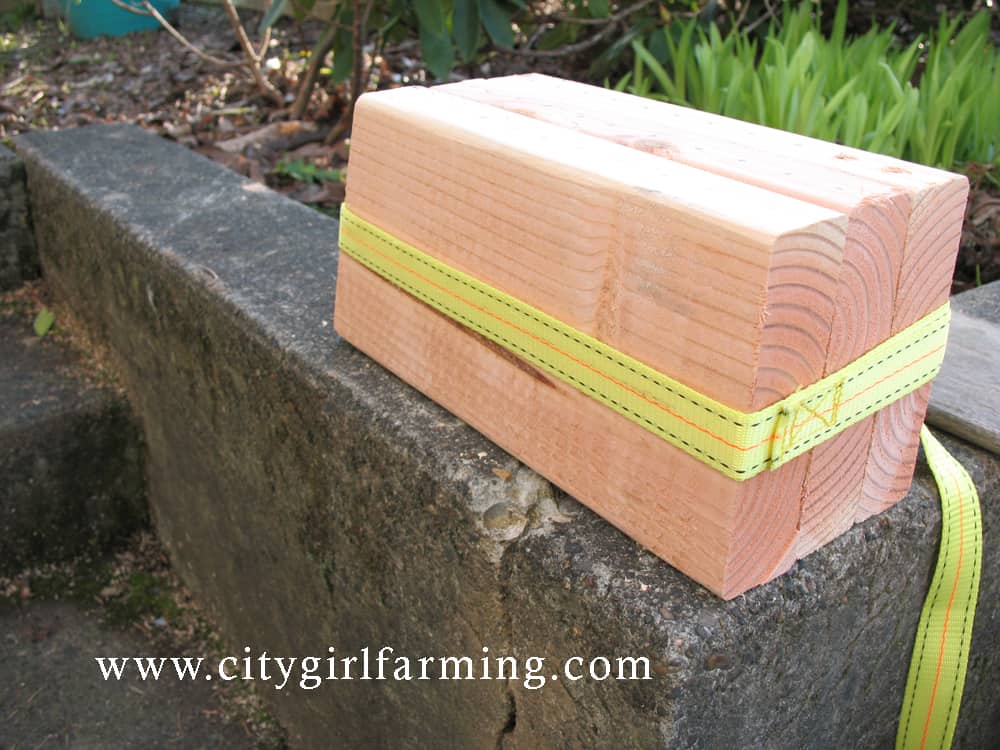
First, prepare your wood. If you’re using a 4×4, cut to the length you want your house. Cut the top at a slant. If you’re using skinnier wood, cut them all to the same length and glue them together (i.e. if using 2×6 wood, glue the 6 inch sides together). If gluing, let dry overnight. (We tried drilling first and gluing afterwards. It worked, but not as easily as gluing first.)
Make sure, before you drill that you’re drill bit isn’t longer than the depth of your wood. If it is, mark the bit with a piece of masking tape so that you know where to stop without drilling down too far. It’s important to keep these little holes airtight, so don’t drill completely through the wood.
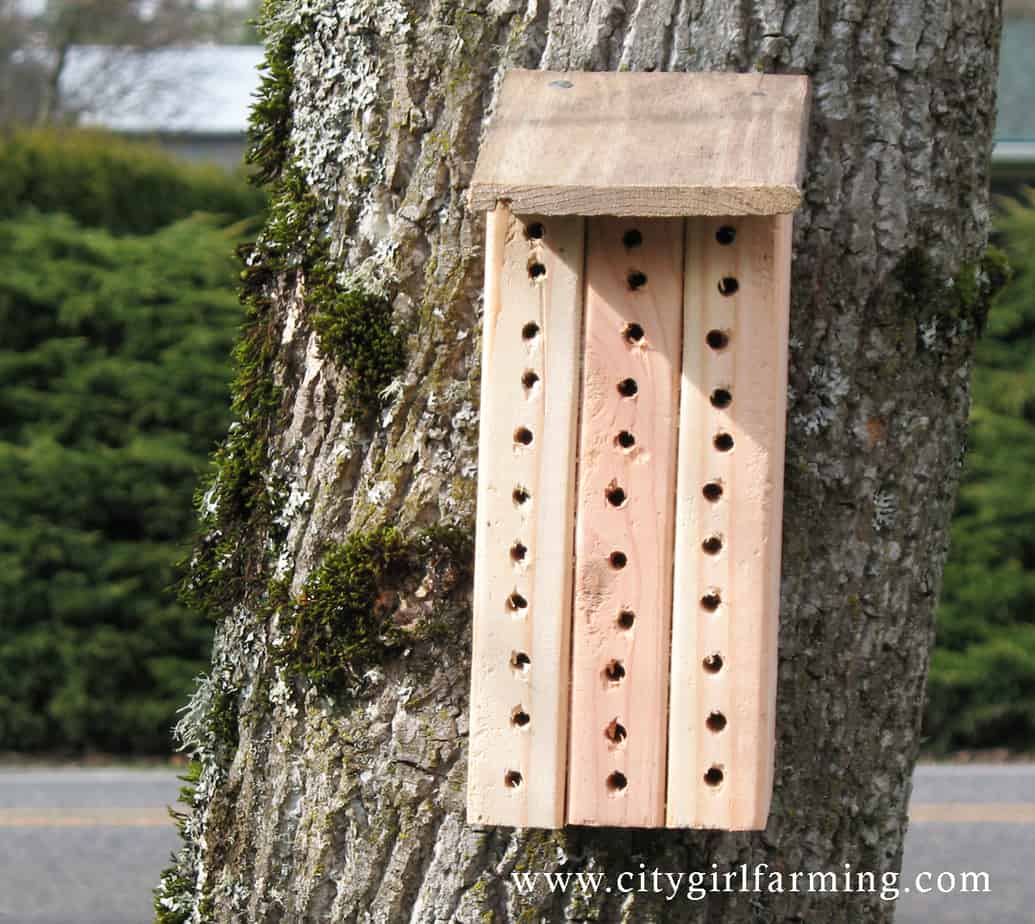
Measure and mark your prepared wood every ¾ inch or so. This is where you will drill your holes.
Attach a shingle or other piece of scrap wood (we used scrap wood leftover from old drawers) to the top for a roof, making sure it hangs over a bit in the front (to help protect against rain and other elements). Nail or screw a can lid tab or two (or other fastener) on the back and you’re ready to go.
You can hang the bee house on a tree, a post, your own house, or pretty much anywhere else. Keep in mind, however, that they will do better if you place them where they can get morning sun (to warm them up) and avoid evening sun (so they don’t get too hot).
Here’s more information about why you might want mason bees if you’re curious. If you’d really like to learn about them, read this book: The Orchard Mason Bee: The Life History, Biology, Propagation, and Use of a North American Native Bee , it should answer all of your questions, even ones you didn’t know you had!


