 Static cling is one of my pet peeves. Seriously. It makes me feel claustrophobic and drives me crazy! So, when I heard about this alternative to dryer sheets, I was skeptical. And put off trying it for a long while.
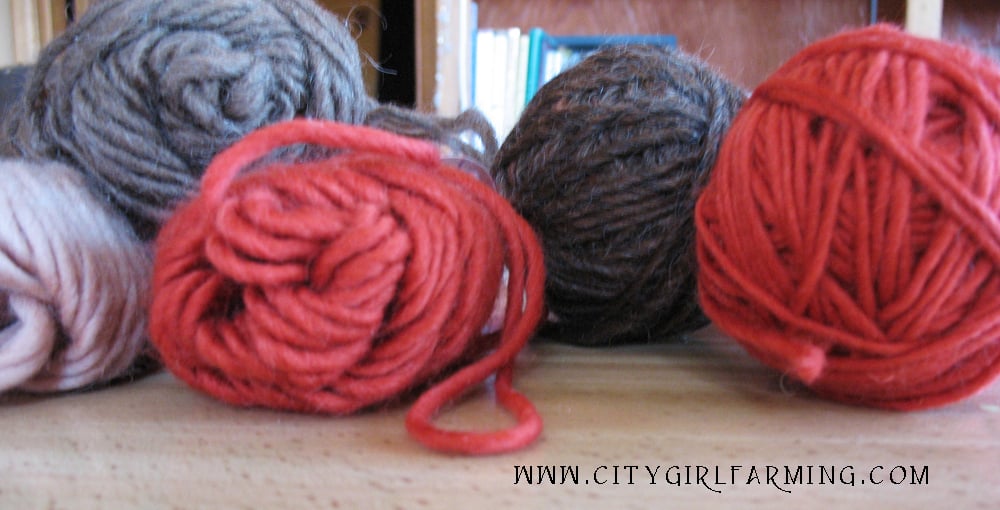
But then a couple weeks ago, I was digging through my bin of wool yarn and found some real ugly stuff. Perfect to use for dryer balls. I decided it was time to see if they were worthy.
Because I TRULY hate static, I decided to test them on a cold, dry, naturally static-y day. And I threw them in with my flannel sheets and towels.
And guess what? NO STATIC!
These balls are easy to make and I’m guessing they’ll last for a long, long time. Think of all the money you’ll save on dryer sheets? Think of all the chemicals you’ll be sparing your family of?
Here’s all you need to do:
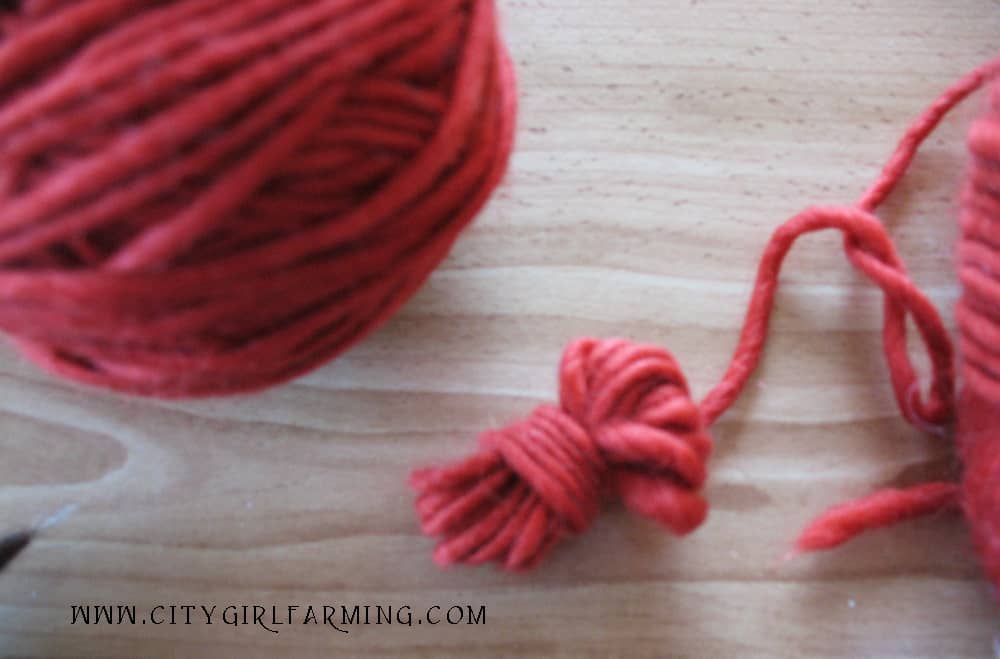
- Get some wool yarn (it needs to be 100% wool so you can felt it.) Wrap it into a big ball (Make it a bit bigger than you want them to be because it will shrink up some in the felting process.)
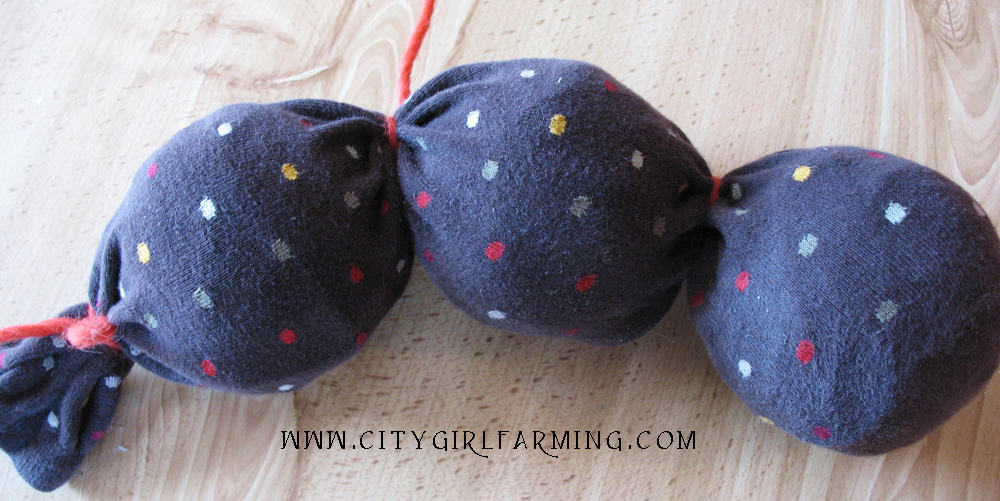
- Stuff it into a sock and tie it. Throw it into the washer on the hot cycle and let it agitate for on the longest setting. It helps to throw something else in the washer with it—an old sheet or jeans or something because part of the felting process is the hot water, part is getting roughed up and shaken around.
- Check a ball after that initial cycle to make sure it’s felted…the felting will keep it from unwinding in the dryer. I had to put mine in for an extra round of agitation.
- Finish the cycle with the washer to help remove the excess water in the balls.
- Remove from the sock and throw in the dryer. It took quite awhile for the balls to fully dry. I used them in the dryer a couple times and then I placed them in front of the heat vent for a few days to make sure they were good and dry. Now I just keep them in the dryer at all times.
- Use in place of dryer sheets. ****For added wonderfulness, add a couple drops of your favorite essential oil to the balls before starting the dryer cycle. *****
I’ve been using them for a few weeks now and only once did I have any static of any kind. It was with a pair of nylon workout pants. Other than that, they’ve worked perfectly. And they’re a great green, chemical free alternative for people like me who are static freaks!


