For the final day of the 12 Days of Farm Christmas, I’m going to show you how to make a cool stencil out of freezer paper, and the n I couldn’t resist designing one more download for you this season…yea, I’m going a little nutty with all that, huh?
But anyway, this stencil technique is easy and doesn’t need any drawing skills (so don’t get nervous if you don’t think you can draw). Here’s what you’ll need:
Freezer paper
Iron
Pencil
Scissors or X-acto knife
Fabric paints
Paint brush
Item you want to paint on (t-shirt, tote bag, table runner, Onsie, etc.)
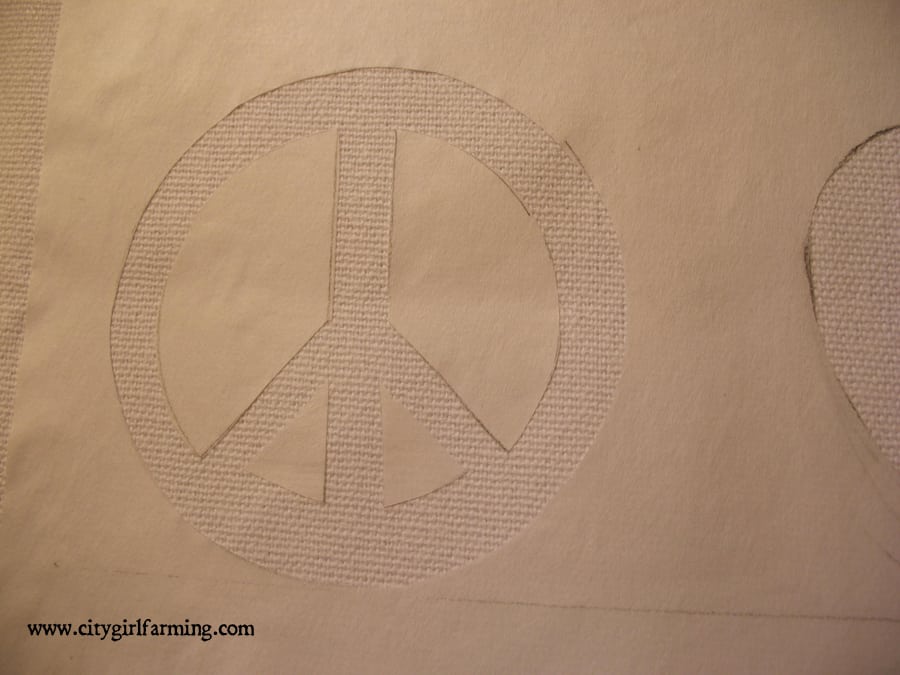
First, draw your picture onto freezer paper. If you’re afraid of drawing, that’s okay. Find a piece of clip art or other piece of art and trace it onto your freezer paper (an easy way to do this is by taping your resource onto a window and the freezer paper over it, this creates a light box of sorts and you can trace from there).
KEEP THE DESIGN SIMPLE!!!!
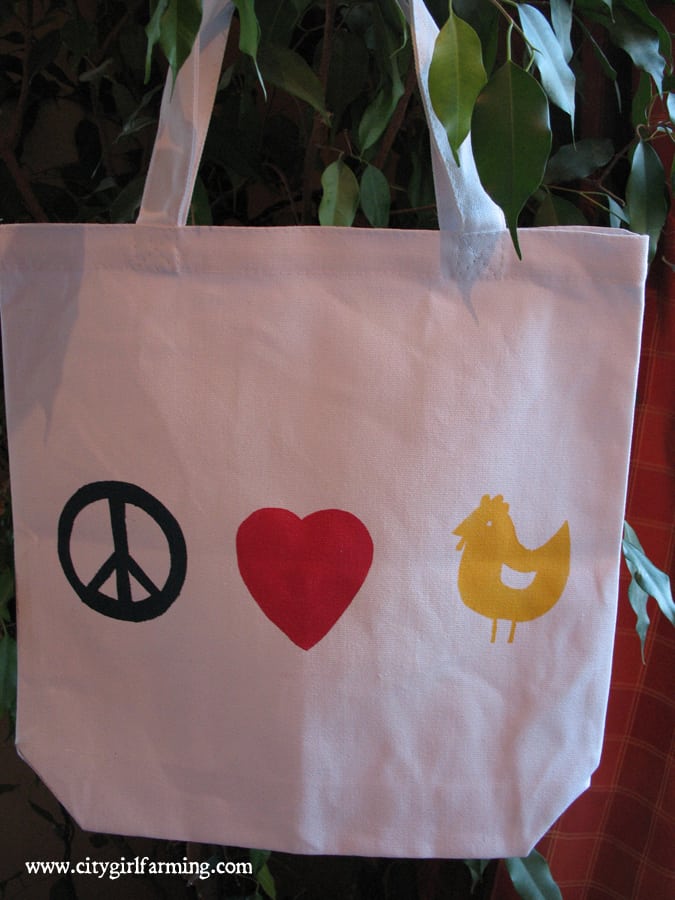
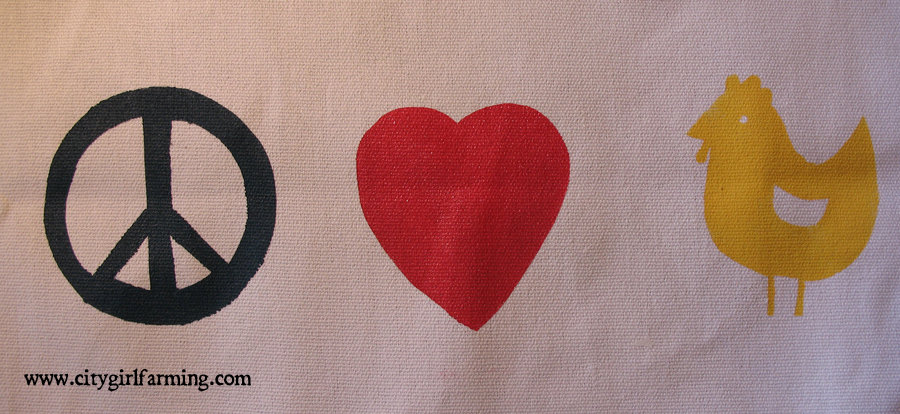
For my project, I decided to create PEACE LOVE AND CHICKENS for a design to put on a canvas tote. Once you get your design drawn, carefully cut it out, then iron it onto the item you want to stencil (make sure to put the plastic/shiny side of the freezer paper DOWN or you will have a melty mess on your iron).
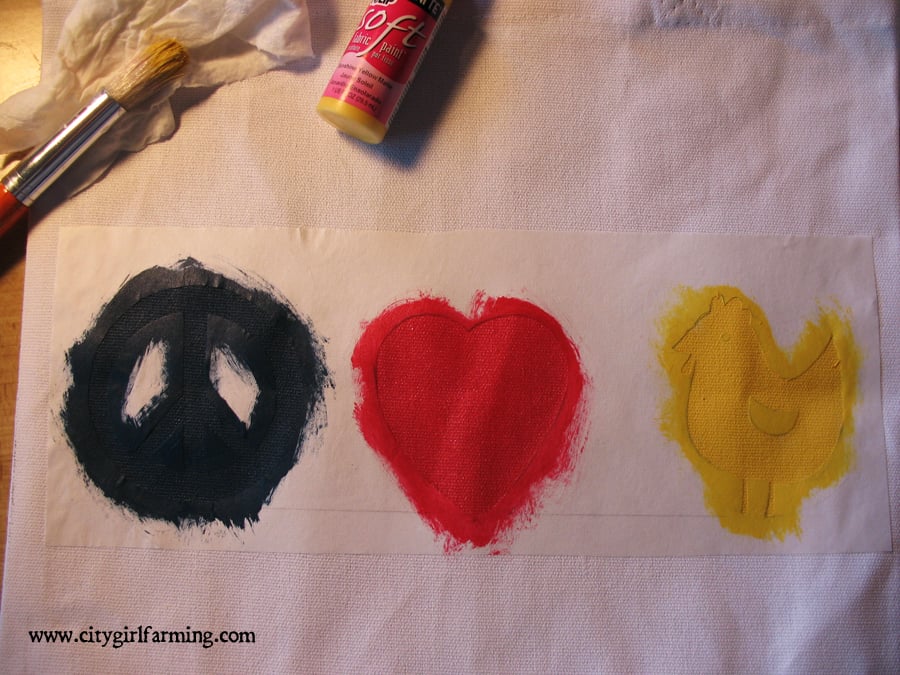
If you’re making something that is thinner than a canvas tote, you might want to iron a piece of freezer paper to the inside of the garment to help keep it in place. I didn’t do that because the material I was using was super stiff. I did, however, put a piece of cardboard inside so that the paint wouldn’t bleed through to the other side of the tote.
Next, apply your paint. Then, carefully peel off the freezer paper. You’re done!
Now if you’re not totally burnt out on my Christmas farm designs by now, I’m giving you one last one: No Peeping Til Christmas. You can download a full sheet PDF of them here.
And thanks for joining me on this Farm Christmas Kickoff! It’s been fun!


