 I recently attended a cookie exchange with 25 participants. The motto of my friends that put on the party is: If it’s worth doing, it’s worth over doing!! It was a party on steroids!
As part of the exchange, the cookies needed to be packaged in individual bundles so that everyone attending could easily load up their swapped cookies and avoid all the mess trying to figure out how to get them all home in one piece. As a plus, we all received 25 pretty packages to take home.
However, one of my goals for this event was to spend as close to ZERO money as possible. A pretty lofty goal for needing a trillion cookies in 25 packages (that would be judged as part of the fun)! I got pretty close to my zero money spent goal, though, so now I’m passing along my secrets to you.
First, I made a cookie that has been in my life for as long as I can remember. My mom dubbed them “Blue Ribbon Cookies” because she entered them in the fair one year and won a blue ribbon. I tried to change the name this year to “Cream-Filled Meltaways” but it’s really not working for me. The truth is, they are cream-filled and they DO melt in your mouth, but the name just doesn’t seem right yet (feel free to suggest a better one).
Anyway, I picked these cookies because they’re light and decadent, but simple. No fancy ingredients. You’ve probably got everything you need to go make some right now. They might seem a bit humble, but they taste terrific.
Here’s how you make them:
Cookie:
6 tablespoons chilled butter (don’t use margarine)
1 cup sifted flour
2.5 tablespoons light cream
a bit of sugar for dipping
Filling:
3/4 cups sifted powdered sugar
1 tablespoon softened butter
1/8 teaspoon flavoring extract of your choice*
1 tablespoon light cream (or enough to get filling nicely spreadable)
food coloring of your choice (optional)
Cut butter into flour until pieces are pea sized. Sprinkle 1 tablespoon cream over part of the mixture. Toss gently with a fork to mix. Push to one side. Repeat until all flour is moistened. For a ball. Divide in half. On lightly floured surface, roll to less than 1/8 inch thick (the thinner you get them, the more they melt in your mouth). Cut into rounds with a floured cookie cutter or glass. Prick each round several times with a fork (so they will bake flat and not get all lumpy). Bake at 375 for 8 minutes or until lightly golden. Cool. Combine all filling ingredients. Spread filling on one cookie, pressing a second cookie on top to create a ‘sandwich’. Makes about 30 sandwiches, depending on how big you cut them and how thin you roll them.
*This time around I decided to try both ground cinnamon and cocoa powder instead of flavoring extract–I made 2 different fillings, I didn’t mix them together. I liked it. Especially the cinnamon (the big disclaimer though is that I’m a cinnamon fanatic).
For this party I went to, I needed almost 150 of these little gems. It took some time. But, I had all the ingredients in my house, so zero new output for cookies.
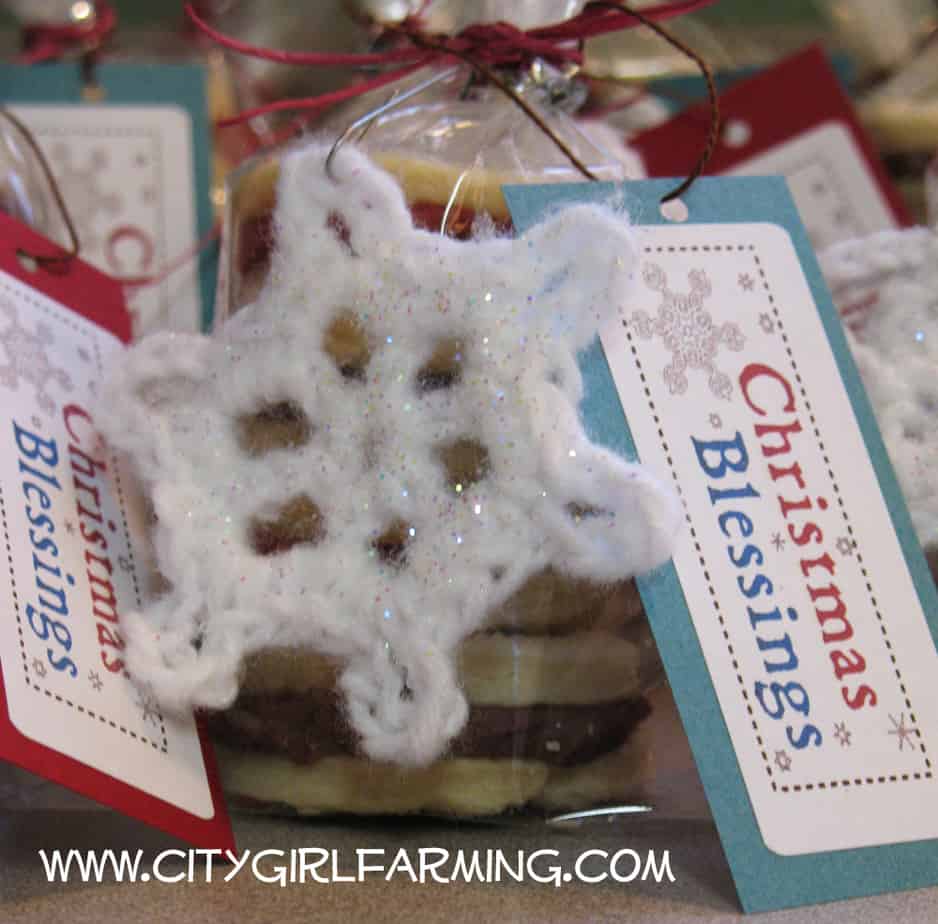
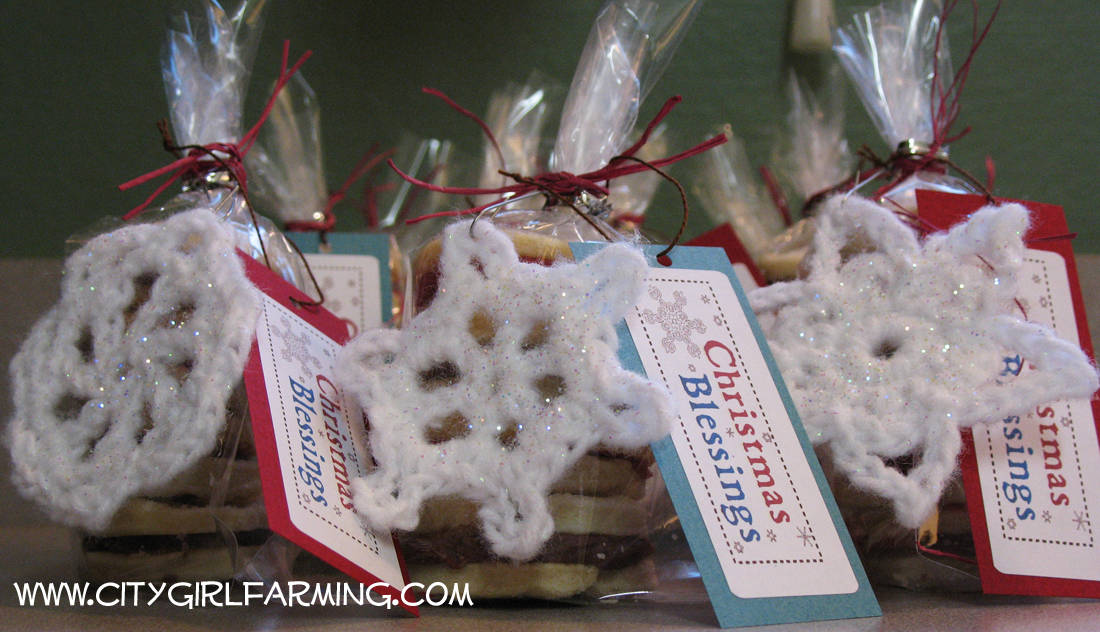
Next, onto the packaging. I decided to stick them in a stack, inside a clear cellophane bag (which is one of the only things I purchased for this project). Since just a clear bag seemed a bit bland, I decided to add tags and handmade snowflakes. I designed the tags in Photoshop and then moved over to Publisher to print them on address label stickers. (If you want to try this same approach, I used the 1″x 2 5/8″ size). Then, I found a tiny little snow poem and stuck it on a label for the back. I stuck these stickers on colored (cardstock) art paper, punched a little hole in them and looped a thread through. (Here’s the pdf file of the labels that you can download to use on your own creations.)
For the snowflakes, I found a whole website all about crocheting snowflakes–you’ll find an AMAZING variety of snowflake patterns there and they’re all FREE!! Because I wanted to use yarn and not thread, I ended up just crocheting the inside 2 rounds of three different snowflakes, skipping the rounds beyond that (I found that making the whole snowflake made them too big for what I was doing). The snowflake insides were very simple to make. Like 2-3 minutes each easy, which made me happy because I had to make 25! I added a little metal hook to each, turning them into an ornament.
With a little raffia I dug out of a cupboard, I was good to go. And all of this for much less than $10.00 extra that I had to spend. Yay. A little time goes a long ways in tight times, yes?
(PS the winner of yesterday’s tiny chickens give away is Susie McAllister! And also, I totally spaced giving you the link to those tiny chickens so that you can make them YOURSELF. Here it is! Sorry!)
