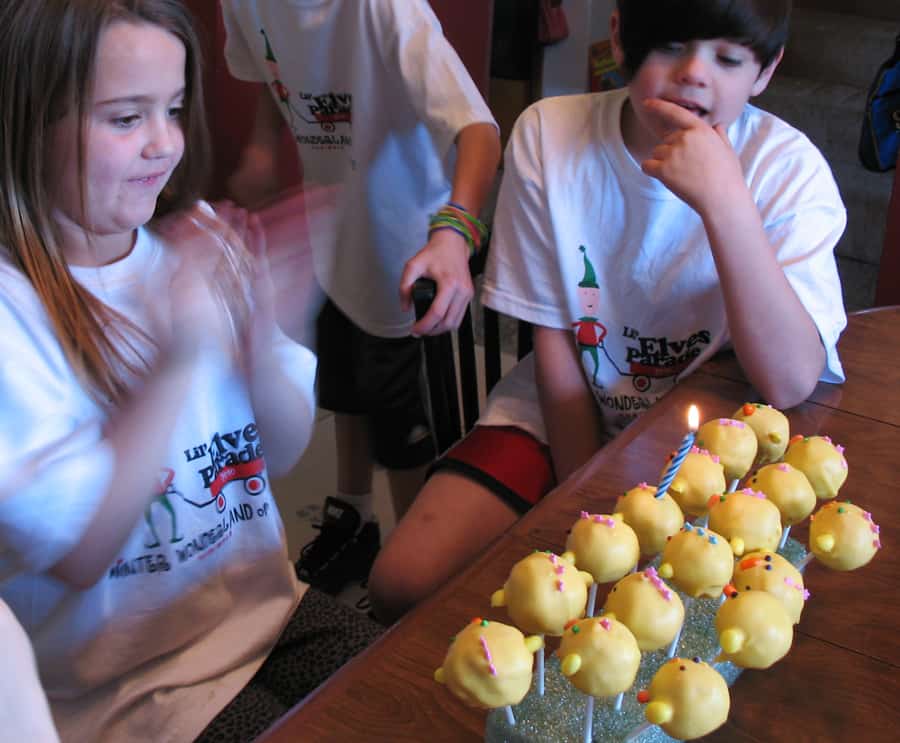
My niece, Kally, is turning seven. She lives in Montana, a ten-hour drive away from me. When asked how she wanted to celebrate her birthday, she said she wanted to come visit “Aunt Kerrie” (me!).
Now, I do think this is awfully sweet, but my sneaking suspicion is that it had something to do with the fact that Harriet just hatched seven cute little chicks…but hey, I’ll take her any way I can get her!
Since she was coming all that way, and since her birthday is in the spring, and since we’re so happy around here watching baby chicks grow, I thought I’d make her a cake pop “birthday cake”, made up of chicks…the center front one having a candle stuck on top of it’s head so she can blow it out and make a wish (I hope she wishes for baby chicks of her own). Not only do these cake pops have major kid appeal, but they’re also easy to serve since they have a stick so no plate is needed. Plus, they’re small so you can easily restrict sugar intake and serving size. (I served them with Mochi Ice Cream Balls, which again needs no plate and comes in small individual servings.)
If you’d like to make some cake pops of your own, it’s best if you have more than one day to do it (one day to bake the cake, cool it and form the balls and one day to ‘frost’ and decorate them), but if you need to do it in one day, just make sure everything cools properly between each step.
First, gather your supplies. Some of the supplies will vary depending on how you want to decorate them, but here’s what you’ll need:
- 1 Cake Mix (either a boxed mix, or one from scratch) made to recipe instructions.
- 1 9×13 pan to bake the cake in.
- 1 batch of frosting (again, either pre-made or from scratch)
- Approximately 30 lollipop sticks (this will vary a bit depending on the cake mix/recipe you use and how big you roll your cake balls).
- Piece of Styrofoam to hold finished cake pops upright.
- Misc. candies for decorating
- Frosting gel in tubes (optional)
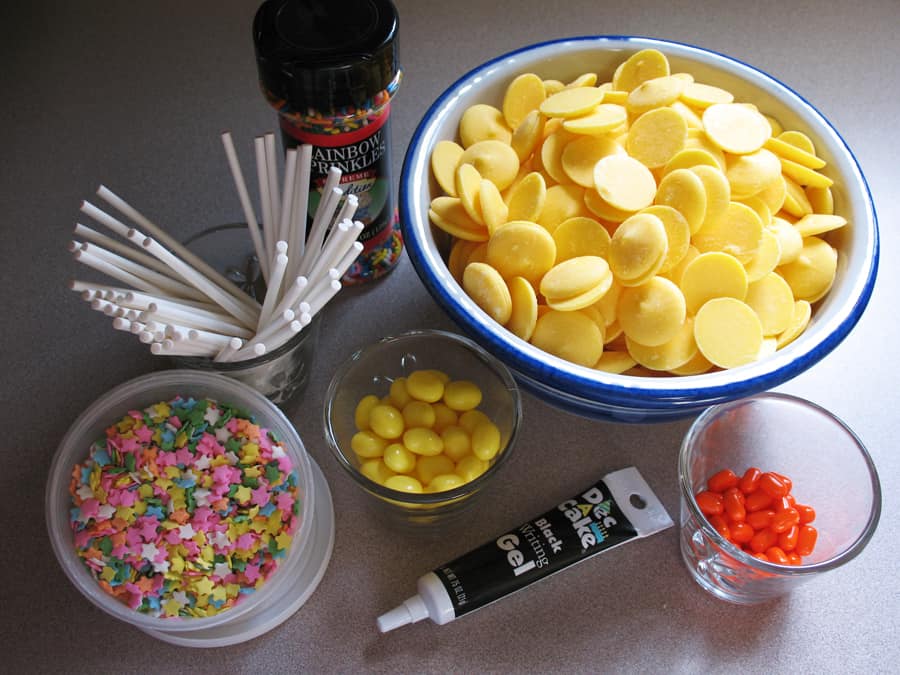
First, repair a 9×13 cake pan and bake a cake according to recipe instructions. Allow it to cool COMPLETELY. (If you’d like to make a cake from scratch, here’s a chocolate recipe and a vanilla recipe–just convert the recipes to a 9×13 pan.)
In the meantime, if you’re making your own frosting, you can do it now. (If you’d like homemade frosting, here’s a chocolate recipe and a vanilla recipe).
Once the cake is cooled completely, crumble into pieces and stir in frosting. Mix it together well, until it forms a dough-like consistency.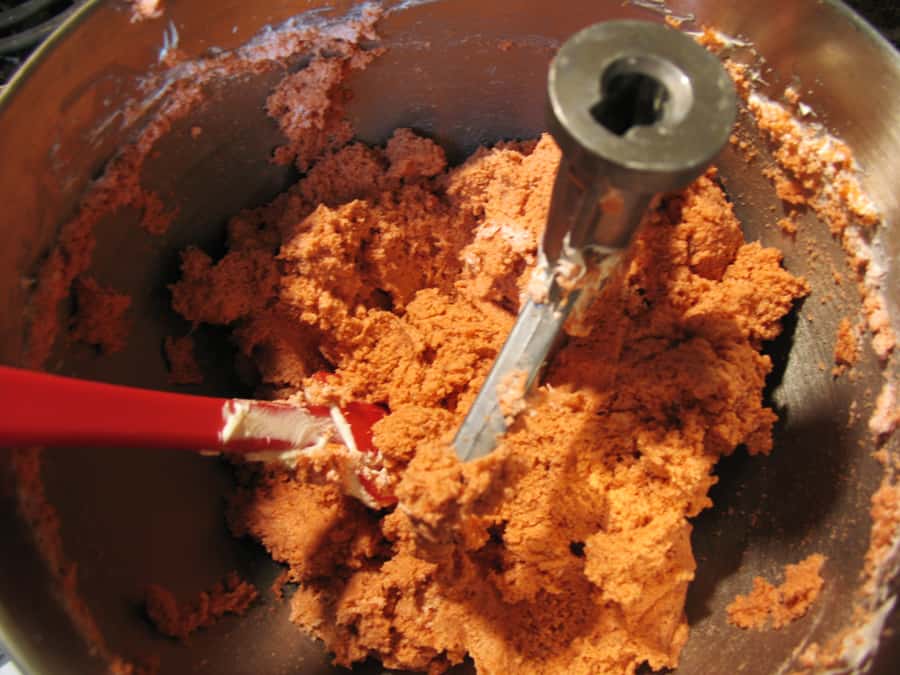
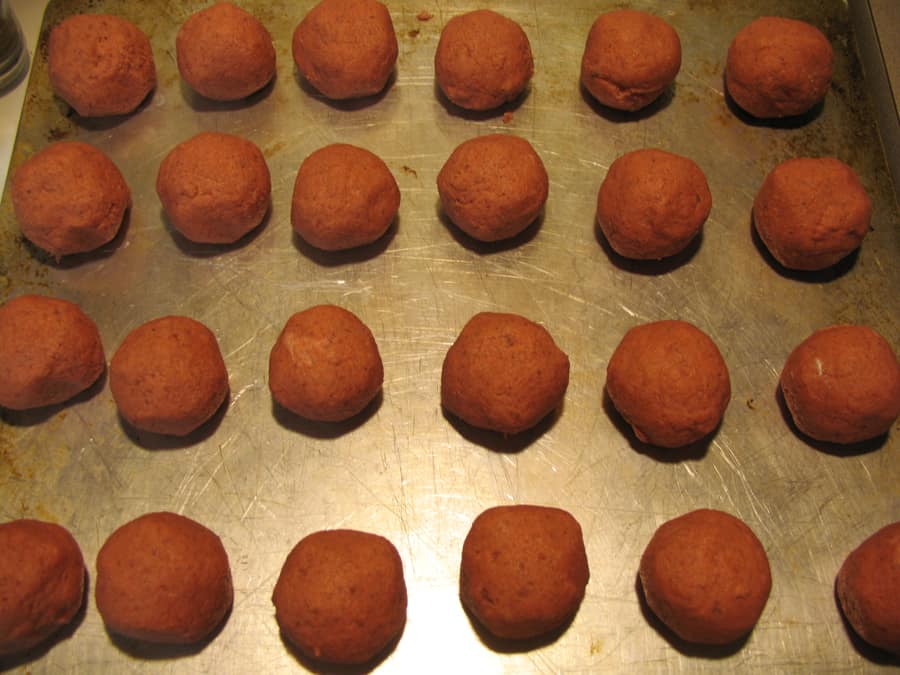
Then, roll it into balls, put them on a cookie sheet, and place in refrigerator to cool (don’t put them in freezer, it will make the candy melt coating crack when you dip them later).
Organize your ‘assembly’ area so that you have easy access to the lollipop sticks and candies and have a place to set them when you’re done decorating, but they’re still goopy.
After the dough balls have been refrigerated for at least 4 hours, heat up the candy melts in a double boiler (if you don’t have one, you can make one yourself by stacking a smaller pan inside a larger pan with 3 or 4 jar rings between them, and adding water about half way up).
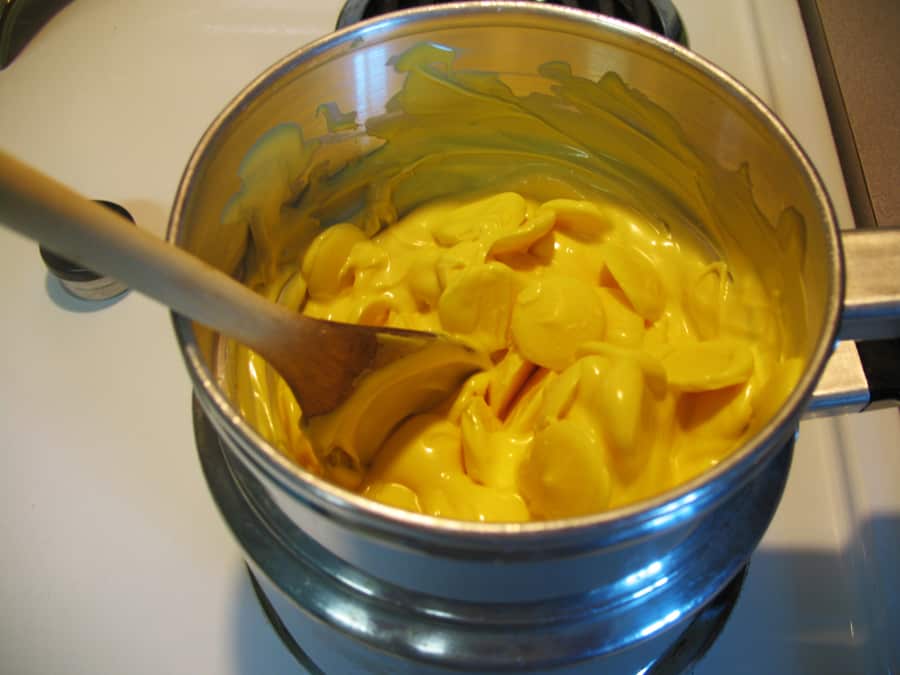
Bring out your dough balls (I found that it was better to leave half the balls in the fridge while you dip the first half to keep them nice and cold), dip a lollipop stick into the candy melts and then stick it into the ball (stick it in as far as you can without it coming out the top of the ball).
After you dip the ball into the candy, GENTLY tap the excess melted candy from it. If you tap too hard, you’ll lose your cake into the vat of candy. Once you have as much of the candy tapped off as you can, add decorations.
For the baby chicks I made, I used orange Tic Tacs for the beaks, star shaped candy sprinkles (pink for the chicken combs and orange for the feet), yellow jelly beans (cut in half length-wise) for the wings and circular candy sprinkles for the eyes.
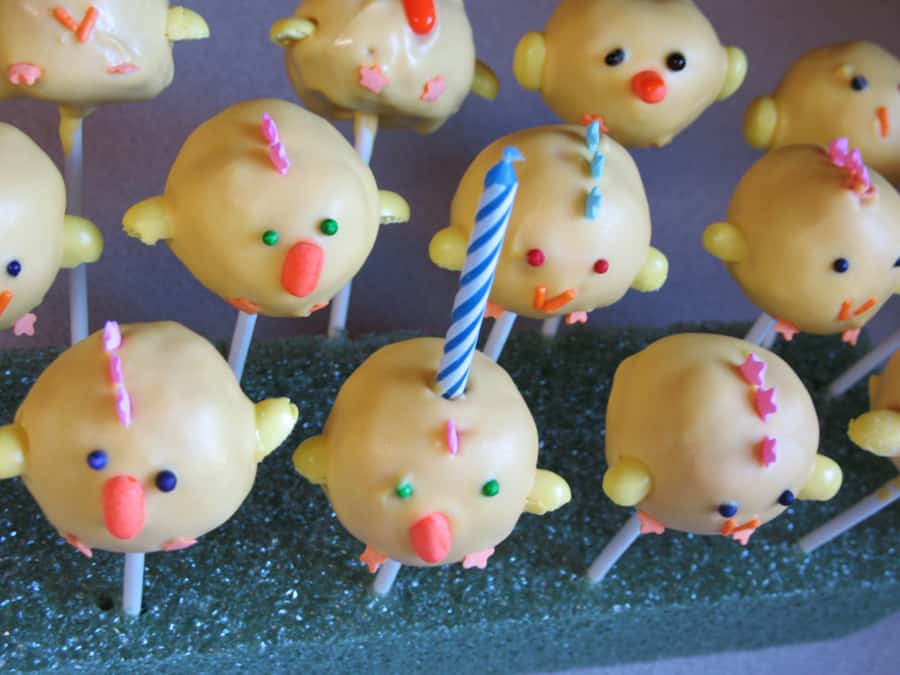
Once decorated, carefully stab them, stick side down, into a piece of Styrofoam. (I thought I could skip this and use an empty shoe box with slits cut in the top, but the cake pops are too top heavy and wouldn’t stand upright, so I had to break down and get some foam.)
If you want to add birthday candles, etc. do it before the melted candy gets hard again. After it hardens, the only thing you can add is frosting (like gel frosting from a tube for eyes and details, etc.)
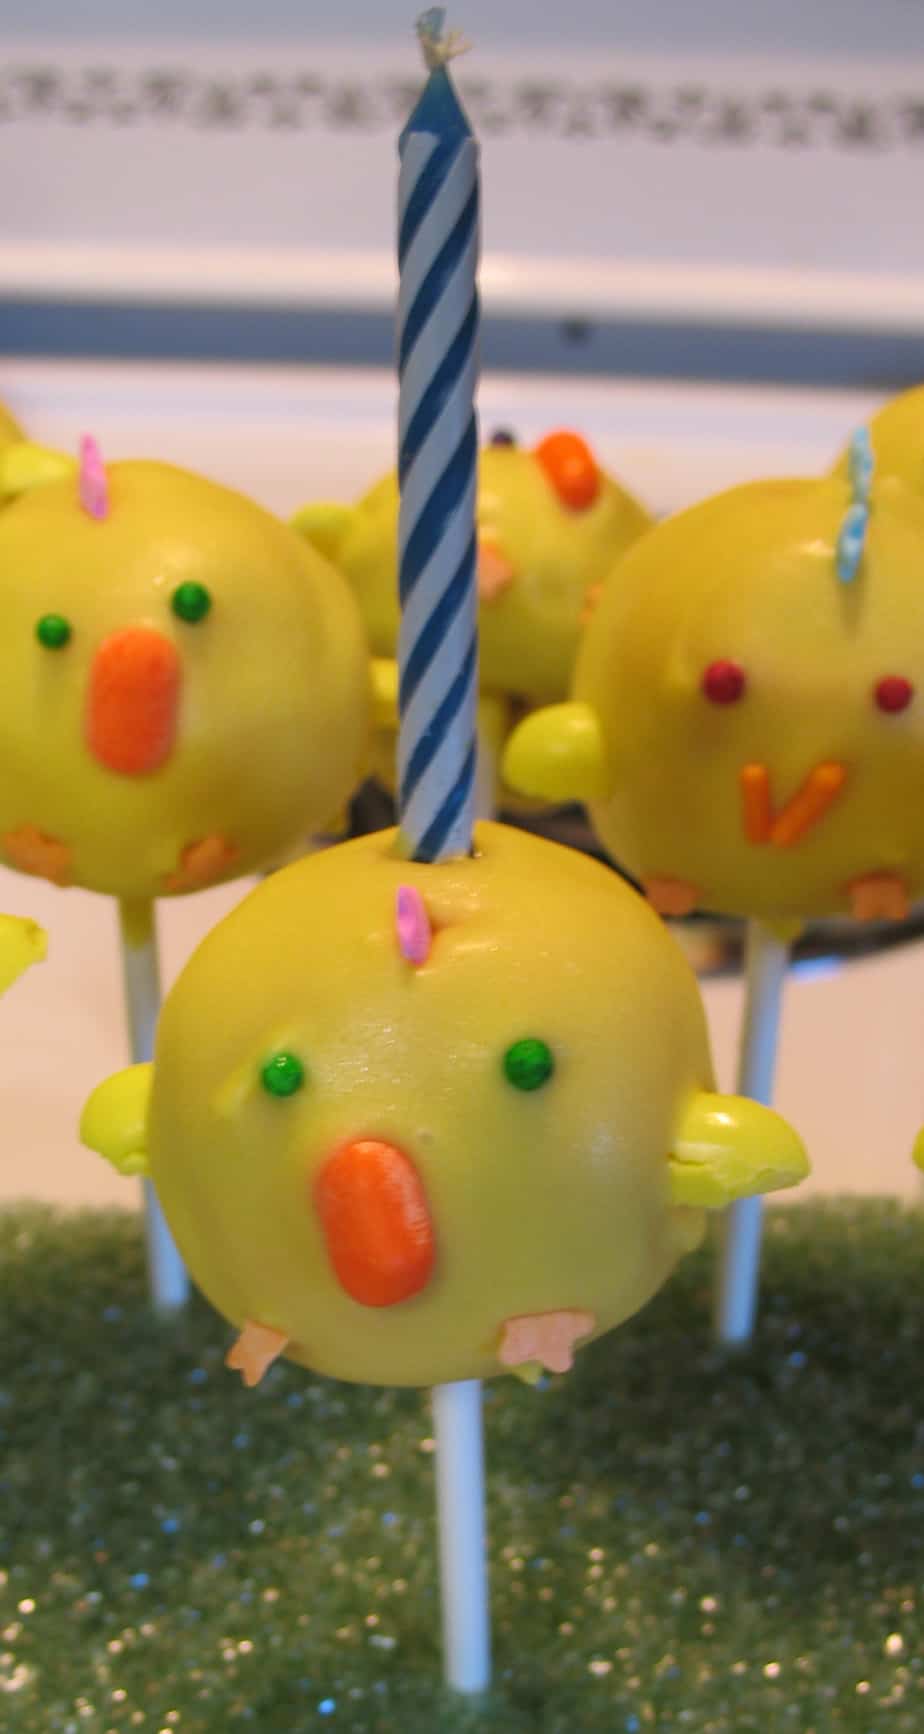
After they’re finished, the only thing left to do is gobble them down.

PS I got a CLAP when I brought them out…that’s worth all the trouble for sure!!
