
I’ve had this pumpkin scone recipe around since before everything pumpkin was all the rage. I don’t even know where it came from, but not the Internet. (Yes, the recipe is THAT old!)
These pumpkin scones are moist and easy to customize by adding different ingredients (dried cranberries, pecans, pepitas, chocolate chips, etc.) MMmm. And they’re super tasty.
Ingredients:
2 1/4 cups flour (plus a bit extra to flour the counter)
1/4 cup brown sugar
1 1/2 teaspoons pumpkin spice (because I’m a cinnamon fanatic, I also sprinkle a liberal dash of cinnamon on top of that)
1/4 teaspoon salt
1 tablespoon baking powder
1/2 cup cold butter
1 egg
1/2 cup pumpkin (either canned or baked fresh pumpkin will work)
1/3 cup milk (regular milk, plant-based milk or buttermilk will work)
Optional ingredients:
Dried cranberries
Pecans or other nuts
Pepitas or other seeds
Chocolate chips
(Roughly 1/4 cup of any of the above or whatever else you can think of to add)
Directions: (for plain pumpkin scones)
Preheat over to 400 degrees
Mix the dry ingredients together in large mixing bowl.
Slice the butter into chunks and use a pastry blender to cut the butter into the dry flour mixture. The butter should be about pea sized and smaller, and distributed throughout the whole flour mixture.
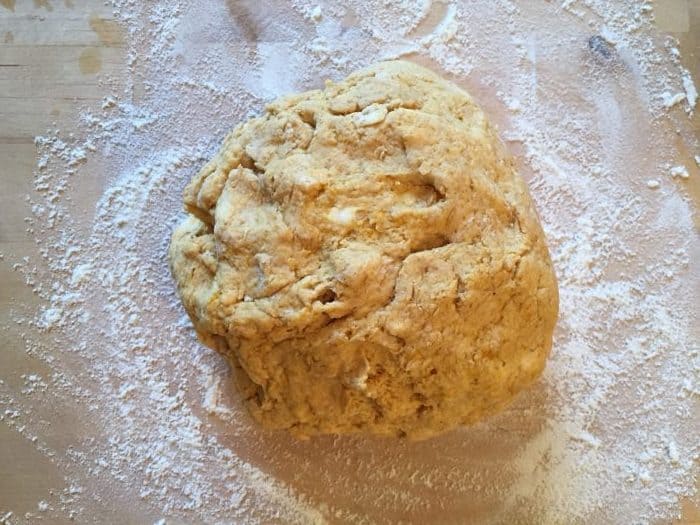
Mix the wet ingredients in a smaller bowl until well blended. Add the wet ingredients to flour/butter mixture and blend together. Mixture should be moist but just a little tacky. If too sticky, sprinkle a bit of flour over the top and knead into the mixture. Pat into a ball.
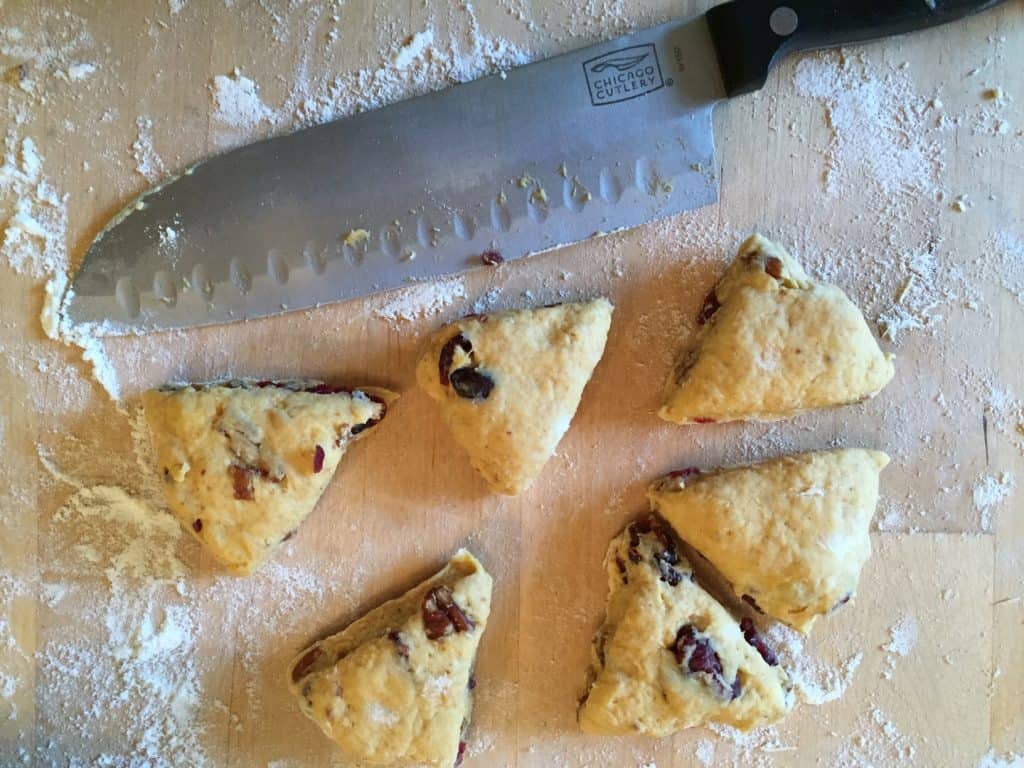
Place your dough onto a lightly floured surface and pat into an 8 inch (roughly) circle. Cut this circle into 8 wedge-shaped pieces and place on a baking sheet or a baking stone an inch or more apart from each other.
Bake for 12-15 minutes. You want them slightly golden brown, but not too toasty. Cool on a wire rack.

Modifications: (for cranberry, pecan or other flavored scones)
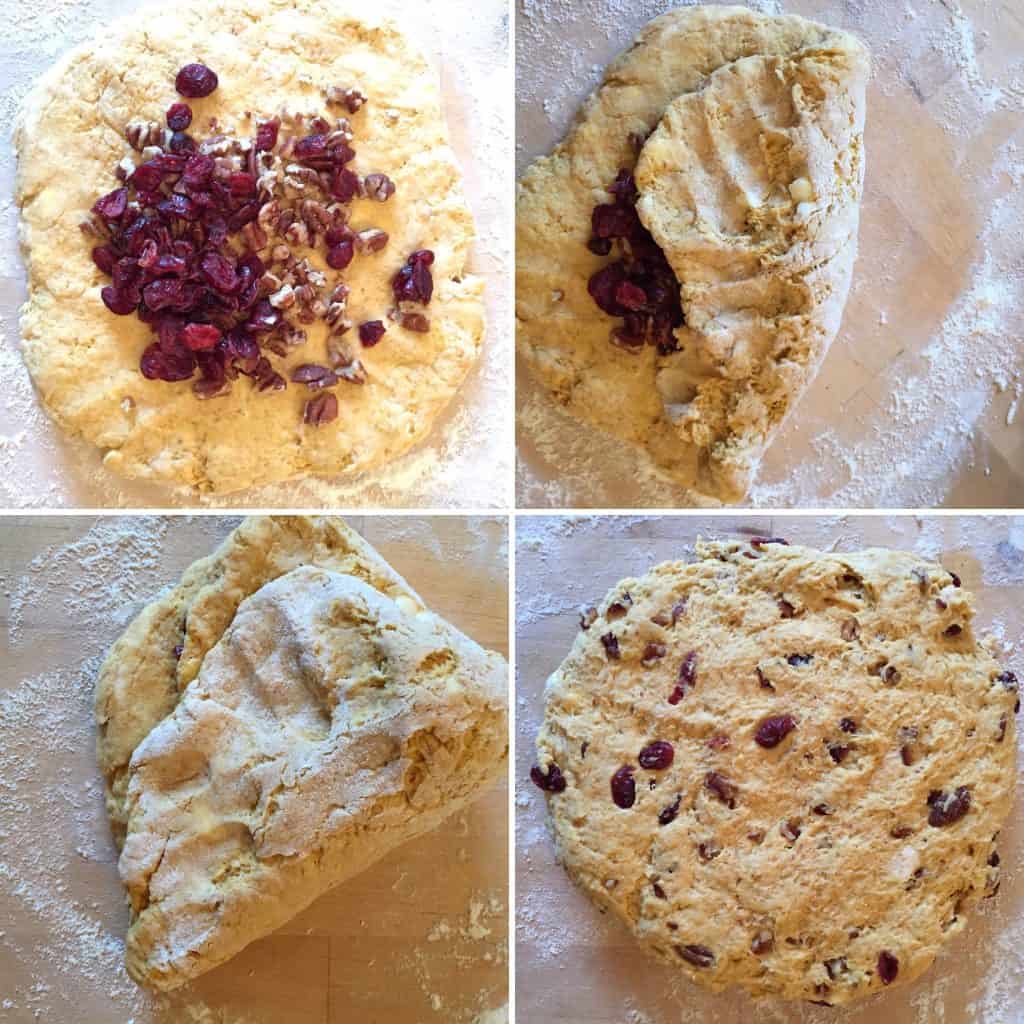
If you’d like to add nuts, seeds, chocolate or cranberries to your scones, after you pat the dough into an 8 inch circle. Pile your added ingredients (around 1/4 cup of whatever you’re using) into the center of the circle. Carefully fold the dough in half and in half again, encasing the ingredients in the dough. Then knead the dough 3-5 times to distribute the extras throughout the dough. Pat the dough back out into another 8 inch circle and cut apart as above.
Modifications: (for mini scones)
Sometimes I like to make mini scones. They’re great for parties (they stretch further), they’re not as filling, and you can make a variety of flavors within one batch. To make mini scones, simply break your ball of dough into three separate balls and follow the directions above, only in mini-size (ie use a couple of tablespoons of added ingredients).
If you’d like them smaller yet, divide those three balls into 2 each for a total of 6 balls of dough (this is usually how small I make them. They end up about 2-bite-each this way.). If you make them this small, I find it easier to cut them into 6 wedges instead of 8.

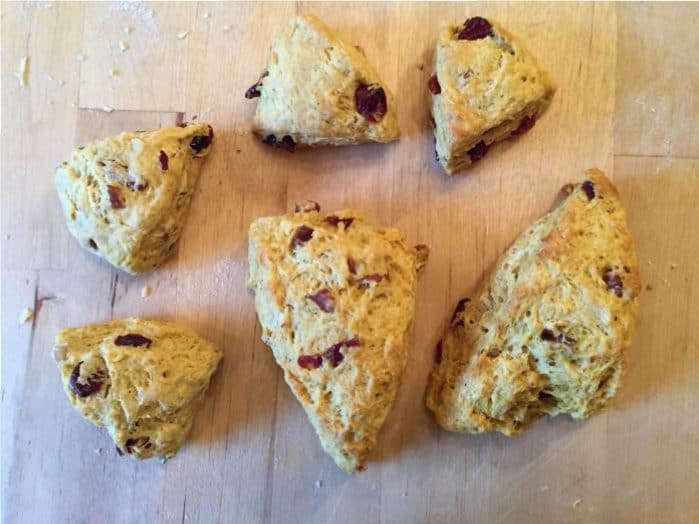
No matter what you put in them, what size you make them, they will bring a smile to the face of anyone who is lucky enough to eat them. MMMmmmm. Enjoy!