The preparation of a brooder is the first thing that needs to happen before you bring your new baby chicks home. While there are many ways you can set up a brooder, there are some basic things you need to make sure you include. Here’s a step by step process to getting all your bases covered before you bring those cute babies home.

So, you’re going to get new baby chicks? Yay for that. Before you bring them home, you’ll need to set up a brooder. Here’s everything you need to know to make that happen.
What is a Brooder?
First, you might be wondering what a brooder even is and why you might need one? In simple terms, a brooder is a place that will house, protect and keep your new chicks warm for the first part of their life. It can be made of various materials and be of differing sizes. You can really spend as little or as much on it as you want so long as it does its job in keeping your chicks safe and warm for the first few weeks of life.
Setting up a brooder BEFORE you bring chicks home is important, as once you have them, you will want to make sure they have a place to live that will keep them warm.
Why You Need a Brooder
Having a set apart place for your babies to live is crucial. Unless you have a broody hen that is going to take care of the babies for you, they will need the ability to keep warm. Baby chicks won’t be able to regulate their body temperature until they’re fully feathered out and have lost all that adorable baby chick fluff. They need help from a heat lamp until they’re old enough to keep warm on their own.
A brooder also contains them while they’re super small so they don’t get lost, get hurt, or get hauled off as a snack by another animal (your cat, your dog, a rat, any number of animals).
This protective environment also shelters them from the elements.
One reason L love having a brooder is the ability to keep close tabs on the babies, picking them up often to check on them (and to get them used to being held so they’ll tolerate it as an adult).
Preparation of a Brooder
There aren’t a lot of materials you need to set up a brooder, although there are many ways you can go about it. The basic supplies include: a container for them to live in, a heat lamp to keep them warm, bedding, containers for food and water.
The Container
First, the container. It can be any number of things. My most common brooder is made from cardboard appliance box (call ahead to a home improvement or appliance store and they will save them for you for free). I’ve also used a large dog crate. Others have used a big plastic bin or a rabbit hutch or a metal water trough. Some folks even build a special brooder to use.
When considering the container, ask yourself these questions:
- Can you keep unwanted animals out?
- Can you keep the chicks in and safe?
- Is it big enough for the chicks to move around and have space?
- Are there spaces for them to escape from the heat of the lamp if they get too hot?
- Will it be easy for you to keep clean?
If you use a box or a plastic container, you’ll want to make sure there is plenty of fresh air getting into the chicks. What I do is cover the top of my appliance box with a square of hardware cloth that’s just bigger than the hole in the box. I then use zip ties on one side and poke holes into the box to make make-shift hinges. Because I keep the brooder indoors and I only have a cat, that’s enough protection for them. However, if you’ve got bigger dogs or other threats, you might need to consider something more secure.

A Heat Lamp
The next crucial part in the preparation of a brooder is the heat lamp. This will help them stay warm. Important points about the heat lamp are:
- Secure it in MORE THAN ONE WAY to keep it in place. SERIOUSLY. A lamp that falls could cause a fire. It happens. Be OVER CAUTIOUS on this point.
- Even with the extra security, make it easy for you to raise and lower the lamp to adjust the temperature inside the box.
- Use a red heat lamp bulb. Don’t EVER use fluorescent!! Chickens can see fluorescent waves and it would be like being stuck at a dance with a strobe light flashing you constantly. It’s not good for them and not comfortable, either.
When you set up the heat lamp, some people use a thermometer to regulate the temperature of the box. I don’t bother with one because the chick’s behavior will let you know if it’s too hot or too cold. If you’ve got it too hot, they will scatter and stay as far away from the lamp as possible, trying to cool down and avoid the heat. If you’ve got it too cold, they’ll be huddled together like a big ball directly under the lamp, trying to stay warm.
What you’re aiming for is them freely wandering wherever they want within the box. That’s how you’ll know it’s the perfect temperature.
BUT! As they get older, they will need LESS heat, so keep watching to make sure they’re not getting too hot. You’ll want to slowly, as they grow, move the light up higher and higher. If you pay attention to them, you’ll always know the perfect amount to move the light to keep them happy.

Bedding
Bedding is important in a brooder. It will give you the ability to keep them dry and clean. You’ll want to be able to access the inside of the container easily so you can change the bedding regularly.
Some people will line a brooder with paper towels for the first couple of days to help keep the chicks from unintentionally swallowing little bits of pine shavings when they’re brand new. I’ve never done that and never had a problem, but it’s really a great rule of thumb.
If you go the paper towel route, after a few days, switch to pine shavings or old cotton rags. As they get older, you can also use straw, but I wouldn’t switch to that for a few weeks at least.
Bedding materials to avoid:
- Newspaper, cardboard or other materials that get slippery when wet
- Plastic (again, because it’s slippery)
- Kitty litter, as they might ingest it.
- Cotton batting, leaves, dirt, straw, CEDAR shavings (the pine ones are great, cedar is too strong-smelling for them).

Food and Water
Of course your babies will need a container for their feed as well as water. You can pick up small feed and water containers at the feed store for practically nothing. You’ll be able to use these smaller containers until they’re ready to graduate to the ‘adult’ size containers.
Using a smaller waterer (quart size) is important at the beginning so that you don’t have to worry as much about an accidental drowning. But as they grow, so will their water consumption and eventually you’ll want to switch to a gallon or larger size (depending on how many birds you have).
Baby Roost Bar
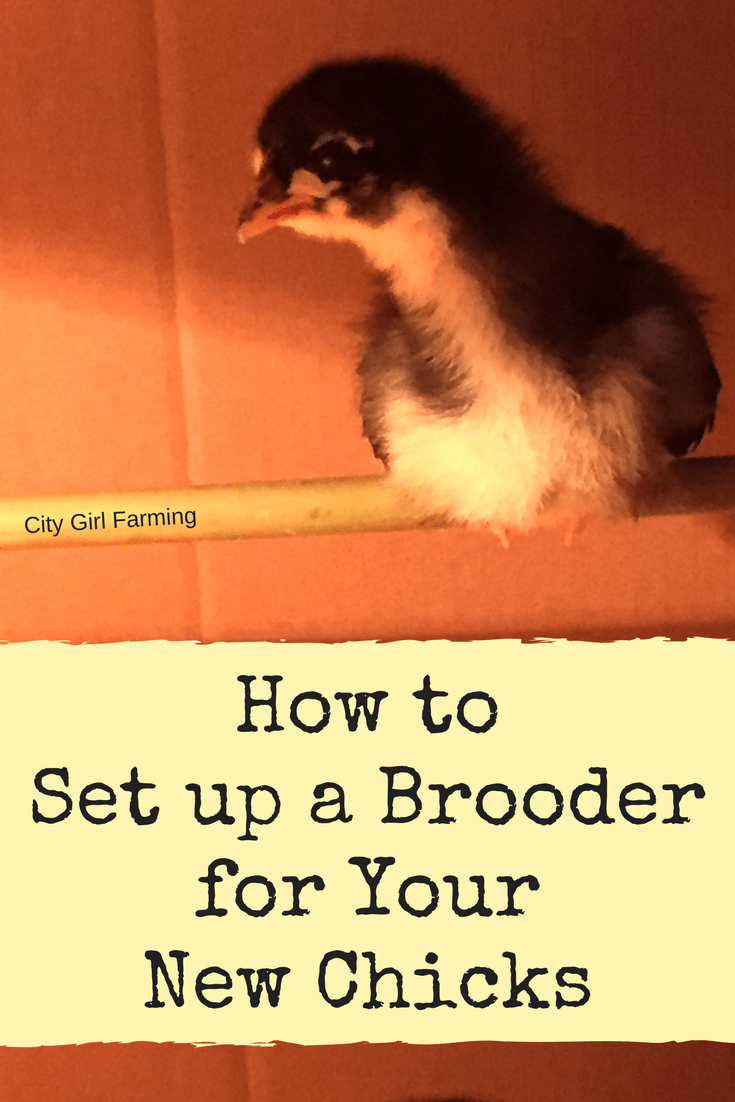
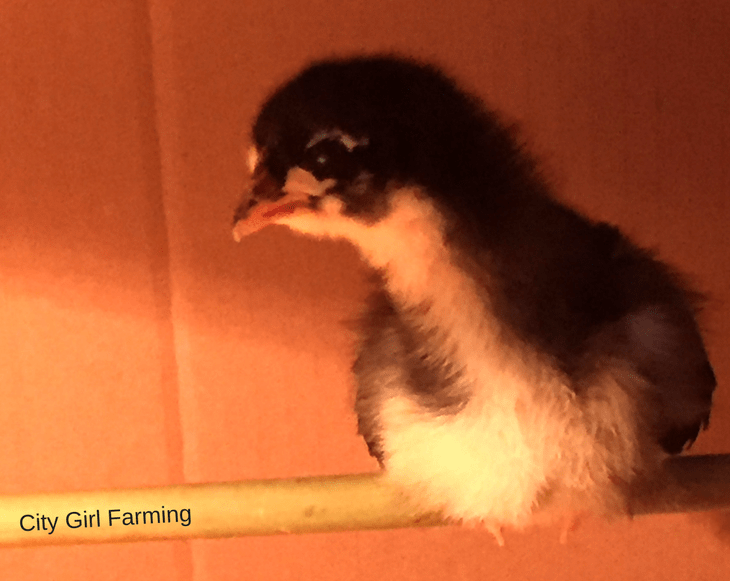
While this is not a necessary part of a brooder, it’s something I always add in. I put up a tiny roost pole for them to roost on. It will take them a couple of weeks to get the hang of it. I use a small wooden dowel or even a piece of bamboo branch, and just place it a few inches off the ground. They will love it. And it’s always entertaining to watch them learn how to balance up on one. You can raise it as they get bigger and more accomplished. 
Now that you see the preparation of a brooder isn’t that big of a deal, you can get it all set up before you welcome those first fluffy, peeping chicks to their new home within your life. If you want other resources for getting started with your new babies, here’s a check list as well as information to help you decide if you should buy medicated or non-medicated chick feed.
And YAY! You are going to SO LOVE having chicks!!!!