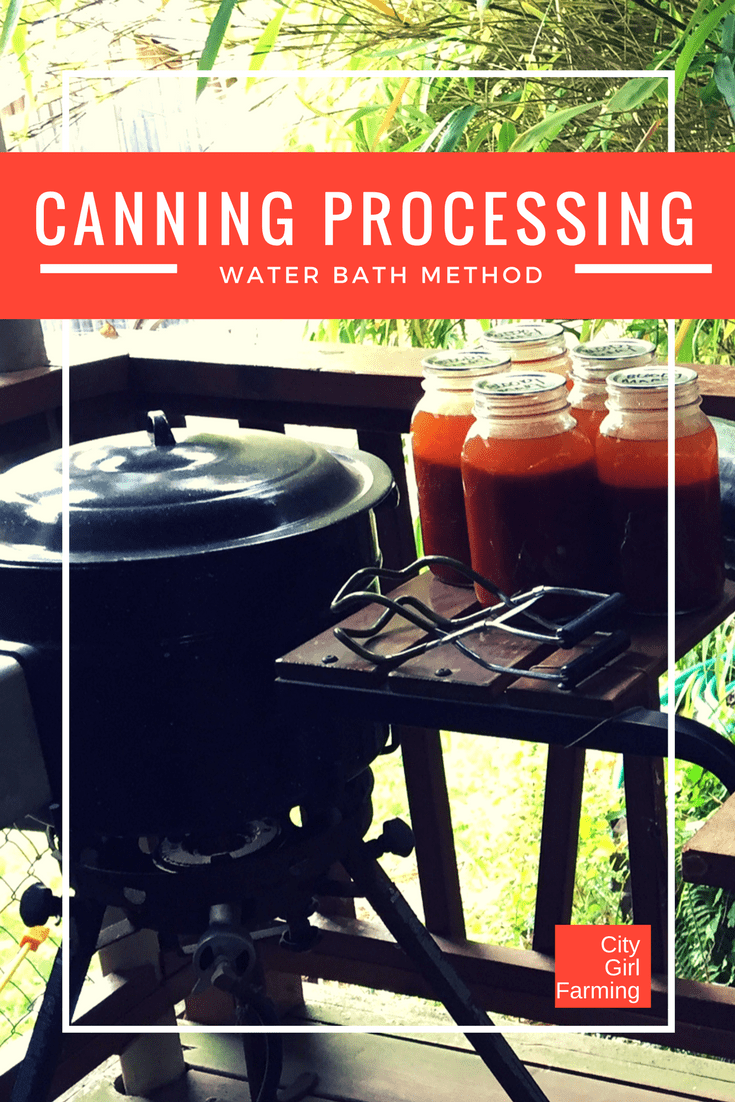
Canning Processing (the Water Bath Method)
Ready to try some home canning? It isn’t difficult. While I’ve been doing it pretty much my entire life, as the ‘home canning craze’ has revved up, I’ve also taught friends (with no prior experience and sometimes even questionable cooking skills) how to successfully can food. It’s fun. And rewarding. (And makes great gifts, too!)
You don’t have to use a pressure cooker to can everything. There are endless possibilities for canning your own food that only requires a simple water bath involving processing your jars in boiling water for a short period of time. Water bath canning is easy peasy….plus, you don’t have to worry about potentially blowing your kitchen up (which can happen but I don’t know anyone it’s ever happened to and I’ve been canning or helping with canning since I was a very young child).
Pick out your canning recipe, gather the supplies and ingredients, and get started! Canning is addictive and not that hard. BUT! The canning process needs to be followed religiously. Follow. ALL. directions. EXACTLY. Don’t cut corners, switch up ingredients, or change the processing type or duration. And breathe. It’s not as hard as it sounds. Let’s get started…

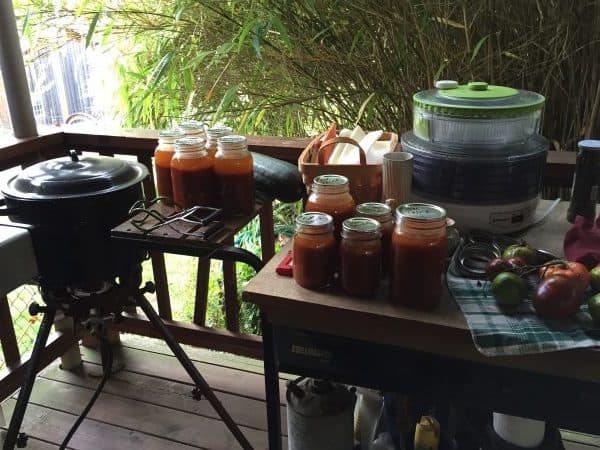
Water Bath Method Supplies
You’ll just need a few supplies, that aren’t very spendy, and that will last you many years to come.
- a water bath canner (like this), or a large pot with a lid *
- a jar rack (like this) If you’re buying a new water bath canner, this jar rack should be included.
- a jar lifter (like this)
- a funnel with a wide mouth (for canning–like this)
- a magnetic lid lifter (like this–this isn’t totally necessary, but they are super helpful, make things a LOT easier, and are under $2!)
(You can often get all the supplies you need, packaged together for a special price like this. And sometimes, if you’re a bargain shopper, you can find canners at yard sales for super cheap!)
You will also need:
- Clean mason jars for canning (like this) I am a total jar addict. I love LOVE jars. But I find it helpful to use WIDE MOUTH jars for most things (unless it’s syrup or something highly pourable). They’re just easier. You can also re-use jars for years, but run your finger around the rim to make sure there aren’t any chips. Even small chips will keep your jars from sealing properly.
- Ladle or measuring cups, wooden spoons, etc. (to get your stuff into the jars and also to make the recipe you’ll be canning)
- Jar rings and NEW jar lids (while you can use the same jar rings for many years, you can’t re-use jar lids. If you’re buying jars new, both rings and lids will come with the jars.)
- All the ingredients you’ll need for the recipes you’re going to be canning
- A clean, wet towel or dishcloth to be used ONLY to wipe jar rims with as you can.
* While water bath canners are pretty darn cheap and will last you basically a million years (give or take), if you don’t feel like investing in one, you CAN use a big pot with a lid. If you’re going this route, make sure the pot your using is at least 4-5 inches taller than the tallest jar you’re caning. Also, you will need some sort of buffer under the jars (between the jars and the pot) as well as some cushion between the jars themselves, to help keep them from breaking during the boiling process. I have used a clean dish towel that I place on the bottom of the pot (and it kinda bubbles up and gets between the jars themselves to help keep them from clinking together as they boil). I place the jars on top of this towel. However, the best bet, truly, is shelling out $20 and investing in a canner. You can use it for years and years to come and it simplifies the process significantly.
Pre-Canning Prep (for Water Bath Method):
First, collect your supplies and make sure they’re clean. Also, gather your ingredients and do any necessary pre-prep work.
Prepare the Canner
Before you start your canning project (unless it’s one that will have to simmer for a very long time), fill your canner about half way with hot water and let simmer while you prep your recipe. This will save you a TON of time later (it takes a LONG TIME to heat up that much water!) Plus, you’ll want your water warm (but not super hot) when you place your jars full of food inside. If the temperature is too extreme (too hot or too cold) you risk a jar breaking as you plunge it into the water. Think around bath water temperature.
Prepare the Jars
Next, prepare your jars. First, they should be washed and sterilized. You can’t skip this step even if you washed all your jars yesterday. Do it again today. Also, it’s a great idea to put in MORE JARS than the recipe says it will make. Better safe than sorry if you run out of jars before you run out of the food you’ve just prepared to can…canning volumes are estimates and can vary slightly. (Besides wanting to make sure they stay clean and sterilized, you also want them to be warm when you fill them.)
There are three different ways you can sterilize your jars.
Method One: The easiest way is to throw them in the dishwasher (which will wash and sterilize them at the same time). Keep the door closed on the dishwasher after the cycle is finished, to keep the jars warm, sterilized and ready to be filled.
But not everyone has a dishwasher (like yours truly–which I’m glad about except during canning season). Thankfully, there are two other methods for those of us living in the dark ages!
Method Two: Wash the jars with hot soapy water and rinse. Then, place them in a large pot full of water (watch for air bubbles. You want to make sure the water gets inside the jars). Bring the pot to a boil. Boil the jars for at least 10 minutes. Then either leave them in the hot water, or move them to a preheated oven (on the lowest setting) to stay warm until you need them.
Method Three: Wash and and dry your jars and then place them in an oven set at 225 degrees. Let them ‘bake’ for 20 minutes to sterilize them. After 20 minutes, turn the oven down to lowest setting and keep them in oven until ready to use. (It’s easier to balance the jars on the oven rack if you use a cookie sheet to put them on. Also, place them rim side up–you want to keep your rim sterilized and clean).
Now You CAN CAN (no, not the dance!)
Once you’ve got the water bath canner simmering and your jars in process of sterilizing, it’s time to get down to the fun part of canning your chosen food! Make sure to use clean, fresh ingredients. And follow the recipe EXACTLY.
During this time, get yourself a shallow sauce pan, fill it half way with water, and put in your jar lids. You’ll want to bring them to a quick boil and then turn them to the lowest setting so they’ll be ready to use.
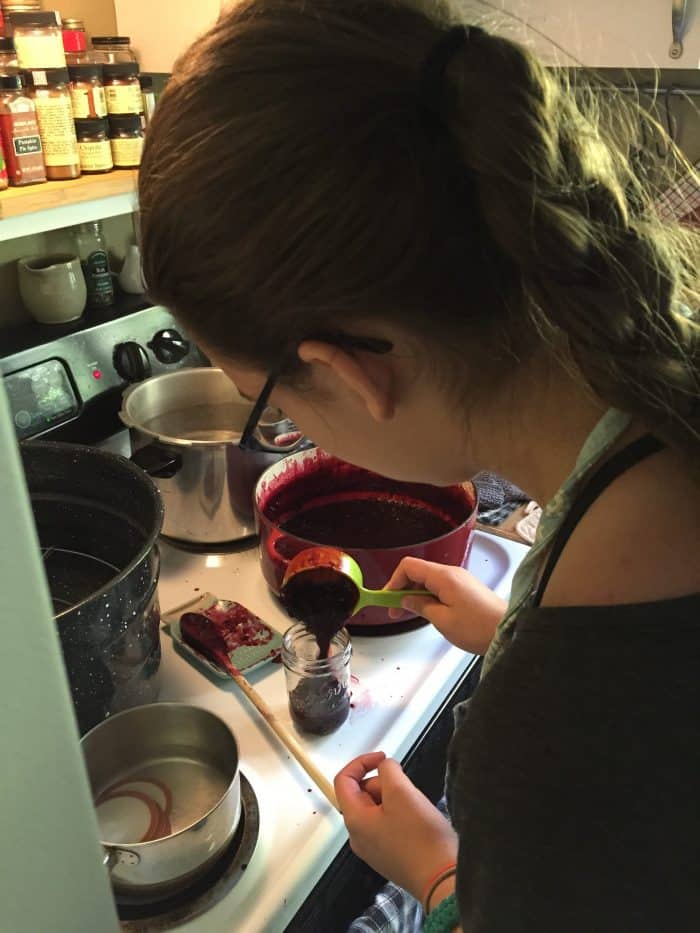
Once your food is ready for canning (and still warm), you’ll want to pull one warm jar out at a time. (Follow your recipe for the jar size, how much head space you should leave, etc.) Fill the jar, leaving the called for space at the top, and take your wet cloth (that’s reserved for only this) and remove any food residue or stickiness from the rim of the lid.
Grab out a hot lid (this is where the magnetic jar grabber comes in handy), place it rubber ring side down on the jar, add a jar ring, tighten (until tight and just a pinch more. You don’t want them too loose or too tight). Use the jar lifter to grab a hold of it and place it in the canner filled with water (before you put a jar in the canner, test the water. You want it warm, but not too hot to keep your finger in the water. If you need to adjust the water, do so before you add jars. You can add cold water to cool it off a bit, or heat it up a little if it’s lukewarm).
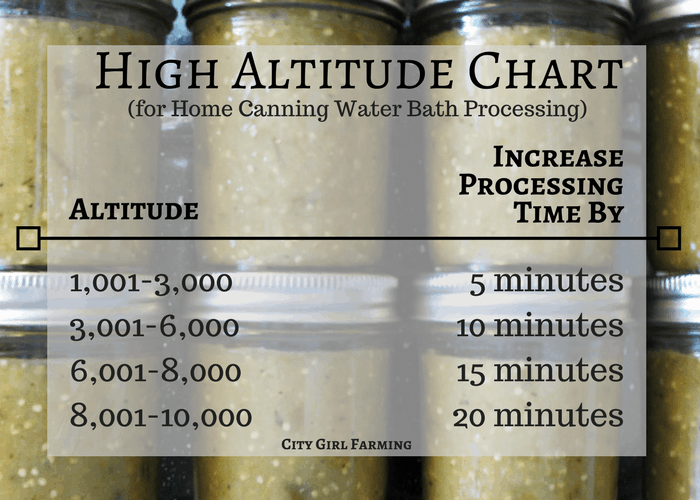
After all your jars are filled and in the canner, add more hot water (if necessary) to bring the water level to AT LEAST 2 inches above the top of the tallest jar. Put the lid on. Bring the canner to a boil (steady but not rolling) and process according to the recipe directions (usually at least 10 minutes or more, depending on your altitude, what you’re making and the size of the jars your using).
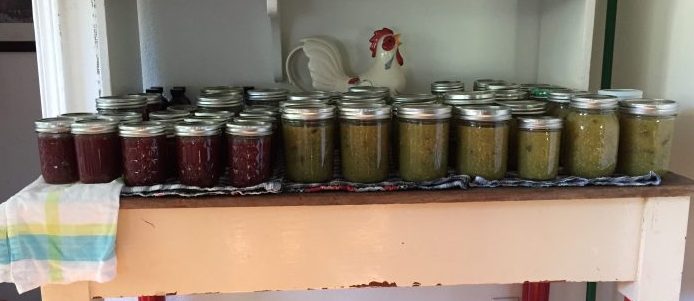
While your jars are processing, find a place your jars can sit (undisturbed for 24 hours) once they’re done. The jars coming out of the water bath will be hot, so it’s good to line your counter with a dishtowels (I fold them over two layers thick) to place the jars on.
Once the jars are done processing, remove the lid from the canner and let everything sit for a few minutes. Then, with the jar grabbers, pick up a jar, pull it out of the water and gently tip it just far enough to dump off any water that’s collected on the top of the jar. Place the jars in the spot you prepared for them to sit for the next day or so. Make sure there’s some space around each jar (don’t let them touch) so they have proper air circulation to cool down. (Here’s a helpful tip if you don’t want hot water all over your kitchen…pick up the jar with the grabber in one hand and in the other hand, pick up the canner lid, upside down. Carry the jar with lid below it, to the location you’ve set up for your jars to cool. The canner lid will catch any of the water that drips off as you walk.)
You will begin (possibly immediately) to hear jar lids popping. THIS IS GOOD! Don’t be alarmed! This means they’re sealing! Once they cool (AND NOT BEFORE), you can test the seal by pushing on the lid with your finger. There shouldn’t be ANY give to the lid. If it moves at all (up and down as you press on it), then it didn’t seal. Refrigerate the unsealed jars and use them soon.
Label your jars with the date and what’s inside! (Here’s some cute ways to label your jars.) Experts say to use this food up within a year, but most home canners will say they’re good for longer than that, a few years for sure. Use your judgement on that. You’ll want to store them in a cool, dark place. And many say they should be stored WITHOUT the jar rings on.
Once you do this a time or two, you’ll realize it really is easy peasy! And so satisfying to make your own homemade food where you know the ingredients and where it’s generally much more healthy than the supermarket alternative! But beware. If you’re not already a jar addict, this might make you one!
Happy Canning!
There are some affiliate links in this post. This means if you click on the link and buy something, I will get a few cents in return. This helps me support this blog and doesn’t cost you anything extra. Thanks!
