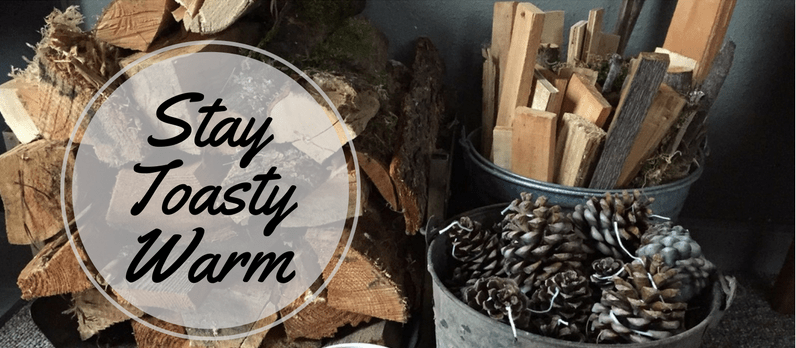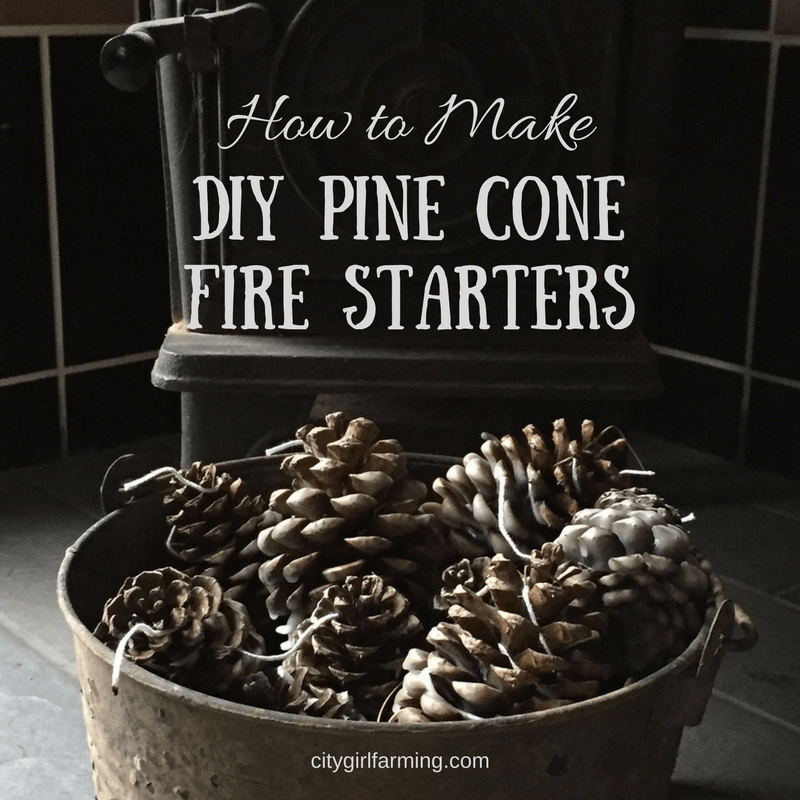
For folks like me that have a wood stove, having pine cone fire starters certainly aren’t necessary, but boy! does it make the morning fire starting much quicker and smoother (and it also looks cool to have a stack of fire starters waiting by your wood pile to be used). These pine cone fire starters are easy to make and you’ll thank yourself for the time you invest now in making them (that will save you time later when you’re trying to get warm).
Here’s how to make your own pine cone fire starters…
Supplies:
- Pine Cones (you will need one cone per fire starter)
- Wax (this time around I used up a bunch of recycled candles that someone gave me)
- A roll of wicking (like this) used to make candles. (Using a roll and cutting it to length will save a bunch of money and is easier to use)
- Scissors (to cut the wick to size)
- A double boiler (or make one yourself like I do–more on that below)*
- Something to line the counter (paper grocery bags, freezer paper, parchment paper, foil, etc.)
- A stick or old wooden spoon (that you don’t care about) to stir the wax
- Essential oils (optional–to add a scent to your pine cones)
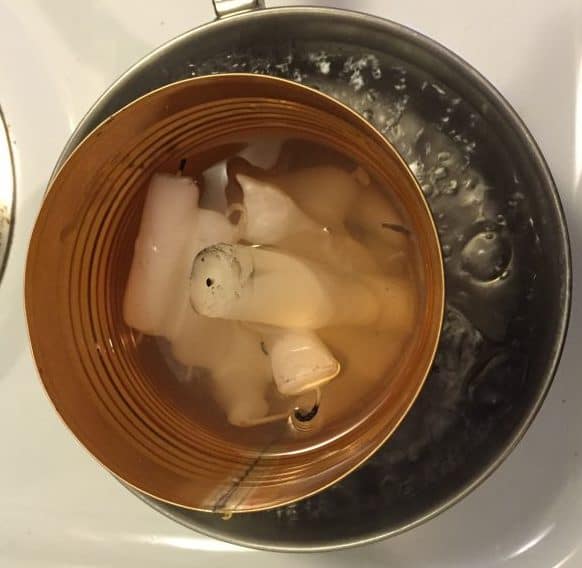
*While I have a double boiler, I don’t use it to melt wax as it will ruin my pot. Instead I put together a makeshift double boiler with a few simple supplies: a saucepan, a couple of canning jar rings, and an empty tin can (the 24 oz size or larger works better– washed out and with label peeled off). Simply place the jar rings in the bottom of the saucepan and put the tin can on top. Fill the tin can with wax to melt and fill the saucepan with water. This will create the same effect as using a double boiler as the boiling water will melt the wax and the wax (which is highly flammable) won’t be in direct contact with the stove burner (see image below–the saucepan is full of boiling water and the tin can is full of melting wax. It’s sitting on two metal canning jar rings–three rings would have been better but wouldn’t fit in this saucepan).
Directions:
Place your wax in the top of the double boiler (or makeshift double boiler like mine) and fill the bottom with water. Bring to a boil. While it’s not necessary to stir the wax as it melts, stirring re-arranges the pieces to allow you to put in more wax to melt and (I think) it makes it melt faster (or maybe it just distracts me so I feel like it’s melting faster). Keep adding wax as it melts down until you have enough wax that you can dip your pine cones down into it and cover them with wax by at least two-thirds or so.
You will also want to keep an eye on the water level of the bottom half of the double boiler/makeshift double boiler. You will want to keep it at a low boil so the water will evaporate out. You will need to add water occasionally to keep the water level as high as possible to aid in the melting of the wax.
While the wax is melting, prepare a surface close by (so you’re not carrying dripping wax all over the kitchen) by lining the counter with cardboard, paper grocery bags, foil, etc.
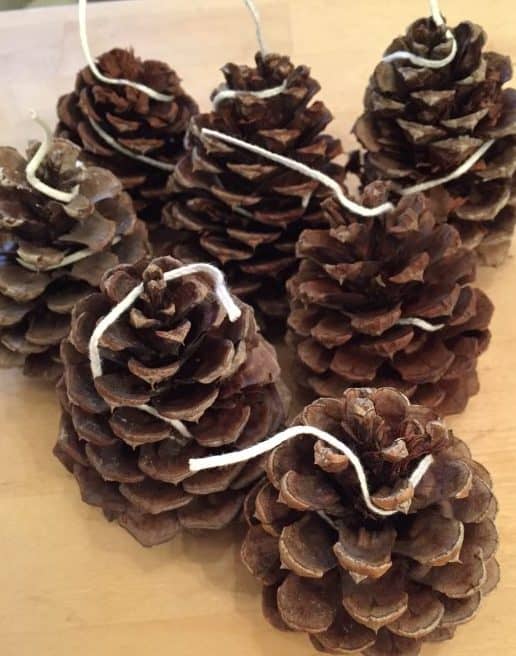
Next, cut 6-8 inches of wick per cone and wrap it around each pine cone, ending by sticking the last little piece of it out the top of the pine cone.
Once the wax is ready, carefully submerge a pine cone into the hot liquid. Pull it out and tip it sideways to drain the excess wax that has pooled in the ridges of the pine cone. Place on the prepared surface to dry. (Don’t worry at this point that it won’t look like there’s much wax on your pine cone, it will build up with more dunking.)
Add more wax as needed to the double boiler, let it melt, and continue to dunk all your pine cones.
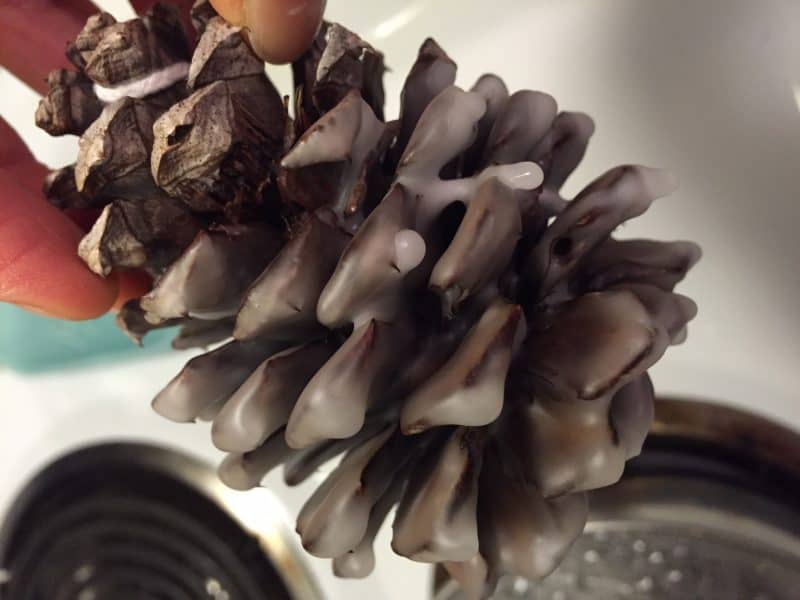
Once the wax on the cones have cooled, re-dip them in the hot wax to begin building a thicker layer on your pine cones. You’ll want to re-dip each pine cone 3-5 times to build up a nice coating of wax on the surface of the pine cones. If I’m adding essential oils, I add them to the last couple rounds of wax dunking to coat the outside with a great smell (you can also recycle your used scented candles for the same kind of outcome).

That’s all there is to it.
To use your new DIY pine cone fire starters, get your fire ready to light in your normal fashion. Nestle a pine cone down into the paper and kindling and start the fire. The pine cone will have ‘staying power’ and will keep burning longer (as it’s basically a candle now) to help encourage the fire along (after the paper has all burned down). I find when I use fire starters that I use way less paper to get things going and the fire starts (and stays) faster than if I don’t. It really does make lighting a fire a lot easier. And I’m all for easy on those cold mornings when I’m shivering in my pj’s after just climbing out of a warm bed into a cold house!
