Thawing out chicken waterers is a pain. A necessary pain, but a pain none the less. Of course I can’t complain since I live in the Pacific Northwest and only have to thaw my girl’s water maybe a dozen times a year. (I know, I know. I’m a lightweight.) I’m fortunate.
But, the water thawing thing is still a pain, regardless of how many days it needs to be done.
Every year I consider buying a water heater like this. And then decide I should just buck up and deal with it. I mean, it’s kinda like having an air conditioner here. Super nice on those 2-3 weeks in the summer when it’s roasting, but a dust collector the other 50 weeks a year.
So this year I decided to make my own heater. It’s so worth the time and effort that I can justify the expense even when I live in Portland, Oregon. YAY!
Here’s all you need:
- A concrete half block (99 cents)
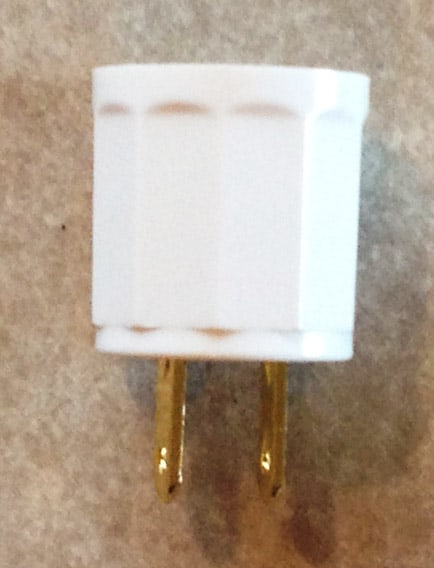
- An outlet to socket light converter plug ($2.09)–see photo below–it’s just a plug in thing for your extension cord so you can screw a light bulb into it.
- A large ceramic tile ( 68 cents)
- An extension cord (there are probably at least 15 in your garage)
- A low watt light bulb (I used 25 w, but you could use up to 40 w)
- Duct tape (it’s in that junk drawer somewhere, right?)
- A hammer
- A screwdriver
Total out of pocket at time of assembly: $3.74
Assembly is almost too strong a word for this project. Truly, it takes just a couple of minutes to complete and none of it is complicated.
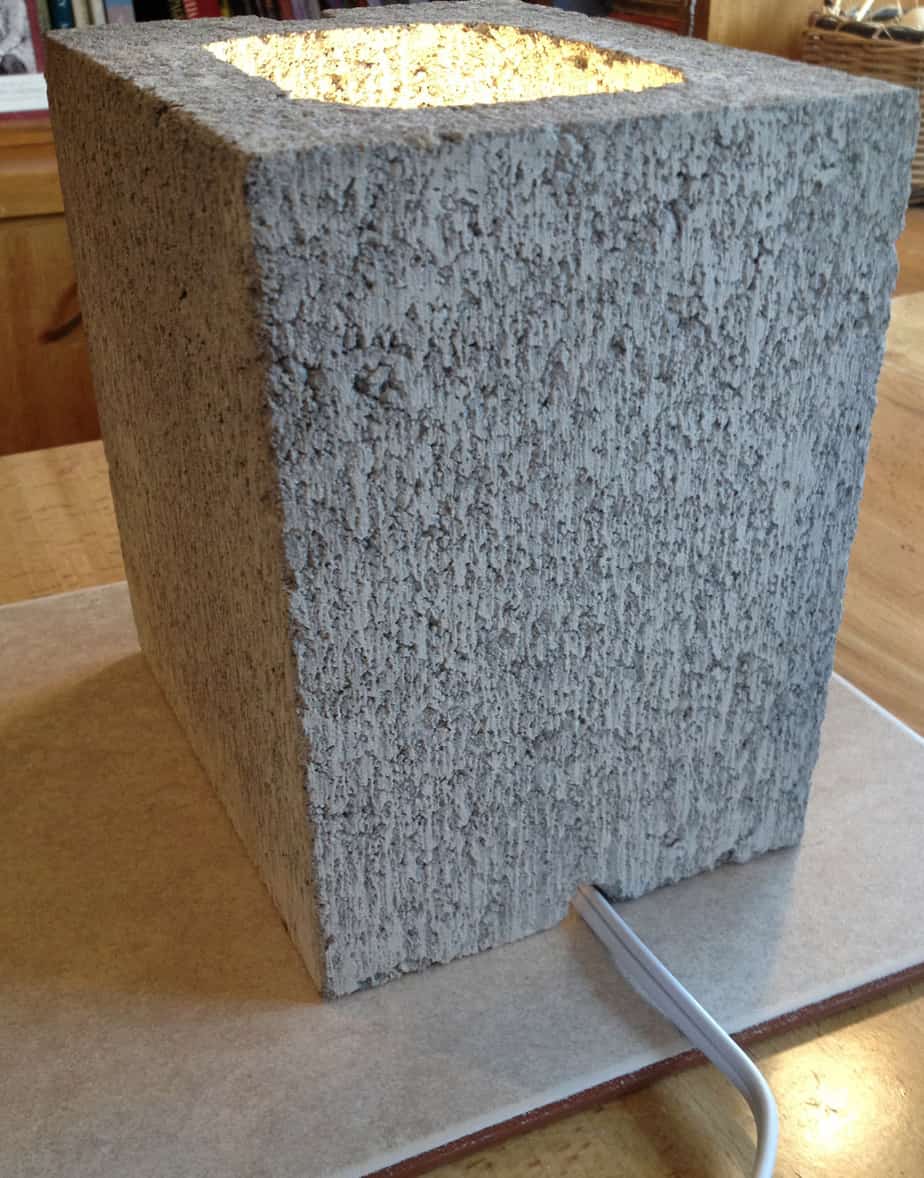
First I took the concrete block and right there where it’s already naturally indented on the bottom, I used a screwdriver and hammer to create a bigger notch. This is so I could place that notch over the cord and everything would still sit straight. It was very easy to do. I didn’t even need to use any muscle power. It chipped off effortlessly.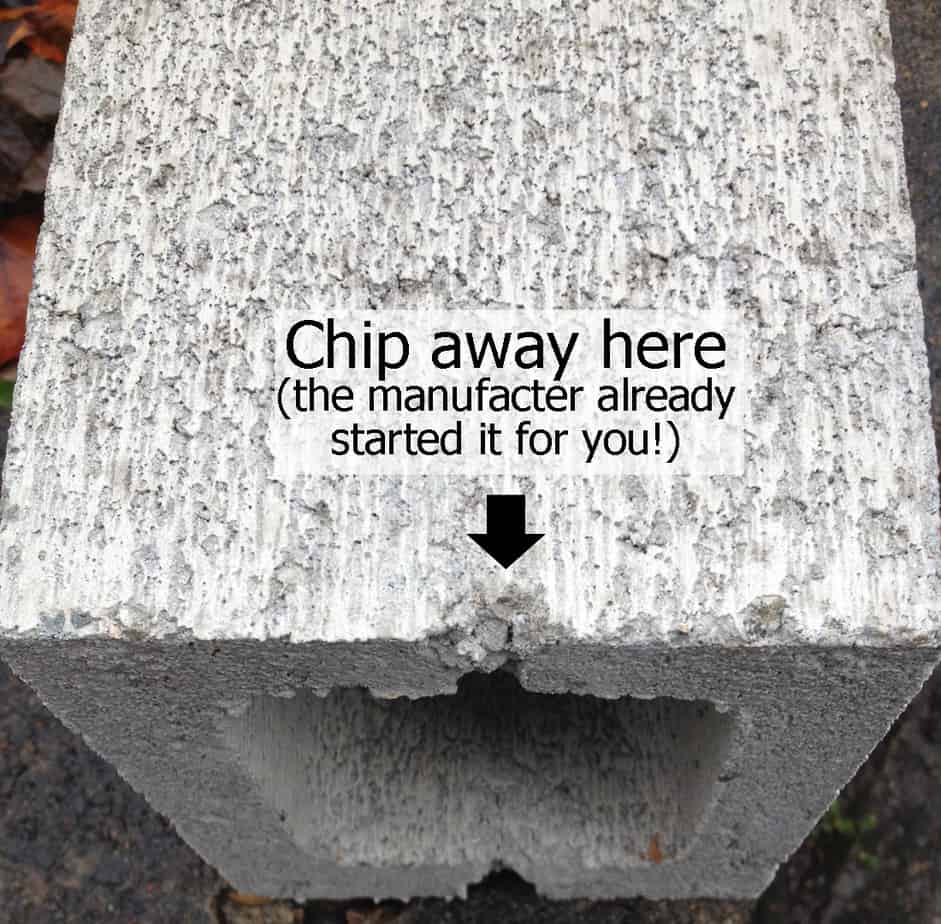

Next, I duct taped the extension cord to the tile so that the light bulb won’t accidently get knocked over. Then I added the socket converter. It simply plugs into the extension cord. And the light screws into the socket.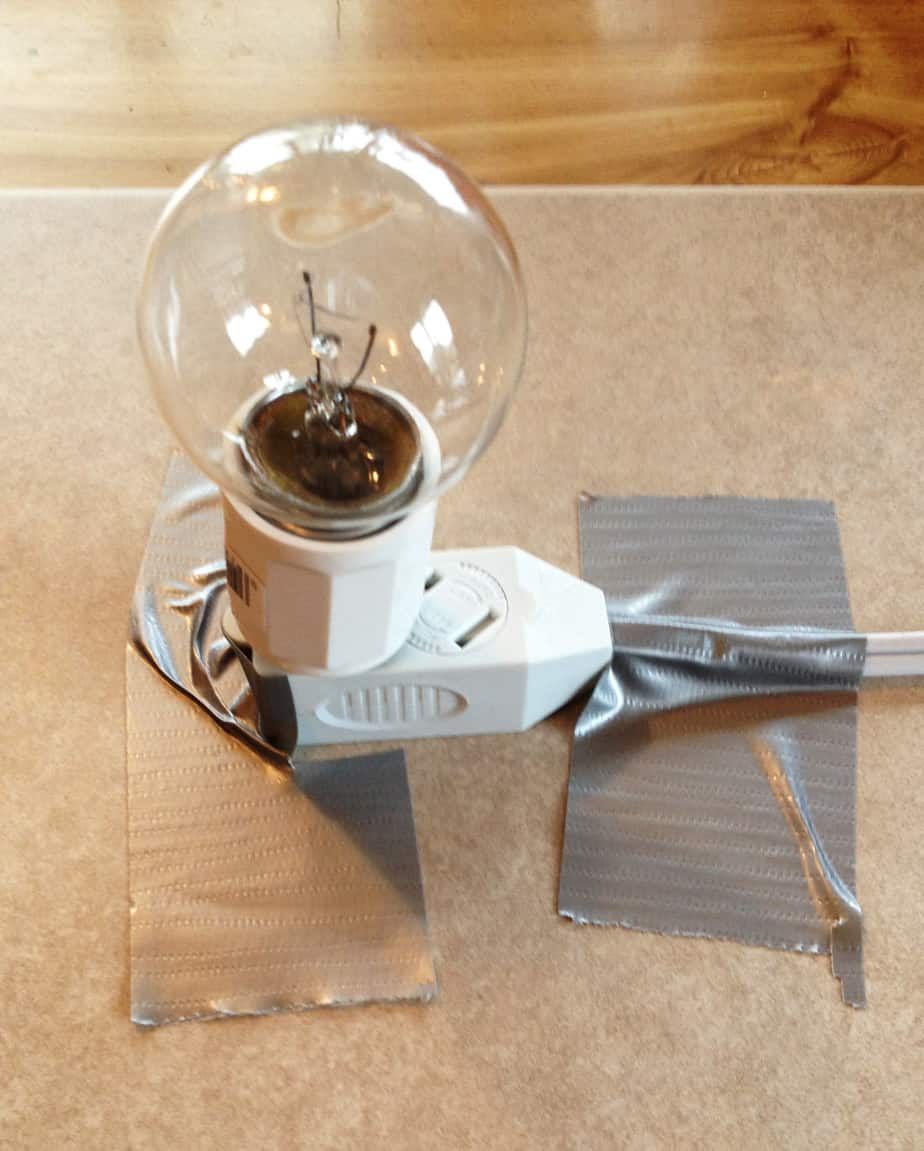
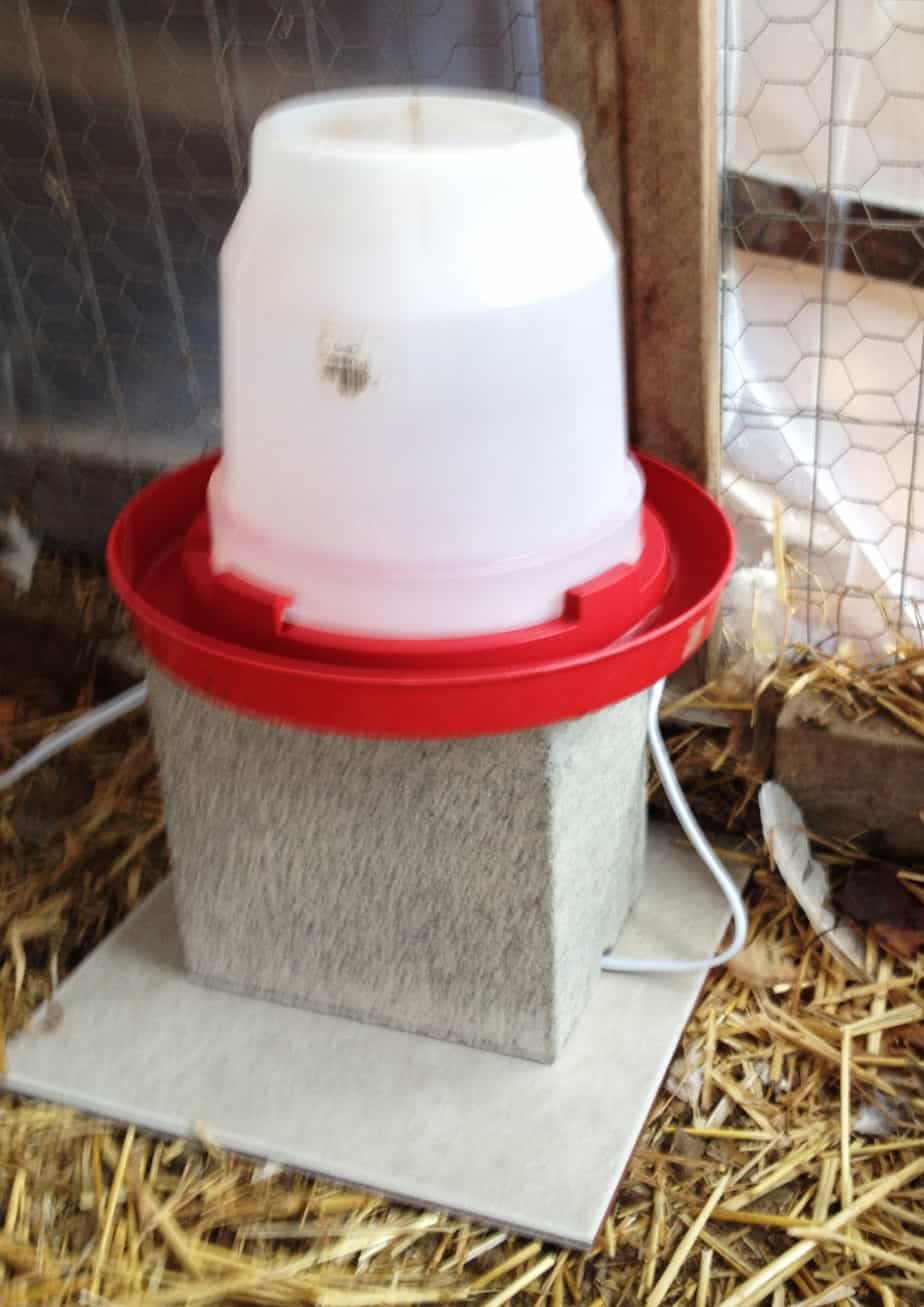
Then, the concrete block sits over the top of the light bulb. And the chicken waterer goes on top.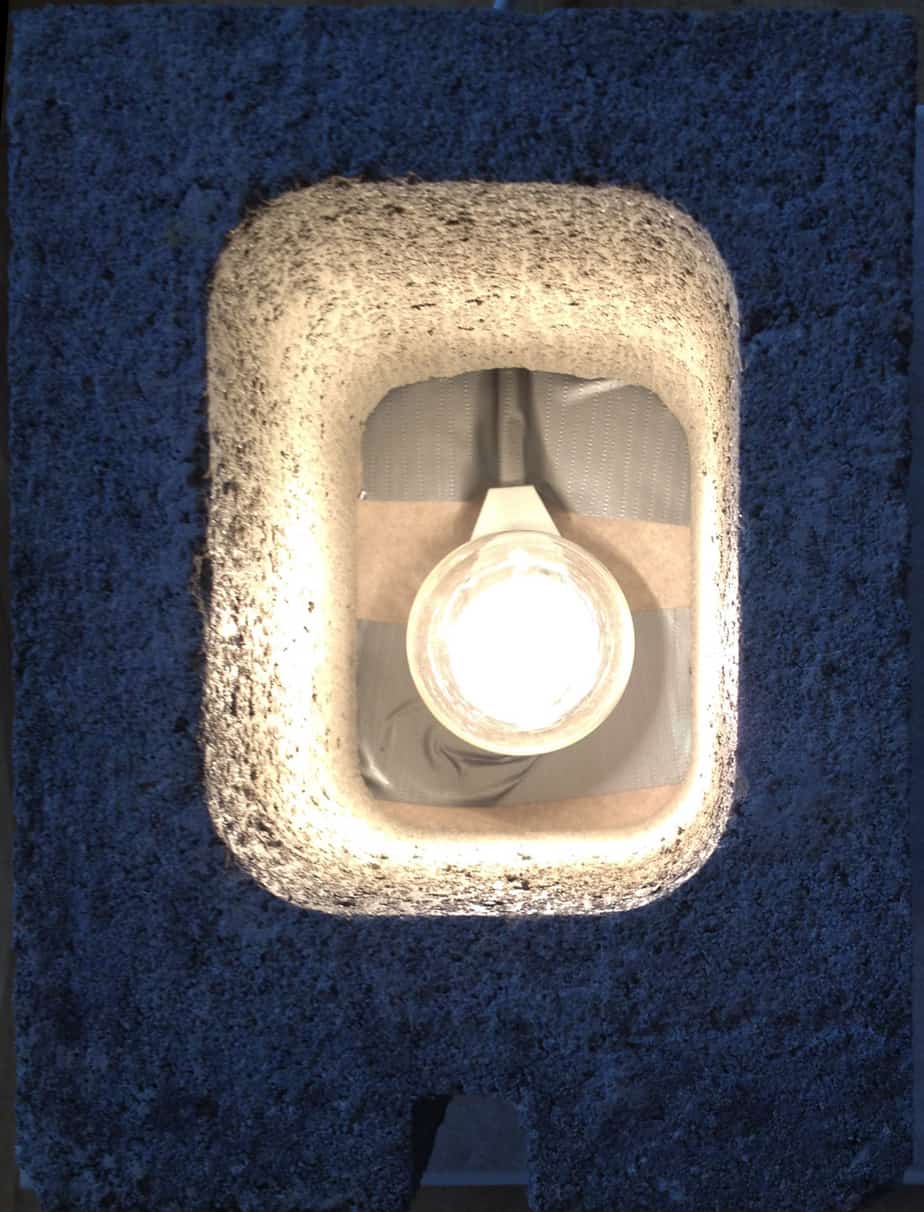
See, it can’t get much easier than that!
It doesn’t take much heat to keep water from freezing, and even when it freezes here, it doesn’t go super low, so I thought a 25w bulb would do the trick for me. If you live somewhere colder, you might want to use a 40w bulb. But even in very cold places, 40w should do the trick.
I placed it all on a tile for stability and less fire hazard opportunities.
One note: the home improvement guy did say that the indoor extension cord I was going to use would be okay as long as it wasn’t out in the rain. Since my chicken run is covered (and has it’s winter plastic up on the side where the waterers sit) I decided to use the indoor plug simply because of how the socket converter sits on the plug in–nice and flat. I will connect this indoor cord to an outdoor cord that will run across the yard to the house outlet (which is inconveniently located far from the coop). Considering I’m just using a 25w bulb on the coldest days this year, I think the set up is perfectly fine and the home improvement guy agreed.
(Oh, and this might be a good place to tell you I am NOT an electrician and although I consulted the guy in the electrical department at the home improvement store, please use common sense and proceed at your own risk.)
If you want to get really fancy, you can also use a timer that turns the light on when the temperature dips down just above freezing, and turns off when it warms up a bit. (Like this one here). They’re less than $14 and would be pretty nifty. It just plugs into the outlet and then you plug your cord into it. Another easy peasy solution to help make winter a bit kinder on us all.
****UPDATE****
After setting up the heater, we actually got some FREEZING temps here. Colder than I ever remember in the almost 30 years I’ve lived in Oregon…so I got a chance to try my new heater out. Turns out, for 8 degree weather, a 25w bulb will NOT do. I had to switch up to a 40w, which kept the water mostly thawed, and certainly thawed enough for drinking.
I also realized, once the temps dipped that low, that duct tape does NOT want to stick to tile. So, I got a piece of wood and a couple of U nails and hooked it all together that way. (If you do this, be careful not to puncture the cord!)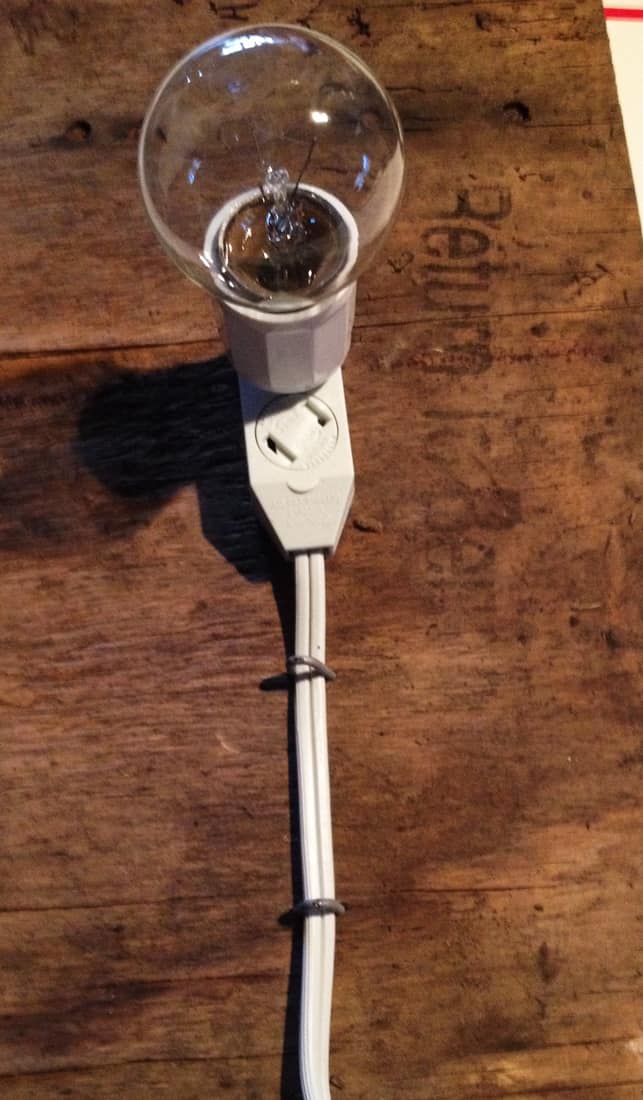
After a question was asked in the comments about water dripping down into the electrical stuff, I decided to add a disposable aluminum 8×8 cake pan over the top of the brick–it fits really well–and will create a barrier to keep water out.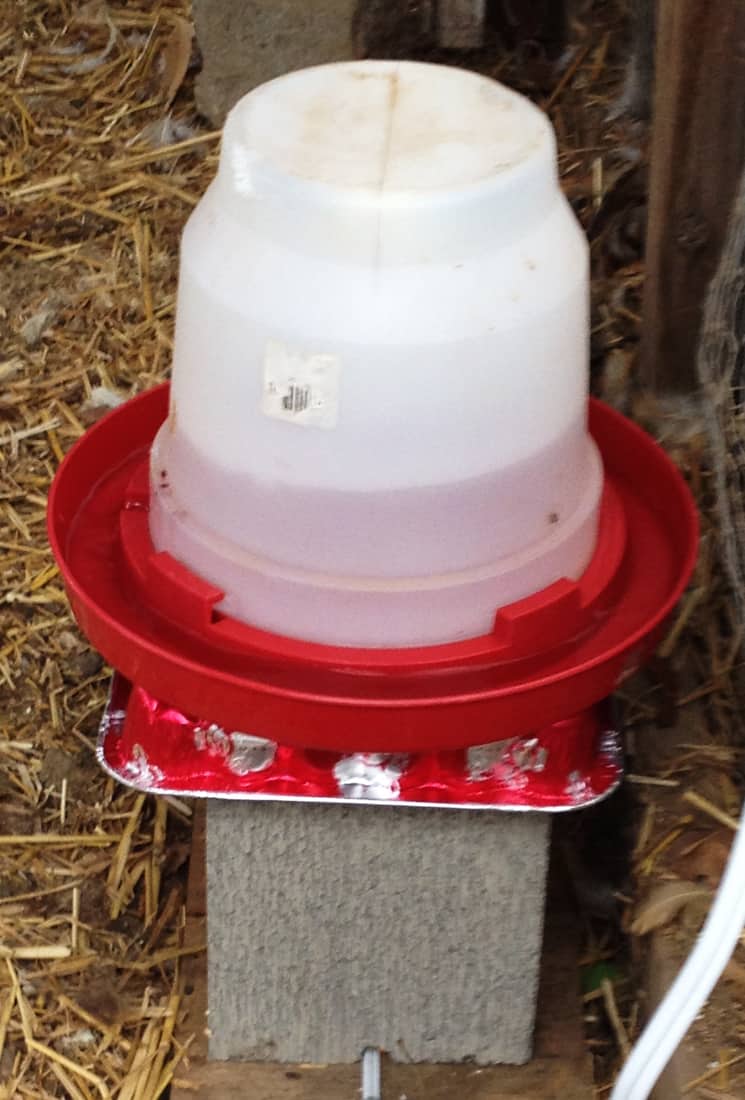
With more than a week of freezing temps behind me, I’m so glad to have worked out the kinks on the heater and even more glad it works. It’s definitely made me life easier this past week. Thankfully!
