 We’re officially in the middle of a brand new chick season and lots of you are buying new chicken stuff, getting prepared for chicken parenthood. As your babes grow, you’ll need to invest in adult chicken feeders and waterers. They come in all shapes and sizes (metal and plastic), at varying prices. The types and styles you’ll end up with will likely depend on both your flocks needs and how much cash you have to spend.
But, if you have a small amount of time, and about $3, I can show you how to make an automatic chicken feeder that works great for a backyard flock (for up to about 12 chickens or so).
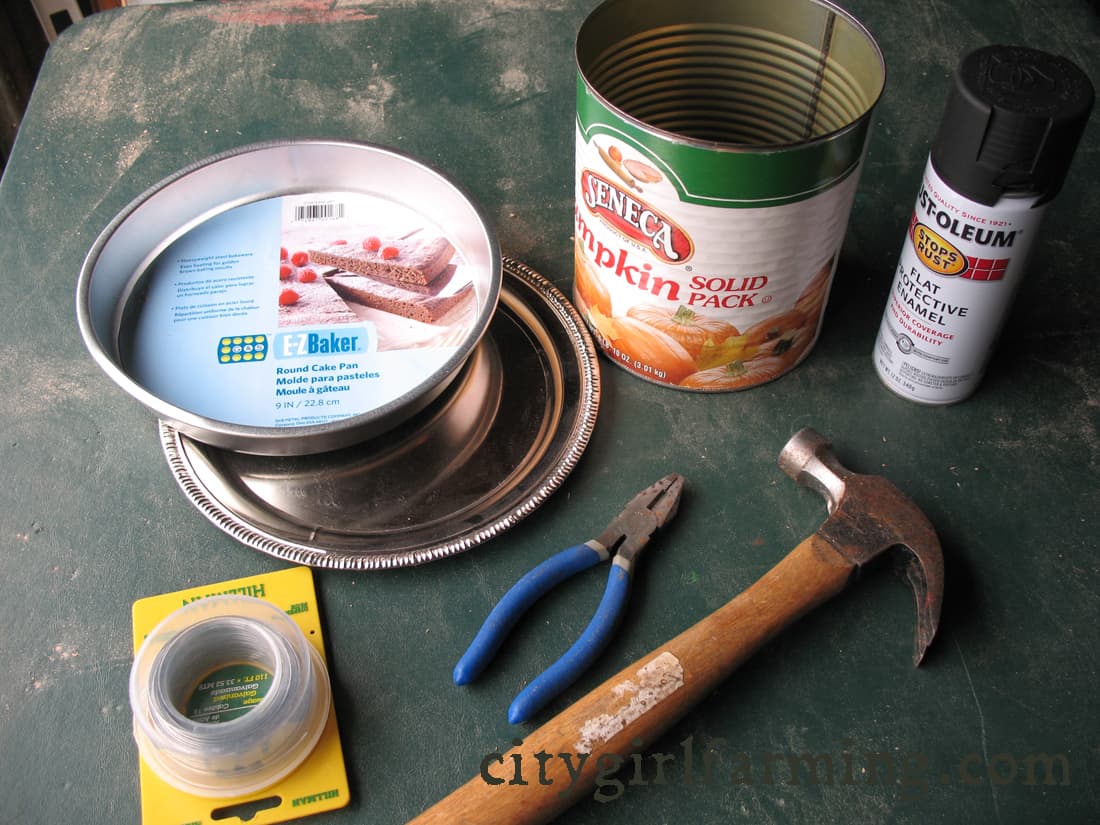
All you need is:
- An empty #10 can (you can get these free if you don’t use cans this large. Check your child’s school or daycare cafeteria, or your favorite restaurant. You’re bound to locate more than you’ll ever need.)
- A bit of wire (I already had galvanized 18 gauge wire laying around the garage so I used it, and it’s worked great for the 2.5 years my flock has used the feeder I made).
- A 9 inch cake pan (from the Dollar Store)
- A ‘silver plated’ serving tray (also from the Dollar Store)
- A hammer, a nail, and some wire cutters
- Rustolium paint (I didn’t do this step on the first feeder I made and although the feeder held up great, the outside of both the can and the cake pan rusted. So, I added this step in making one to show you. I wanted an excuse to re-make the original feeder anyway!)
- A hook to hang the feeder from (I used one of those yellow rubber coated bicycle hooks that I also found in the garage.)
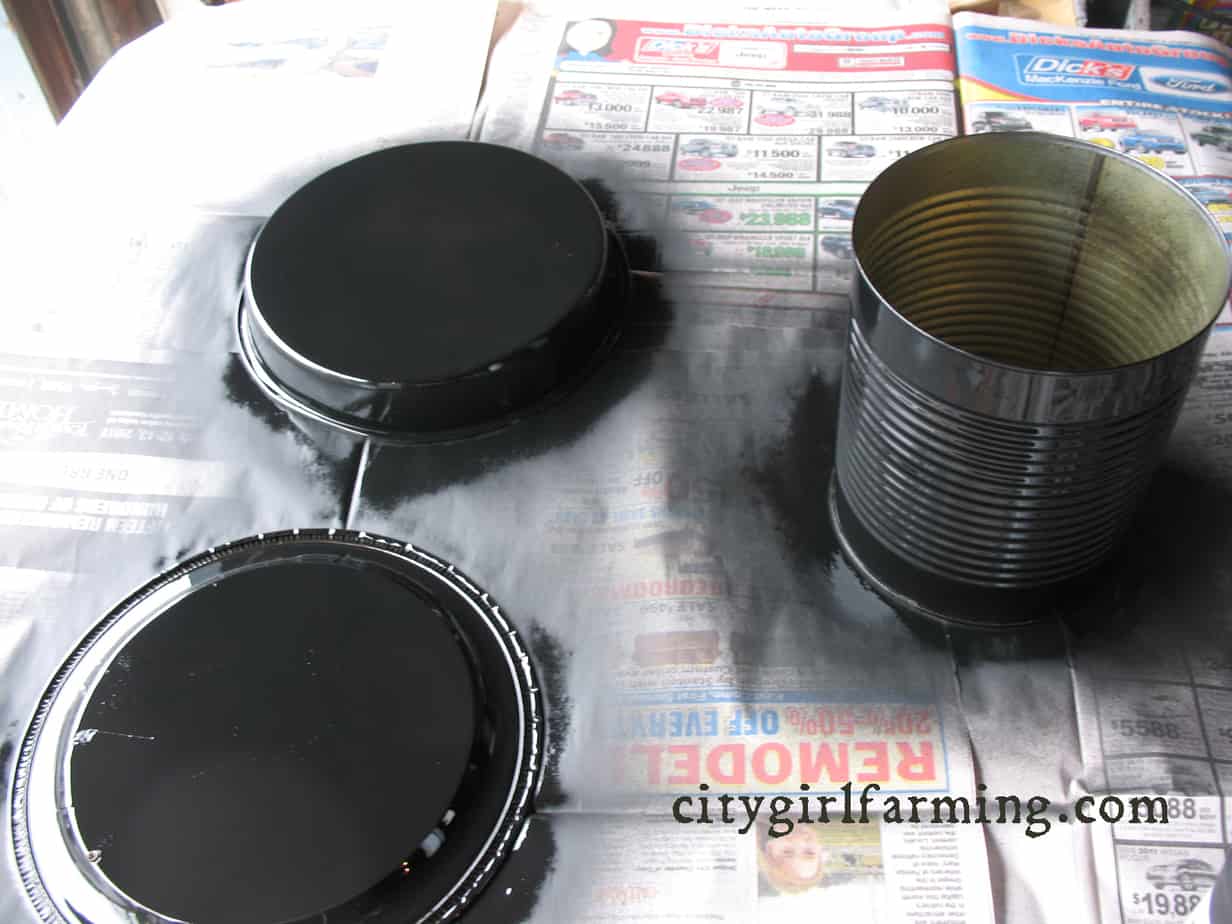
First, wash and cut out both ends of your #10 can. Spray it and the bottom of the cake pan* with Rustolium (you can use any color you’d like, but since chickens are attracted to red, I steered clear of that color, even though it would perfectly match my coop.)
(*The inside of the can pan on my first feeder didn’t rust, just the outside did, so on this second round of feeders, I’m only going to coat the outside with paint.)
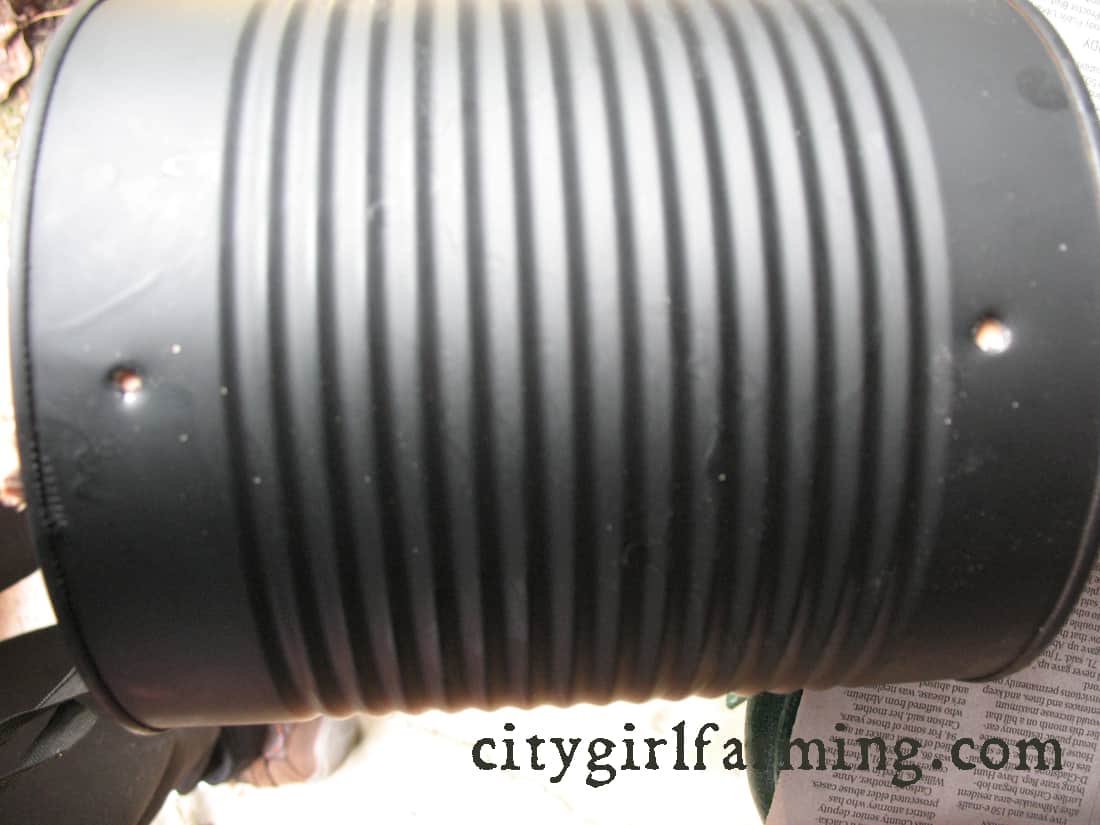
Next, take the nail and hammer a hole in one end of the can, about an inch from the lip. Do this in equal (more or less. I didn’t measure anything) intervals around the can so that you have 4 holes total.
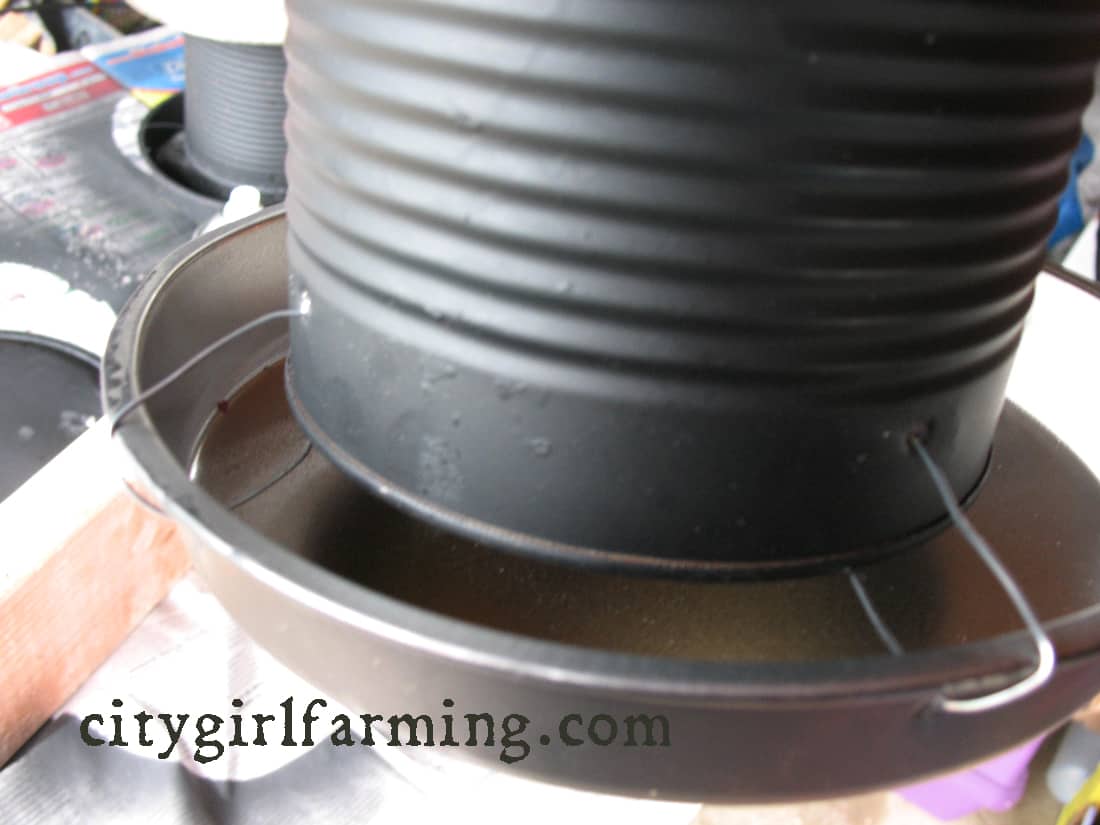
Repeat this just under the lip of the cake pan, making sure the holes in the can line up with the holes in the cake pan, as you’ll be stringing wire through the holes to hold it all together.
On the opposite end of the can, nail an additional two holes across from each other. This will be where you string the wire that the feeder will hang from.
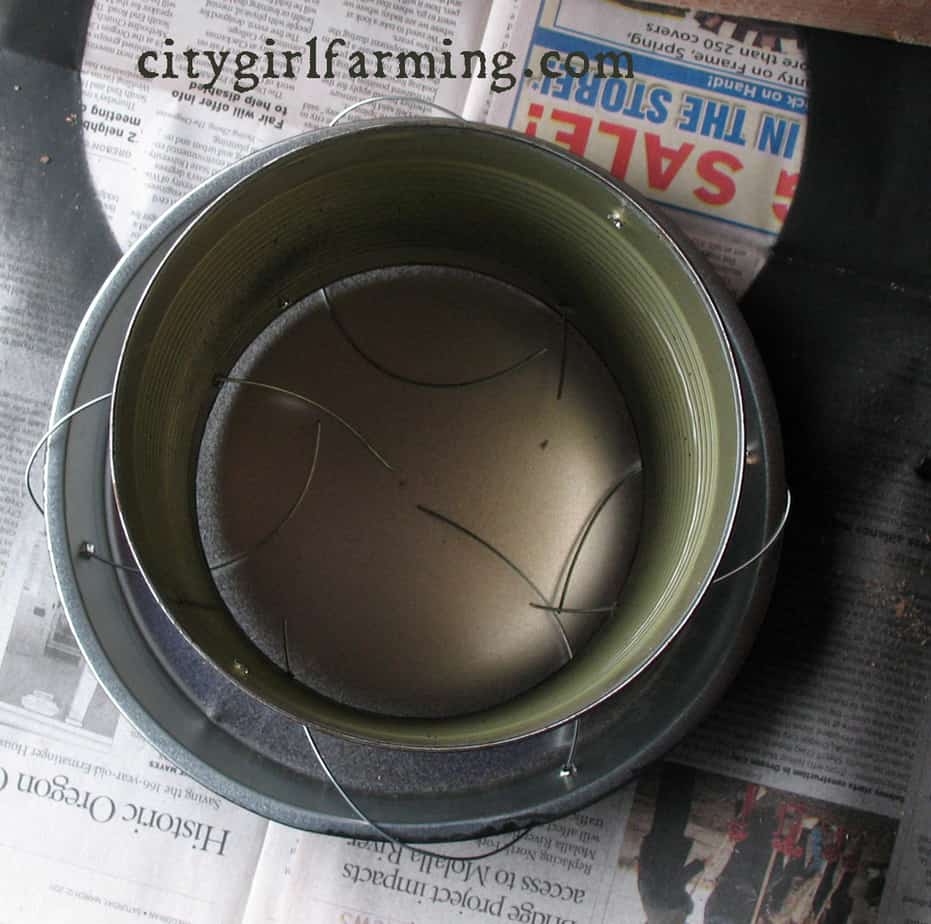
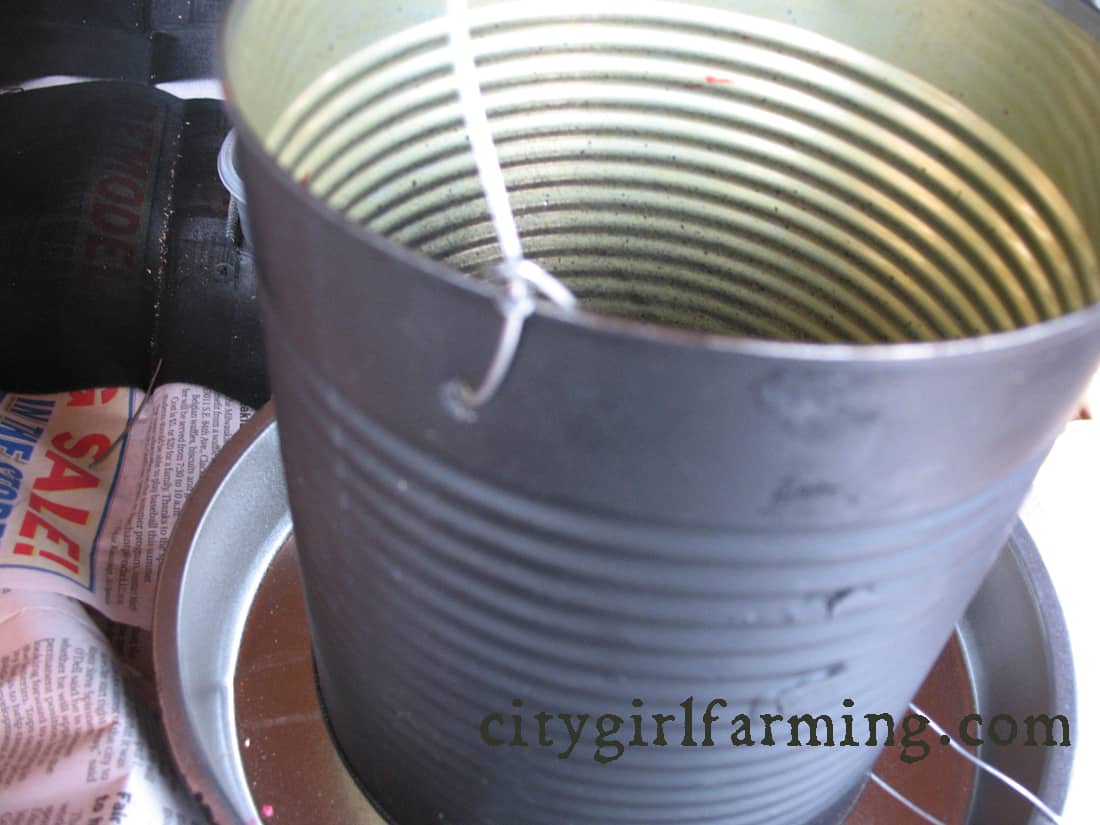
Next, cut off four strips of wire, maybe 7-9 inches or so long. Starting on the inside of the can, run a piece of wire out through a hole and over the top of the cake pan. Stick the wire through the hole of the cake pan from the outside in and down around the bottom of the #10 can so that you end up where you started. Tie it lightly in place at this point, as you might have to adjust it to get it even later.
(It’s important to end up back inside the can so that there won’t be any sharp edges where you tied the wires together. This will protect your chicken from getting cut.)
Repeat this for all four sets of holes.
Now, center the can over the cake pan. You will want the wires to be taut and the can to hang centered over the cake pan. The goal is to have a bit of a space between the bottom of the can and the bottom (the flat surface) of the cake pan so that as the chickens eat the feed, more will fall from the #10 can and into the cake pan.
Once you get it centered and taut, twist the wires several times to hold it all in place and cut off the extra wire, if there is any.
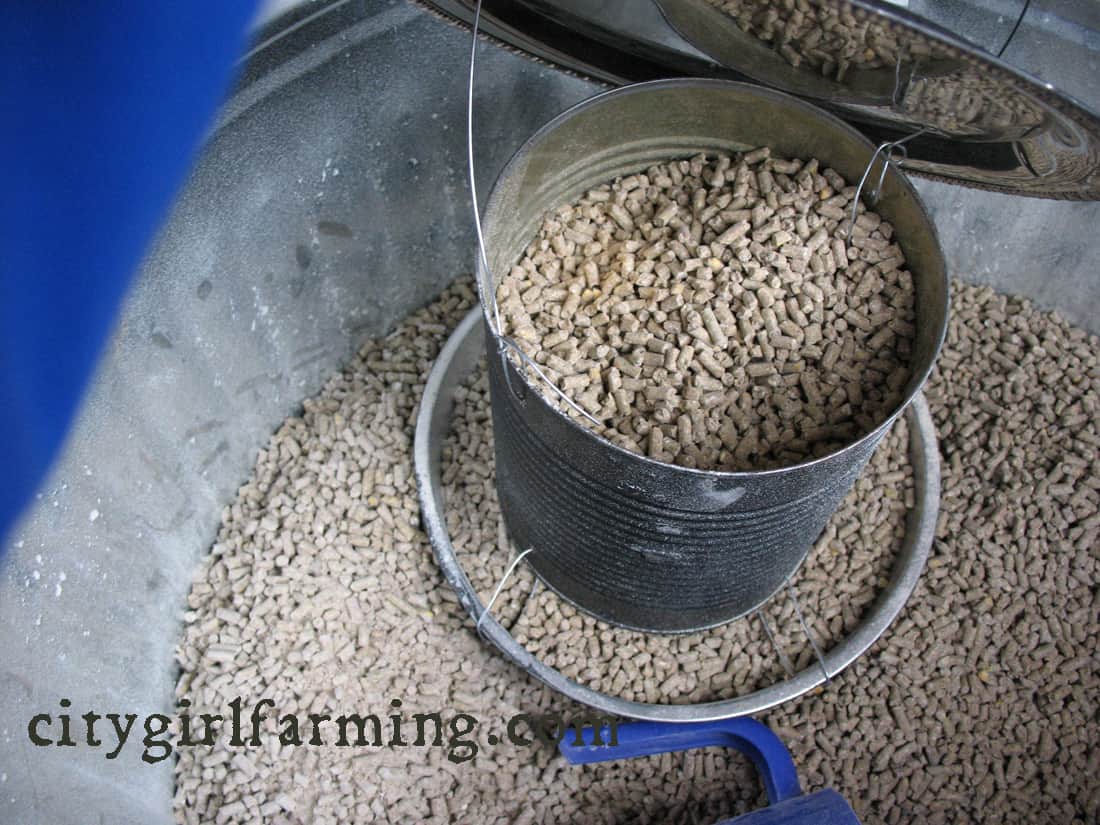
Next, line up the plate with the top of the can. Hammer two holes into the plate, matching them with the holes in the can. String the wire from inside the can, out through the hole in the can, up through the hole in plate (it works best if you have the plate face down on top of the #10 can), back through the other hole in plate, into the second hole in can. Make sure you leave enough space to make a handle. You might want to hang the feeder to check for height, before you cut the wire.
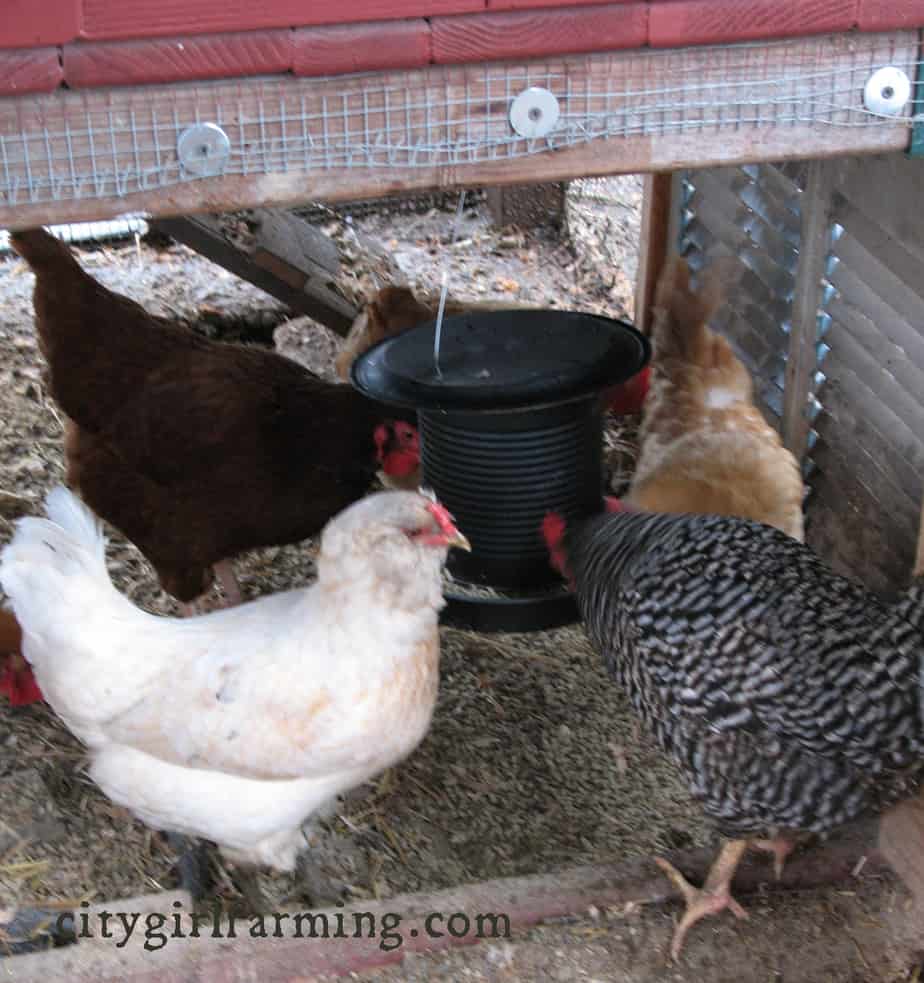
(Optimal feeder height is around neck level for your chickens. Keeping it off the ground will keep it clean, help less of it get wasted, and discourage rodents.)
Fill up the feeder from the top by sliding the plate up on the wire handle. Replace the plate over the top of the can to protect the food inside. Depending on how many chickens you’re feeding will determine how often you have to fill the feeder.
I’ve used a feeder like this for over 2 years and it’s worked great. Let me know if you try it and how it works for you.
If it isn’t your thing, though, I just saw an interesting feeder done in a totally different way, from Egg Carton Labels. If you go check it out, tell her I sent you.
