Make Your Own Suet Cakes for Your Chickens
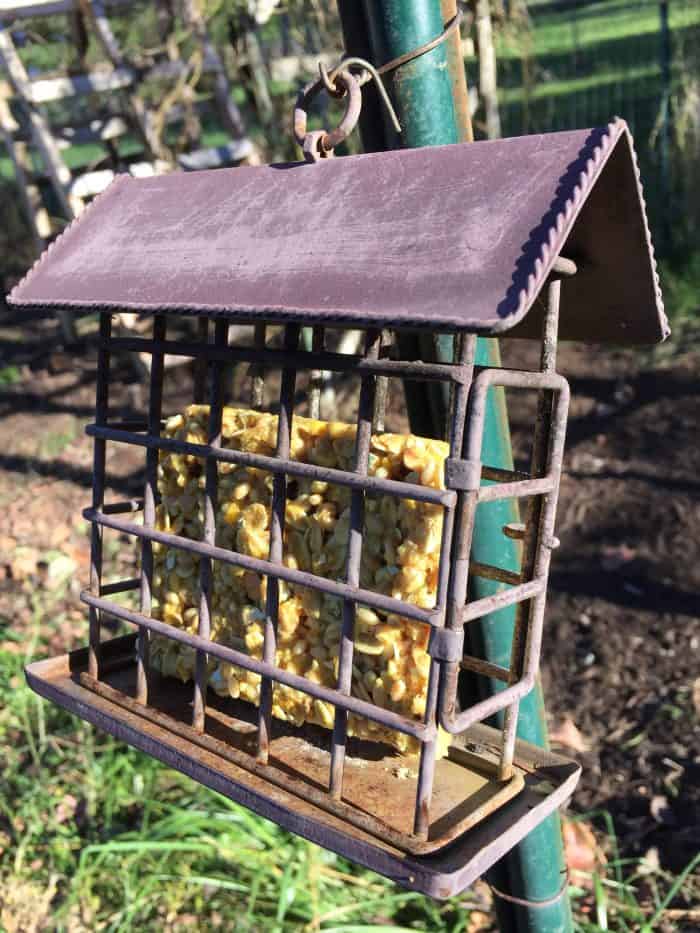
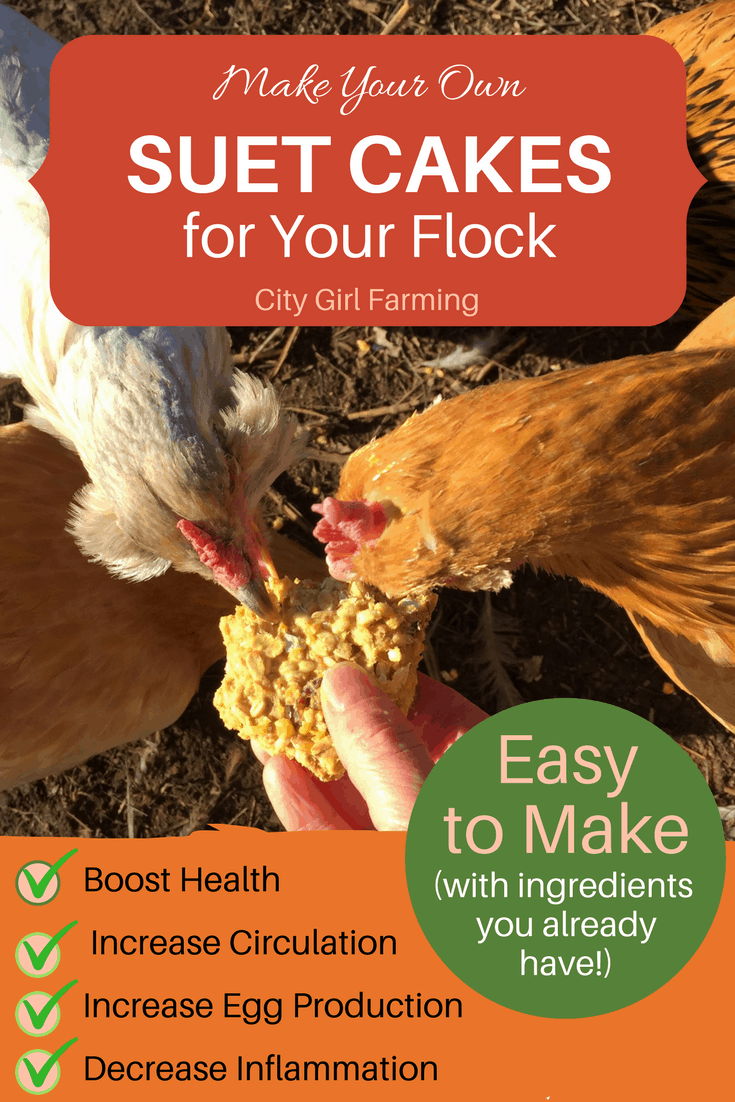
Suet cakes, Flock Blocks, or other high protein slab-like treats for your chickens (or even for the wild birds) are super easy to make and they’re good (in moderation, of course) for your flock during the long winter months. They also help break up the boredom for your girls, if they’re used to being more active in the summer when it’s nice and there are plenty of tasty things to forage for.
While you can buy commercially made suet cakes, just like everything else pre-made on the market, you have no control over the ingredients. Fortunately, making them yourself is a quick project and you won’t need to buy any special ingredients or molds, unless you want to. You can use a wide variety of different ingredients. There’s lots of room for experimentation and ways to incorporate things from your pantry into your suet cake production.

Start with Fat
First, you’ll want a fat base (this will hold it all together). Traditionally, this is animal fat (otherwise known as suet). Suet also is known as lard (fat rendered from pigs) or tallow (fat rendered from cow). If you want to make your own lard, here’s how. You can also buy blocks of lard (typically found in the Mexican section of the grocery store) that are retangular white bricks that come in a box. You can even save the grease from when you cook bacon or hamburger, etc. and use that.
If the thought of animal fat grosses you out, you can also use coconut oil. And, thankfully, coconut oil contains some great health benefits for chickens. In fact, they get many of the same benefits from coconut oil as we do! It’s anti-inflammatory, antibacterial, anti-fungal (ALL good things for the coop and chicken life), it supports the immune system, aids in digestion, is great for the skin and helps improve circulation. I also know some folks who swear by coconut oil as a way to boost egg production (especially in hens that have slowed their laying).
Add Ingredients
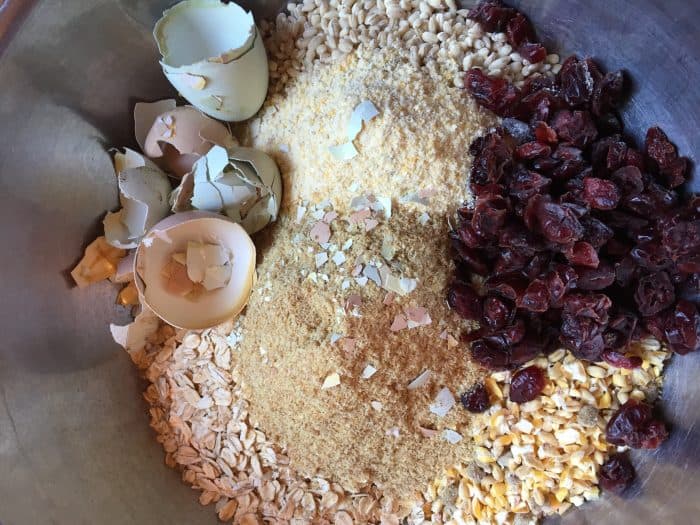
Once you pick out a fat base, here’s where your crazy inner mixologist comes in. There are so very many things you can add to your DIY suet cakes: whole grains, fruits like cranberries, apples (both dried and fresh chopped), herbs like oregano, basil ,etc. (fresh chopped and dried), chicken feed, cracked corn, mealie worms, peanuts (roughly chopped, unsalted), peanut butter (unsalted) oats, molasses, sunflower seeds (in or out of the shell), eggs (and egg shells–crumbled), flax seeds, and probably a bunch of other things I haven’t even thought of here. (If you’re worried about adding something that wouldn’t be good for your hens to eat, here’s a list of things to stay away from.)
You can also add spices. I like to add both turmeric and cayenne for their health benefits. Turmeric is good for chickens in many of the same ways people use it for their own health. It’s great for respiratory health, inflammation, and even brain and eye function (I wrote a whole post about the benefits of turmeric for your flock if you want to read more.) When I add turmeric to the suet cakes, I also like to grind a bit of cracked pepper into the mix as coconut oil, turmeric and black pepper work really well together to the benefit of chicken health.
The other spice I like to add is cayenne. Cayenne, like coconut oil, aids in egg production. It also helps prevent certain diseases. (Don’t worry about making it to hot and spicy for your birds–they don’t have any heat receptors in their taste buds so they won’t even notice.) A bonus for adding cayenne to your suet cakes is that while birds (wild birds included) can’t taste the heat, squirrels can, so if you’re wanting to make sure the birds get the suet and not the squirrels, cayenne will do the trick.
Deciding on How Much to Make
Are wondering how this is all gonna come together? Here’s how I do it. I figure out the containers I’m going to use. There are suet molds (like these) that you can use. The nice thing about them is that they’re exactly the right size for suet holders (like this). You can also use mini cake pans with holes in the center (like this). Their selling point, (aside from being super cute) is that you can hang them by twine. Or you can just use containers you have on hand. One of my favorites is a rectangular glass storage container I have that works really well for making enough to cut in half for two separate suet cakes. I sometimes also use a big 9×12 glass baking dish if I want to make a lot at once. If you go that big, I’ve found that it’s a lot easier to get it out if you line the pan with parchment first, before you pour your mixture in to harden.
Once I decide on the container I’m using, then I will know how much (roughly) of the ingredients I should mix up. Ideally, your suet cake should be around an inch thick. (If you have a suet holder, measure it before you decide how thick to make your cakes.)
I then look around the pantry and see what I have on hand. This time around I used old-fashioned oats, flaxseed, crunchy peanut butter, dried cranberries, turmeric, cayenne, cracked pepper, egg shells, and a bit of chicken scratch. And I used coconut oil for the fat base.

Putting it All Together
Okay, you’ve picked out some containers. You’ve scoured your pantry and chicken feed containers for ingredients. If you have a suet container, you’ve checked the size so you’ll know how thick you can make them. And now we’re ready to actually MAKE suet cakes for those chickens!
First, melt the fat you’re using. Either on the stove top or microwave. Eyeball the size of the container(s) you’re going to use and add handfuls of whatever ingredients you’d like to use, making it a variety of tastes and textures. (Don’t worry if you over-estimate, I’ll tell you how to use it below!)
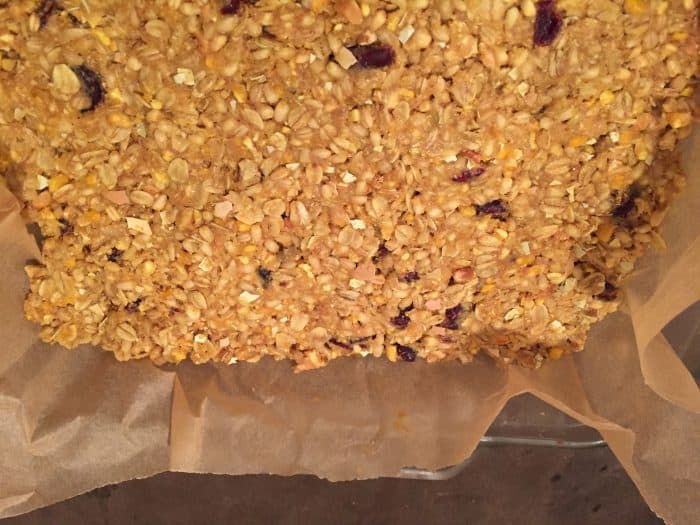
Mix the fat and the other ingredients together. You’re going for a heavily saturated look and feel. The fat is what will hold it all together, so don’t scrimp. Press this mixture firmly into your pan or mold (and remember, if you’re using a bigger pan, lining it with parchment is a good idea). I usually keep mine at about an inch thick, but you can adjust the size to however you’re going to be ‘serving’ this treat.
At this point, you can bake it (some folks do) if you want. But I keep my raw. Raw ingredients just seem more healthy and fresh to me. Right now it’s cold enough I can stick the pans outside for a bit and the suet cakes will firm up fast. You can also stick them in the freezer for a bit.
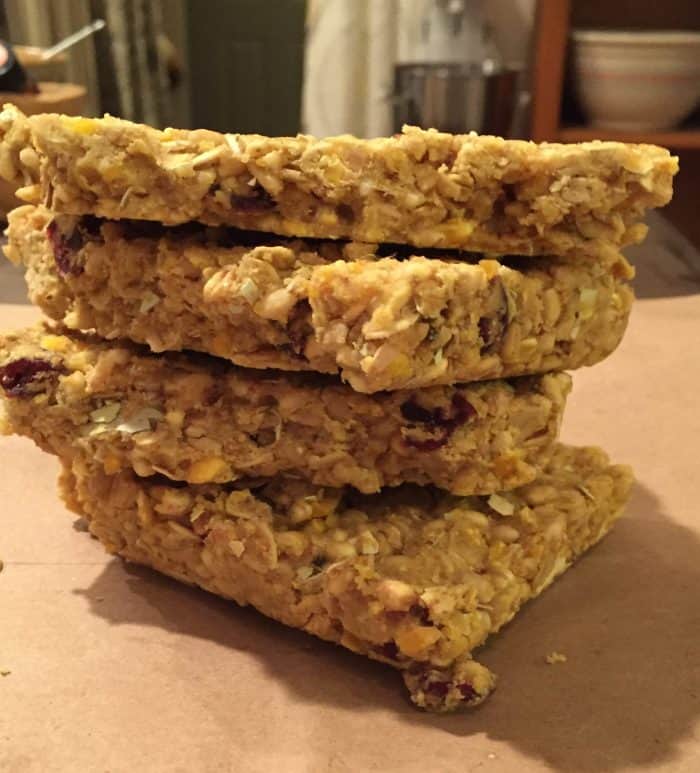
If I end up with more ‘cake mix’ than I can use in the molds I have, I just wait until I pop out the hardened first round out of the pans and pat in the remaining ingredients for round two. It shouldn’t firm up much while you’re waiting for round two unless your house is cold (but if it does, simply warm it to make it easy to press into the pan/mold once they’re empty again).
Once the cakes are very firm, I run warm water on the backside of the smaller containers to help me pop out the cake. On the larger pans, I pull them out with the parchment. Then I carefully cut them into the size I want. (If they end up too crumbly, the flock will still love them, but if you’d like them firmer, add more fat.)
You’ll want to store them in a cool place. Like your refrigerator or garage or other unheated place. I put mine in a container and put them in the top of the feed barrel outside. It stays cold out there and it’s predator proof.
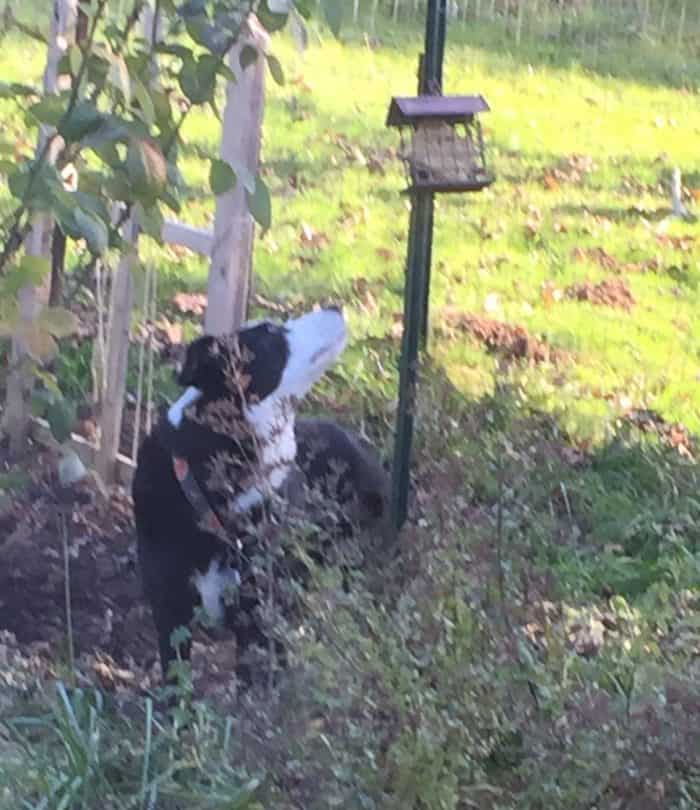
My girls love this stuff and I’m sure yours will too. I also feed it to the wild birds, who greatly appreciate it during the cold winter months. From time to time, I even see Fredrick out there trying to figure out how to get some for himself.
Have fun with this project. It’s a great way to benefit your flock during the winter, boost immunity and egg production, and use up extra stuff in the pantry. Plus, the hens will love you for it.

This post may contain affiliate links. This means if you click on the link and buy something, I will get a few cents to help me buy chicken food. But don’t worry! It doesn’t cost you anything (and in some cases might save you some money). Thanks for helping support my blog.